- Start x-win32 program by click "Start" -> "Programs" -> "X-Win32 9.1" -> "X-Win32" A window will show up like
 .
. - Use the left button of the mouse and click on the window bar and hold it. Move the mouse and release the button.
- If you see a window like
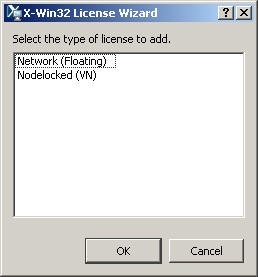 ,
,
continue with following. otherwise, goto step 2. - Click "Nodelocked", and type in license key: 1757166-50272. And click OK button.
- Go back to the first window "Welcome to X-Win32", double click "Create an RSH, REXEC, or SSH session". Two windows will popup. The desktop screen looks like https://mpi.slac.stanford.edu/ext/index.php/Image:Snap3.jpg.
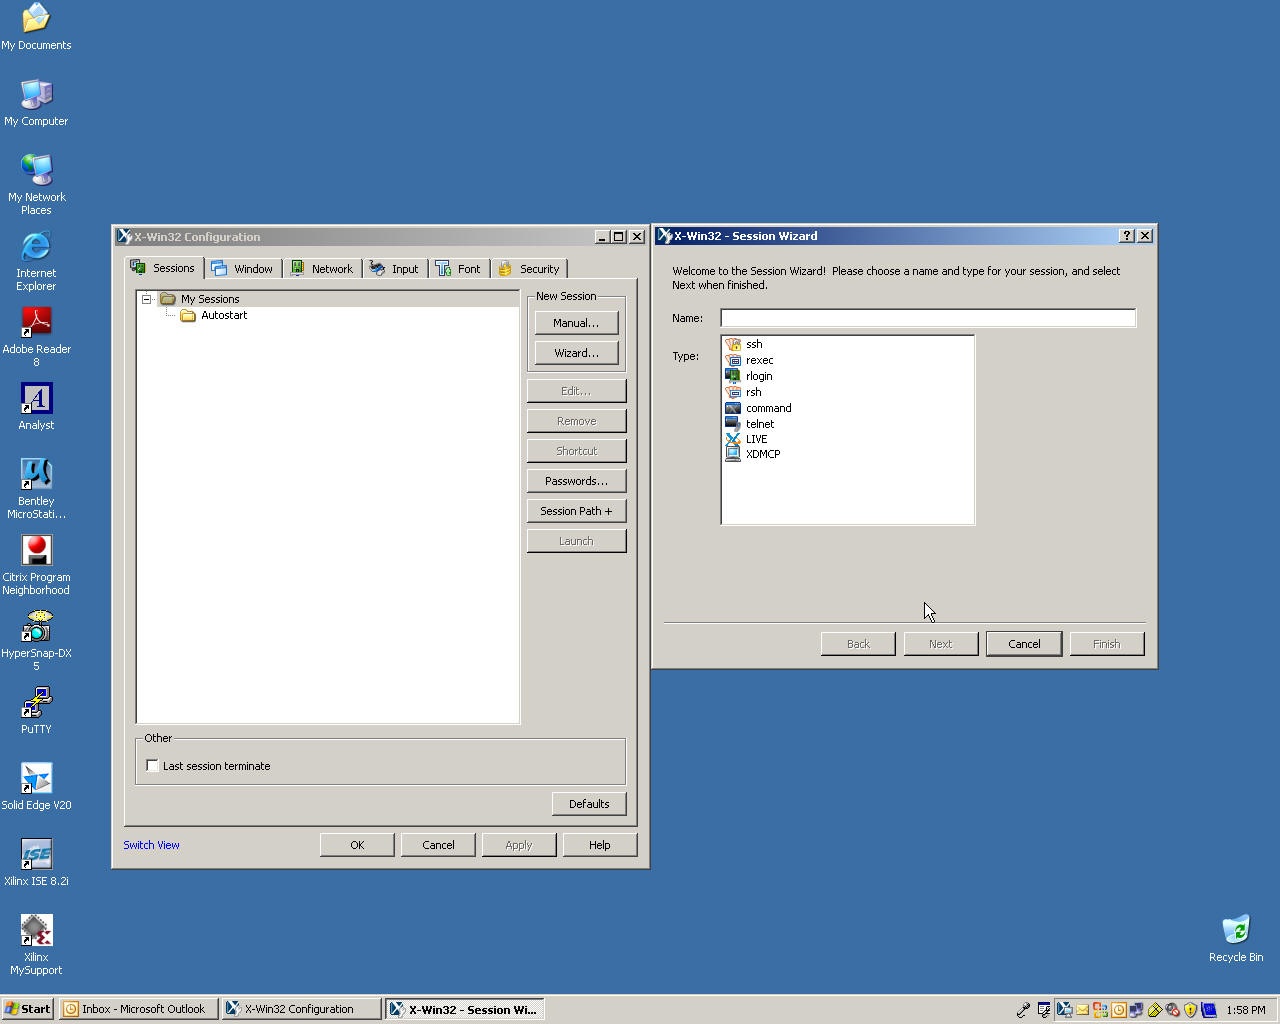 .
. - On the right window, type in "tmp" under "Name:". The window looks likehttps://mpi.slac.stanford.edu/ext/index.php/Image:Snap4.jpg
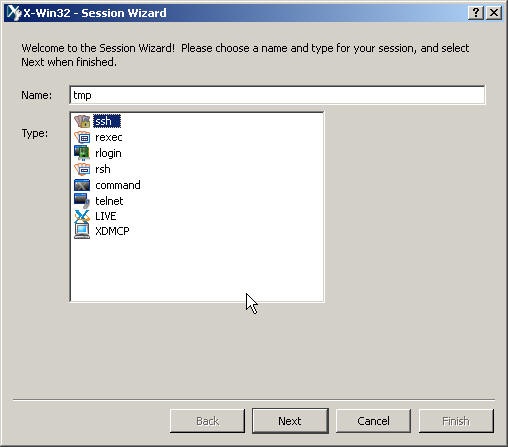
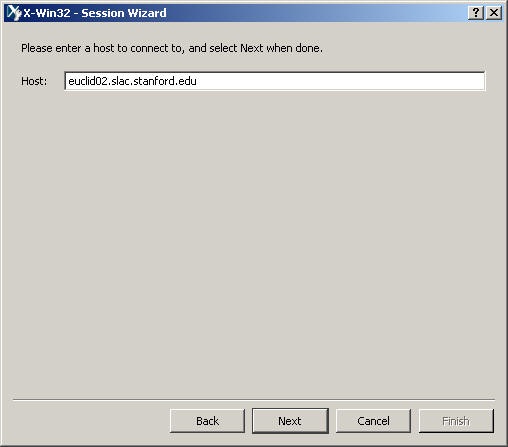
Click "Next". - It shows a window like https://mpi.slac.stanford.edu/ext/index.php/Image:Snap5.jpg.
 .
.
Type in "euclid02.slac.stanford.edu" or the host assigned to you. And click "Next". - The window looks like https://mpi.slac.stanford.edu/ext/index.php/Image:Snap6.jpg.
 .
.
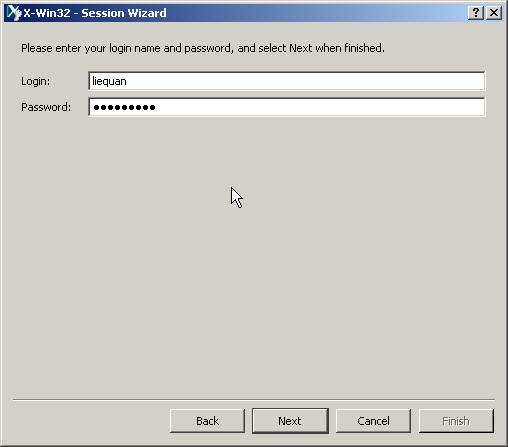
Type your afs id, and your Unix password. Click "Next". - The window looks like https://mpi.slac.stanford.edu/ext/index.php/Image:Snap7.jpg.
 .
.
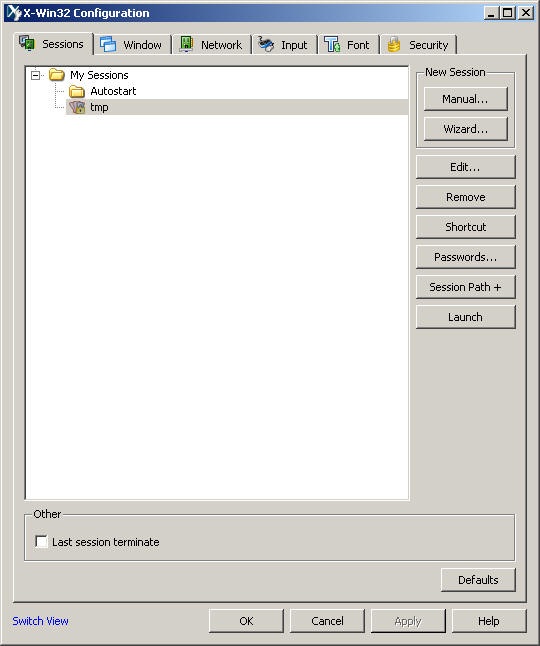
Click "Linux" and Click "Finish" button. The window will disappear.
- On the right window, type in "tmp" under "Name:". The window looks likehttps://mpi.slac.stanford.edu/ext/index.php/Image:Snap4.jpg
- The left window will look like https://mpi.slac.stanford.edu/ext/index.php/Image:Snap8.jpg.
 .
.
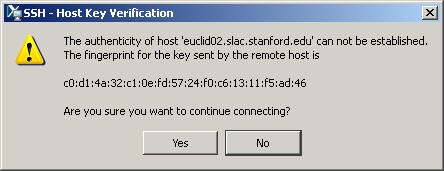
Click "tmp". Then click "Launch" button. - If you see a window like https://mpi.slac.stanford.edu/ext/index.php/Image:Snap9.jpg.
 .
.
Click "Yes" button. - An xterm will show up. Your desktop screen looks like
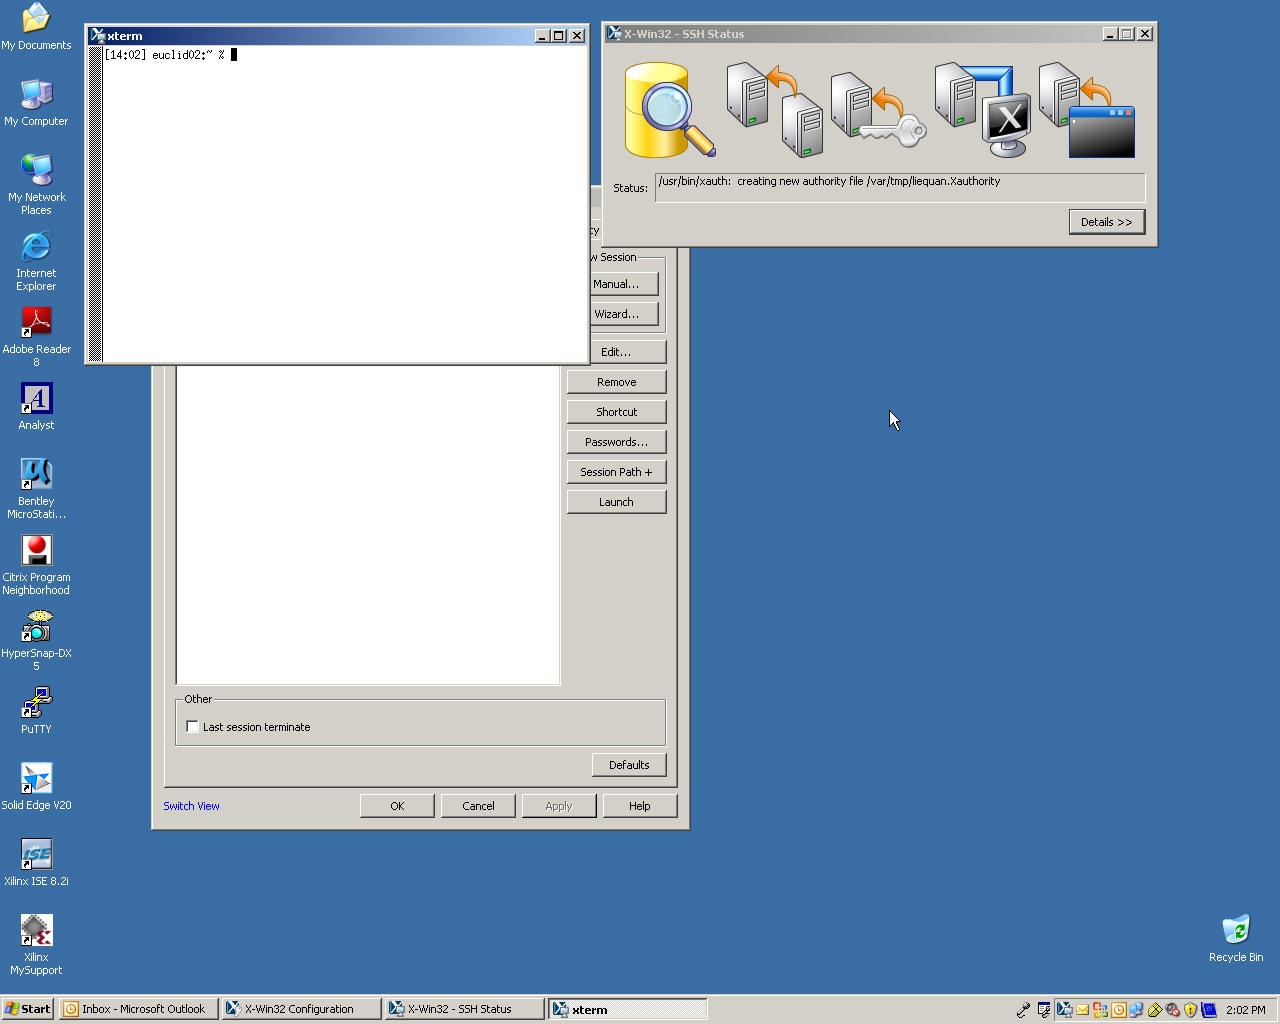 .
.
Congratulations. You have successfully logged into on of the euclids computer. - In xterm, please do the following to initialize shell environment:
source /afs/https://mpi.slac.stanford.edu/ext/index.php/Image:Snap10.jpg. Congratulations. You have successfully logged into on of the euclids computer.g/acd/cw09/cshrc.cw09
If for some reasons you choose such that your default shell is bash, use the following:
. /afs/slac.stanford.edu/g/acd/cw09/profile.cw09
Page History
Overview
Content Tools