...
Xilinx official tutorial for IBERT firmware
Step-by-step Instruction
you can use the ATLAS team rddev111 server. Please contact Su Dong and Matthias Wittgen for a user account.
- ssh login to the rddev111 server
- source the Xilinx vivado environment: $ source /data/Xilinx/Vivado/2021.2/settings64.sh
- add a license for vivado: $ export LM_LICENSE_FILE=2100@rdlic1:2100@rdlic2:2100@rdlic3
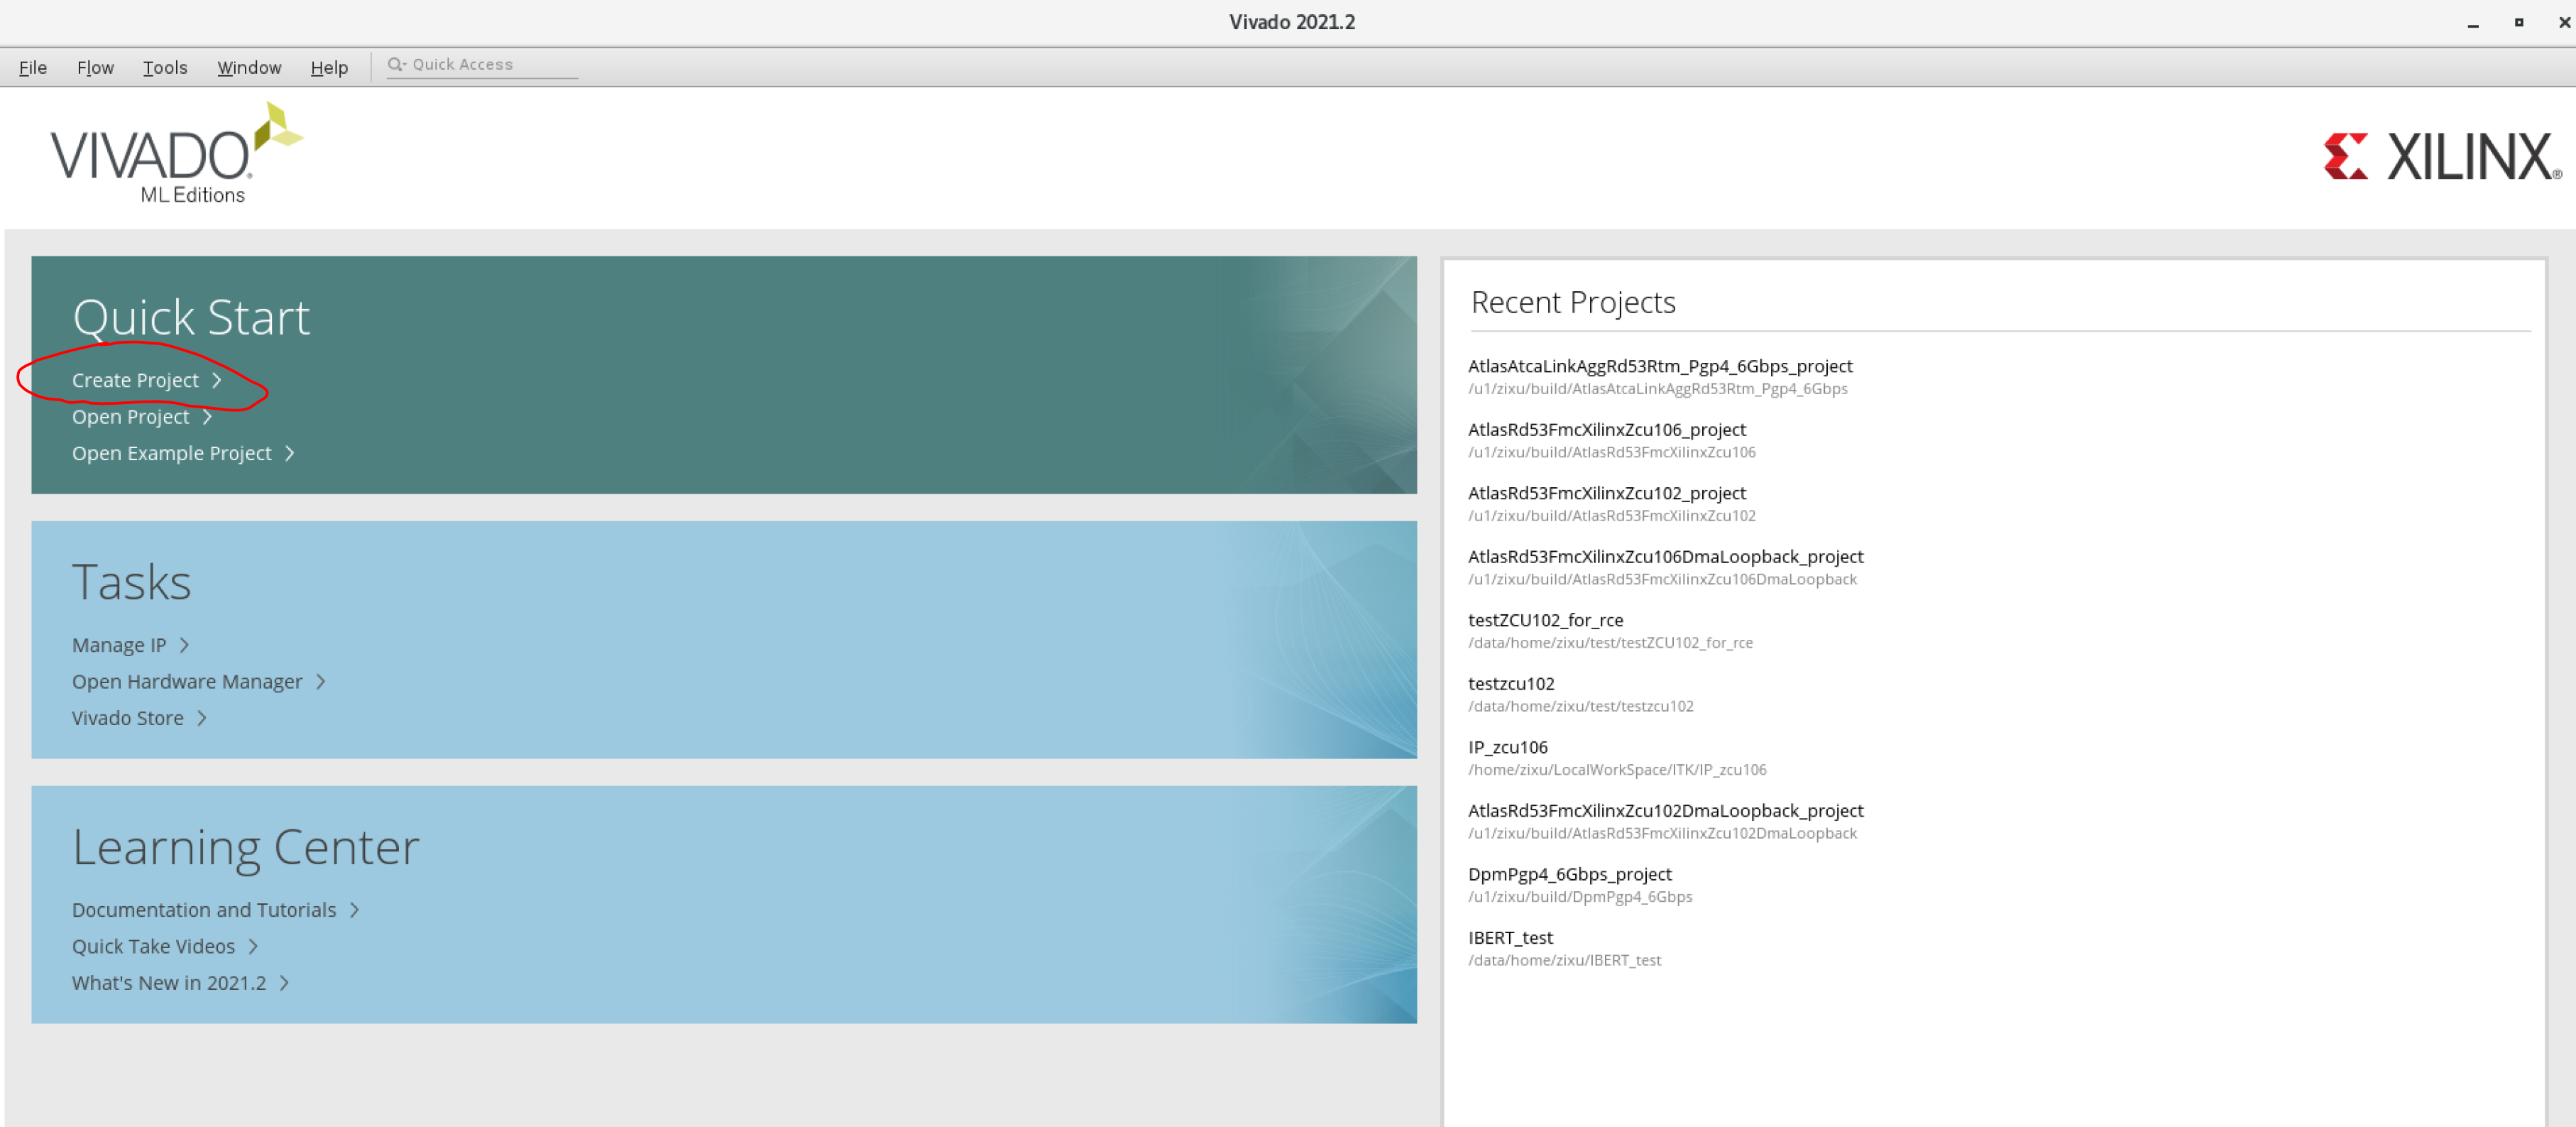
- start the vivado software: $ vivado
- create a project:
- project name:

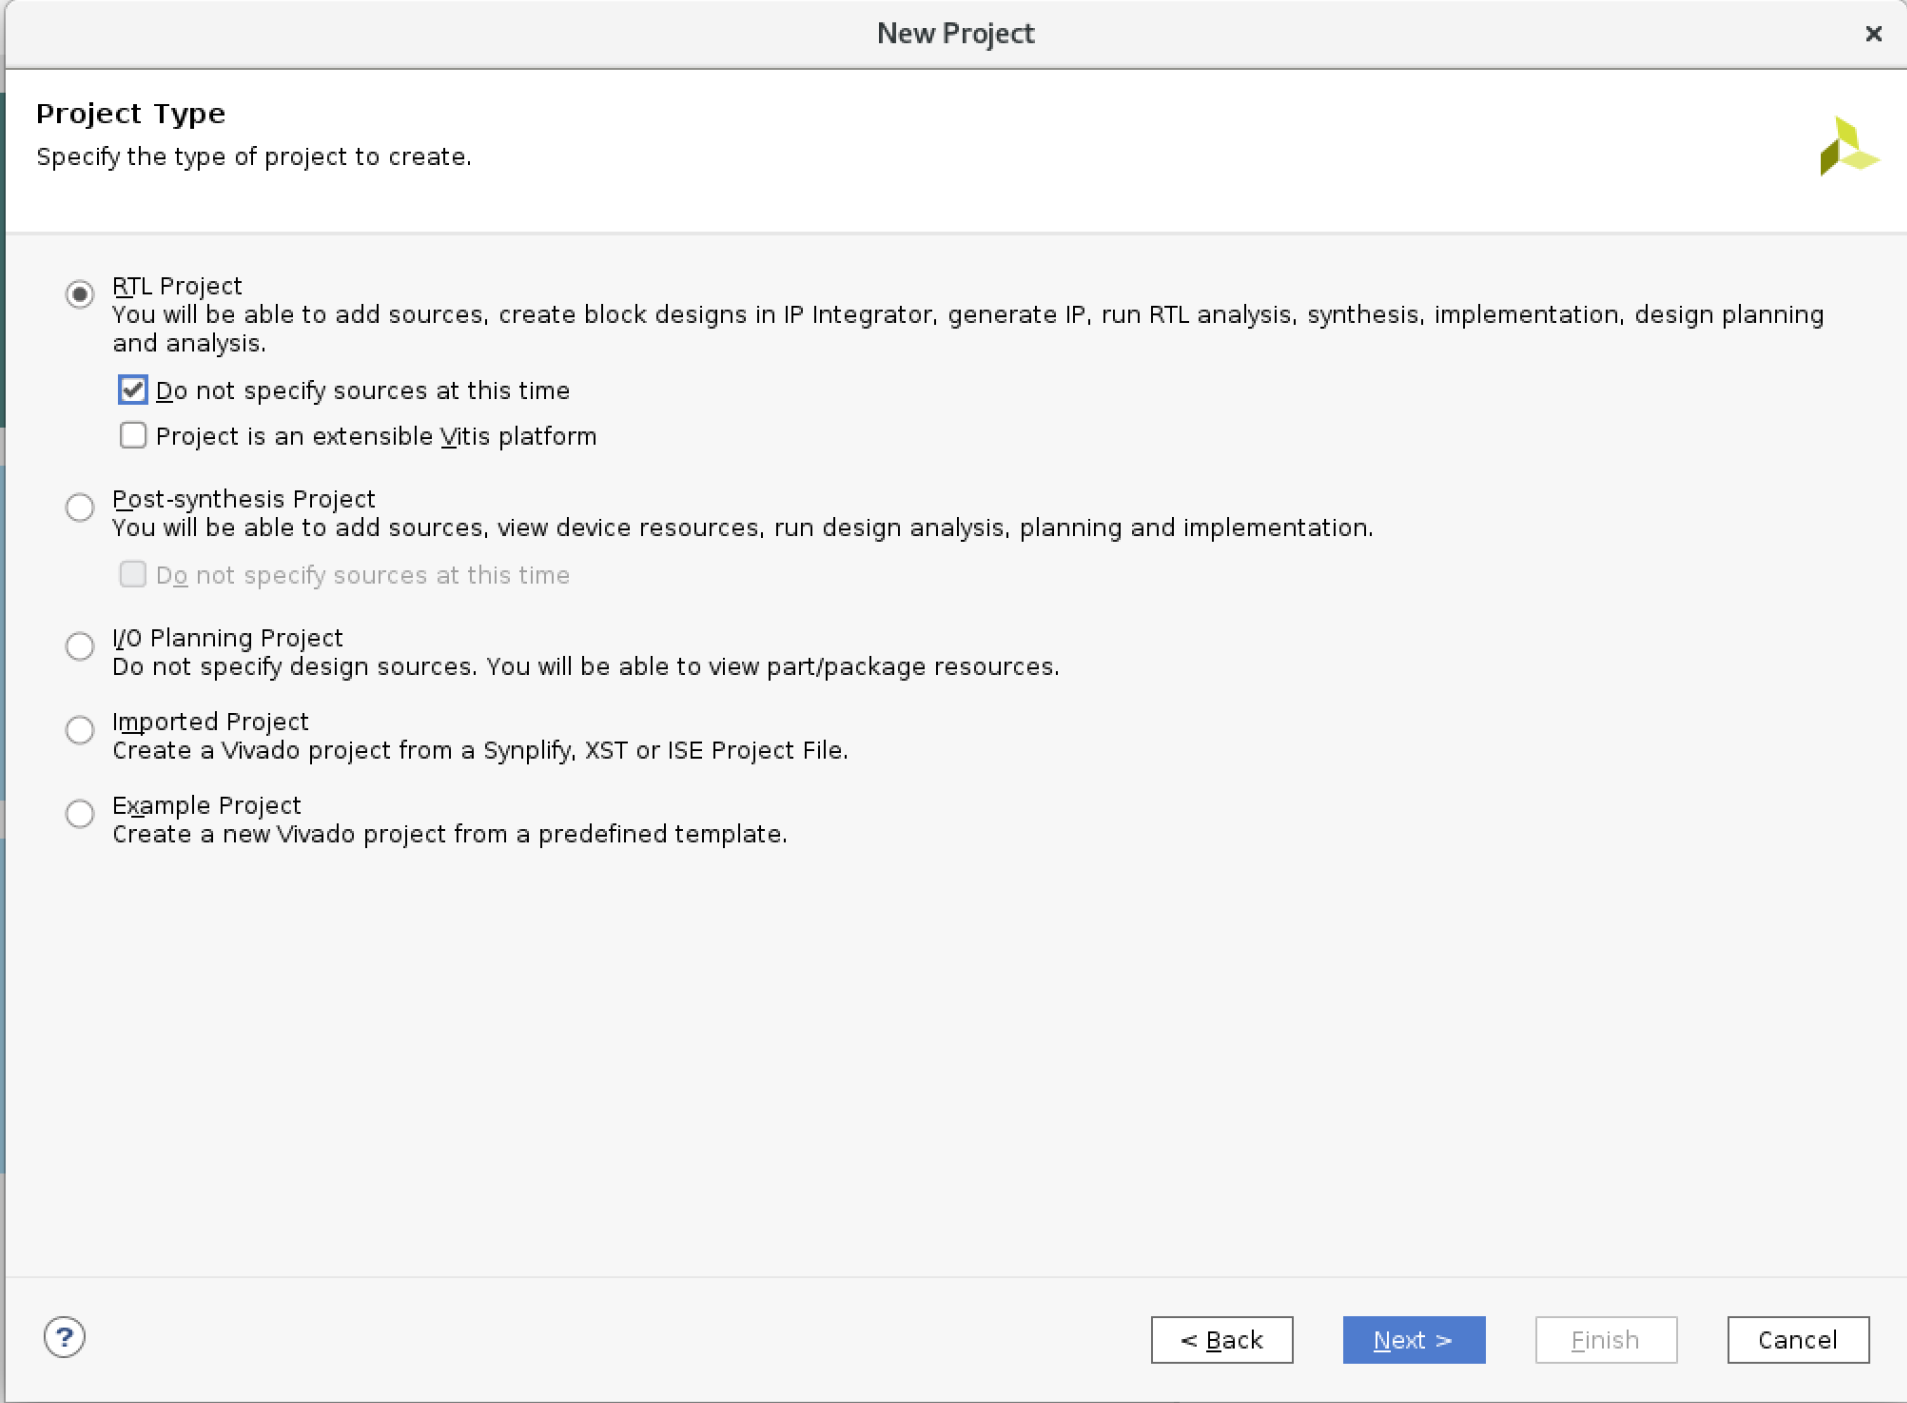
- project type:
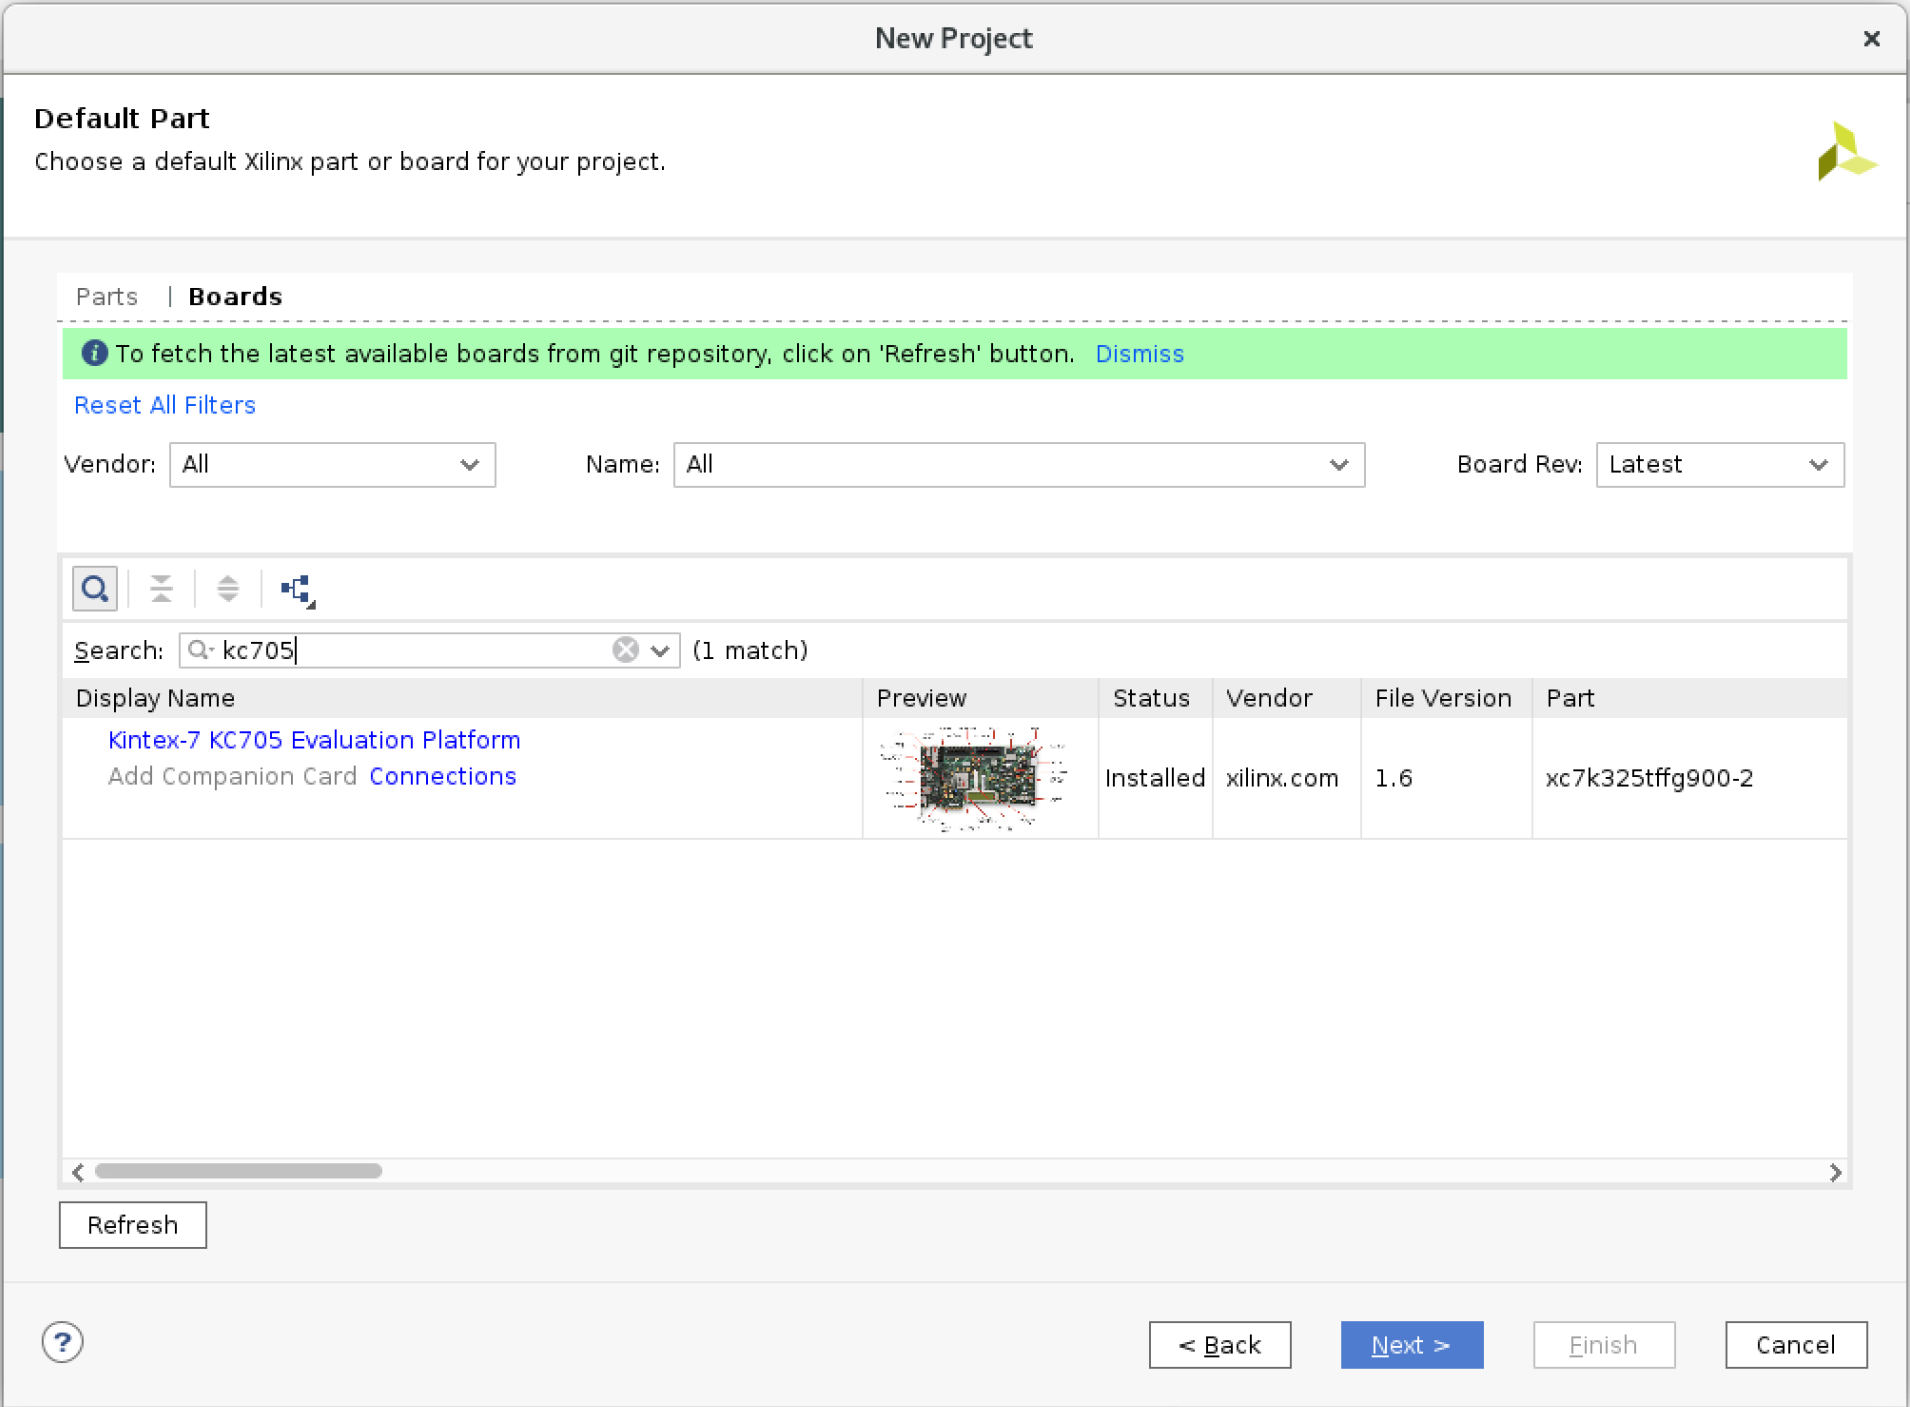
- choose hardware platform:
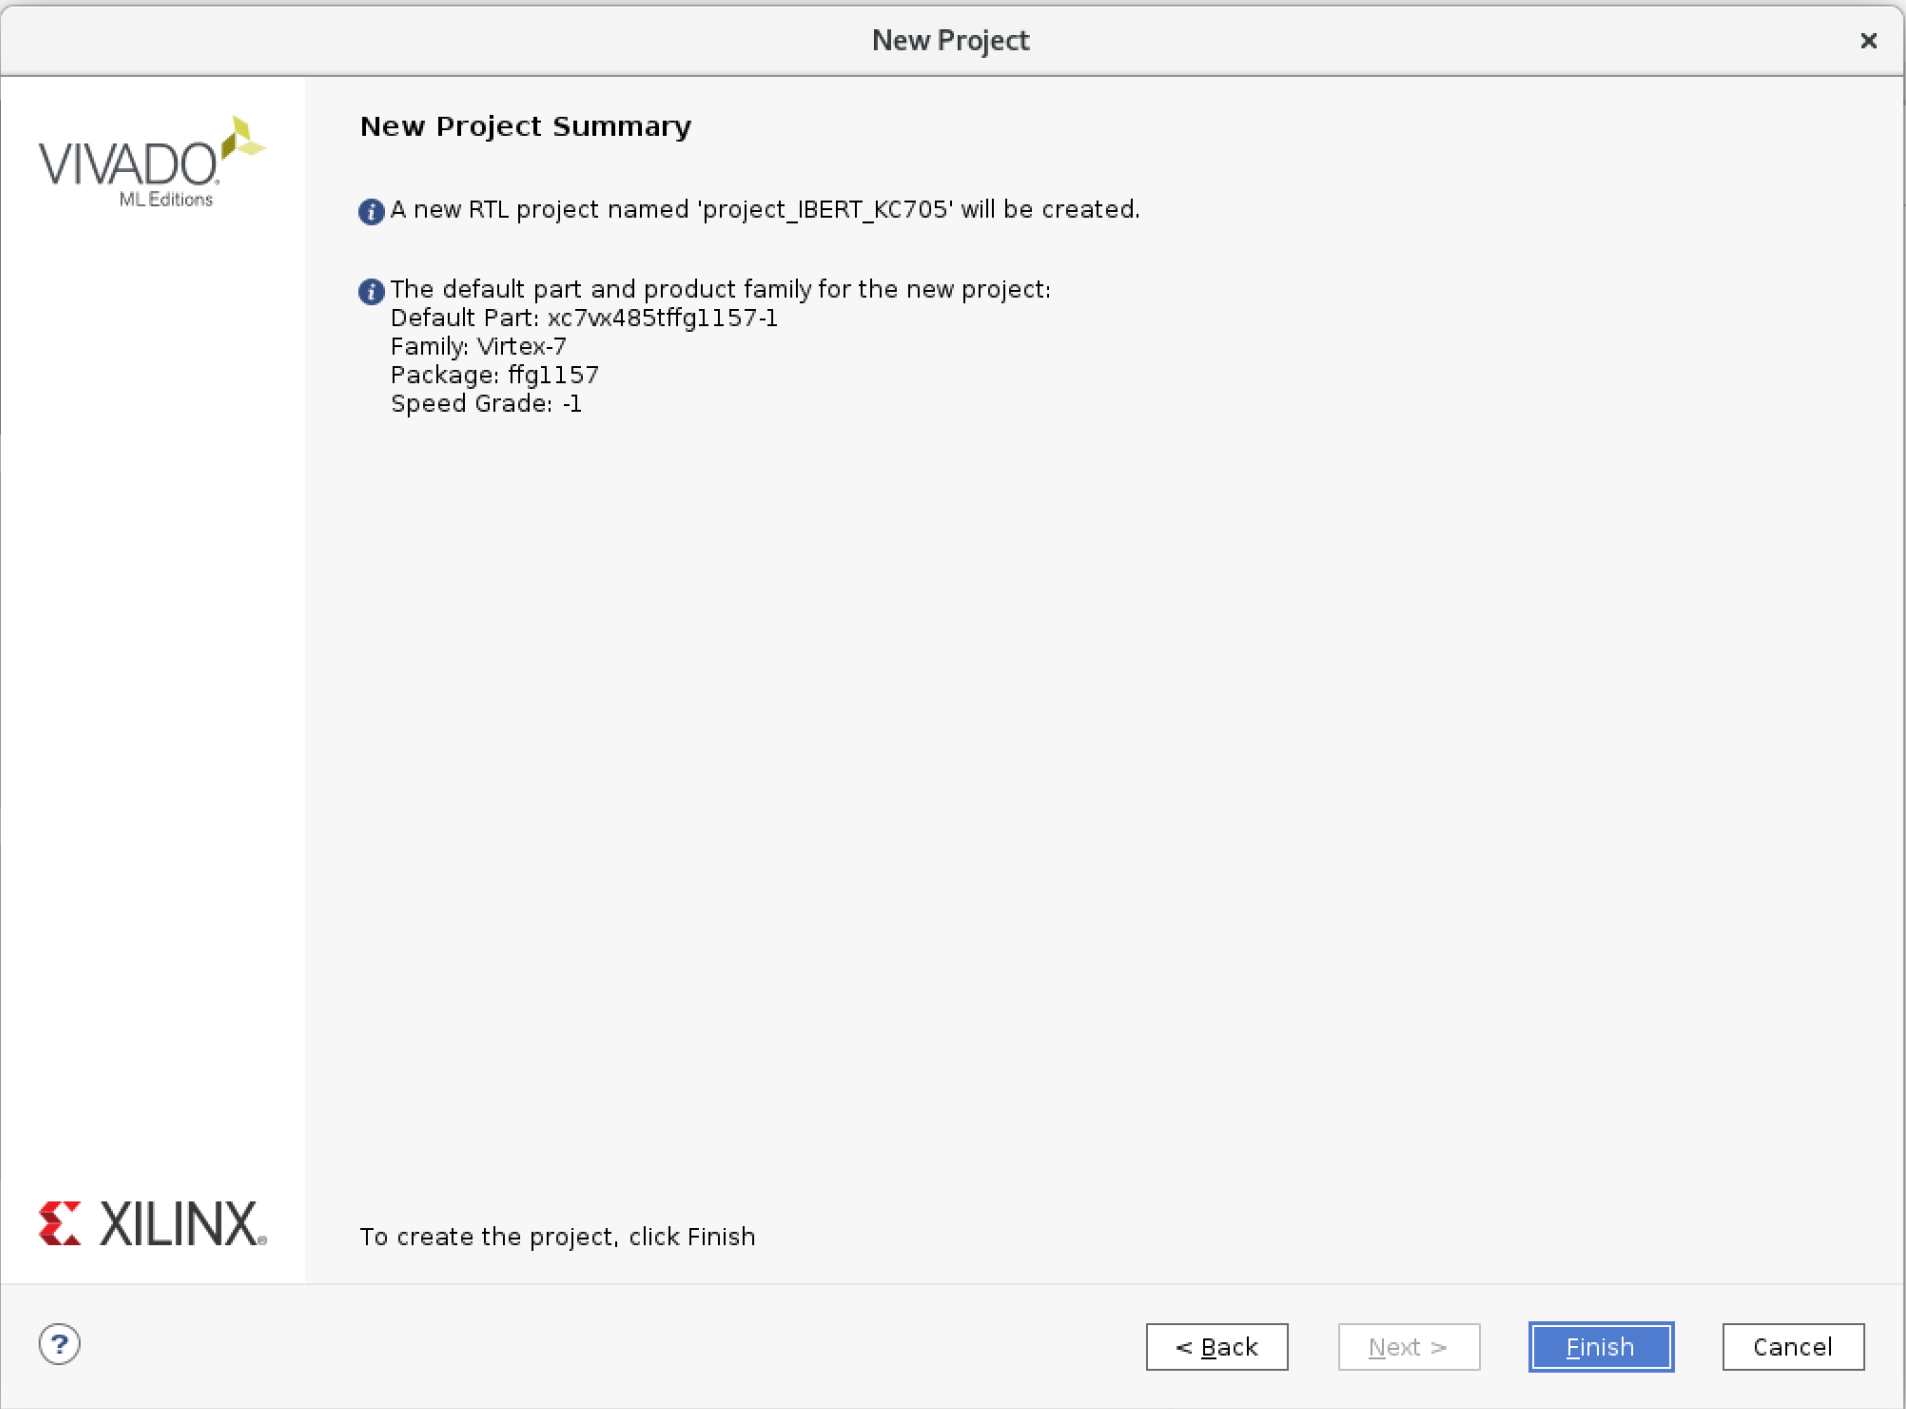
finish:
- click "IP catalog", and search "IBERT"

- double click "IBERT 7 Series GTX" to customize this IP
- lineRate to 1.25Gbps, and RefClk 125.0MHz :
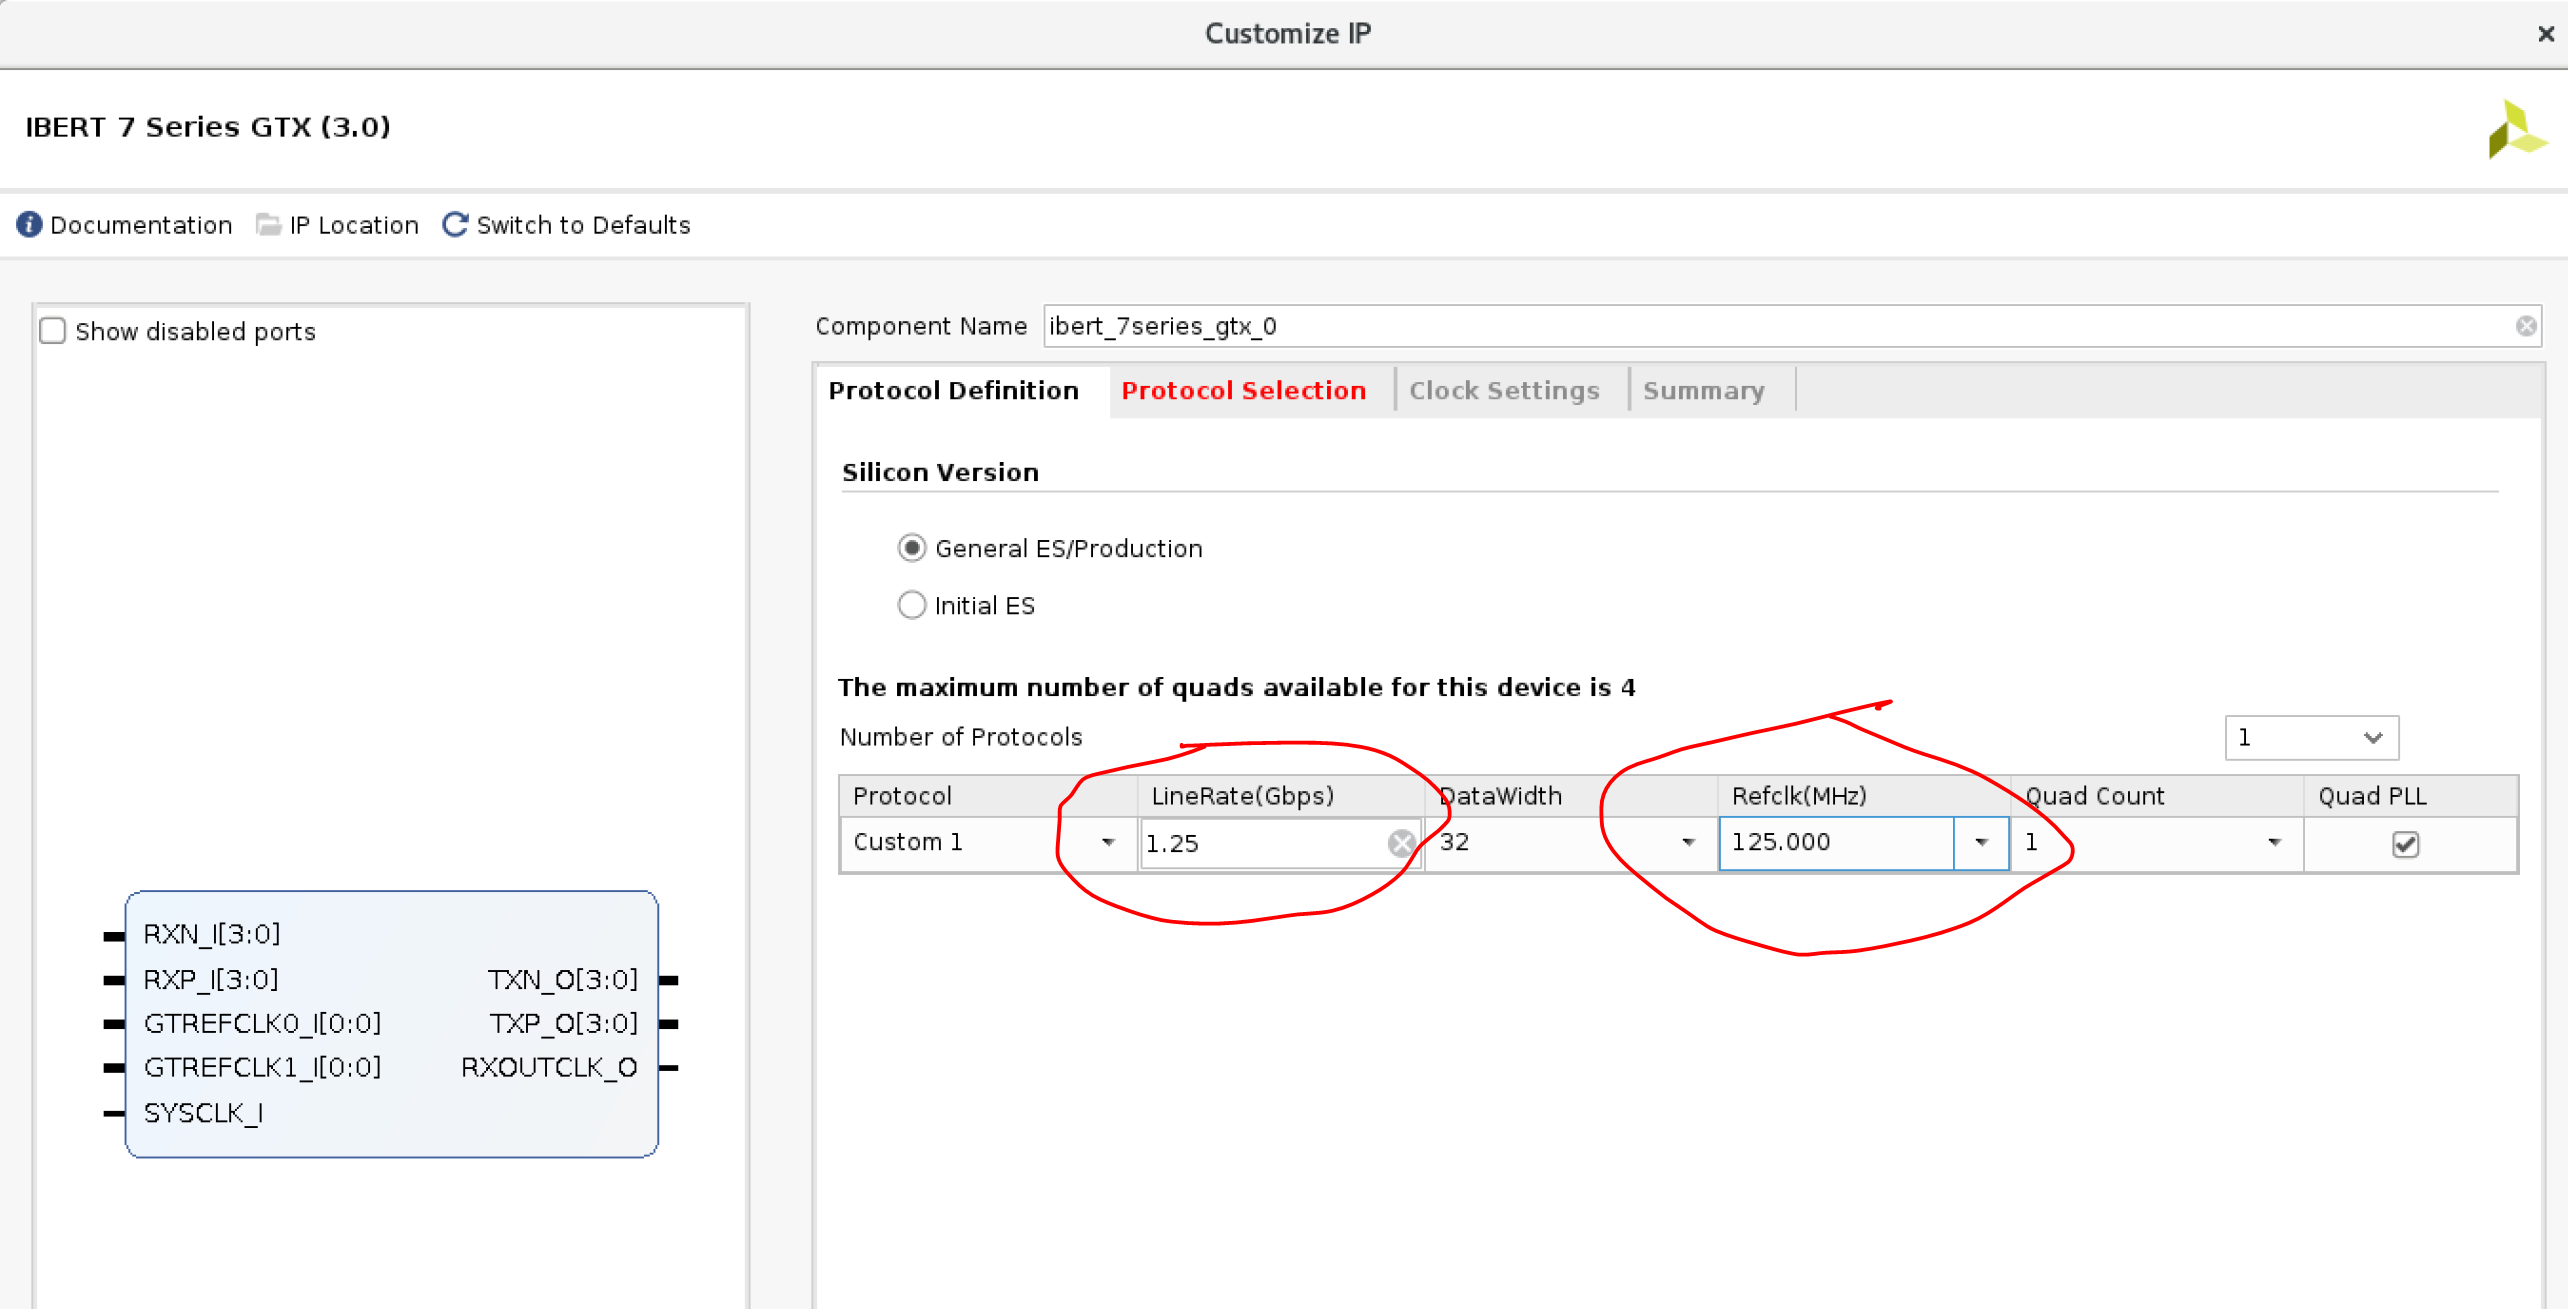
- the RefClk is fixed to 125MHz, so, the lineRate can only be 1.25Gbps, but not 1.28Gbps. (LineRate could also be 2.0Gbps when refClk=125MHz)
- Protocol selection:
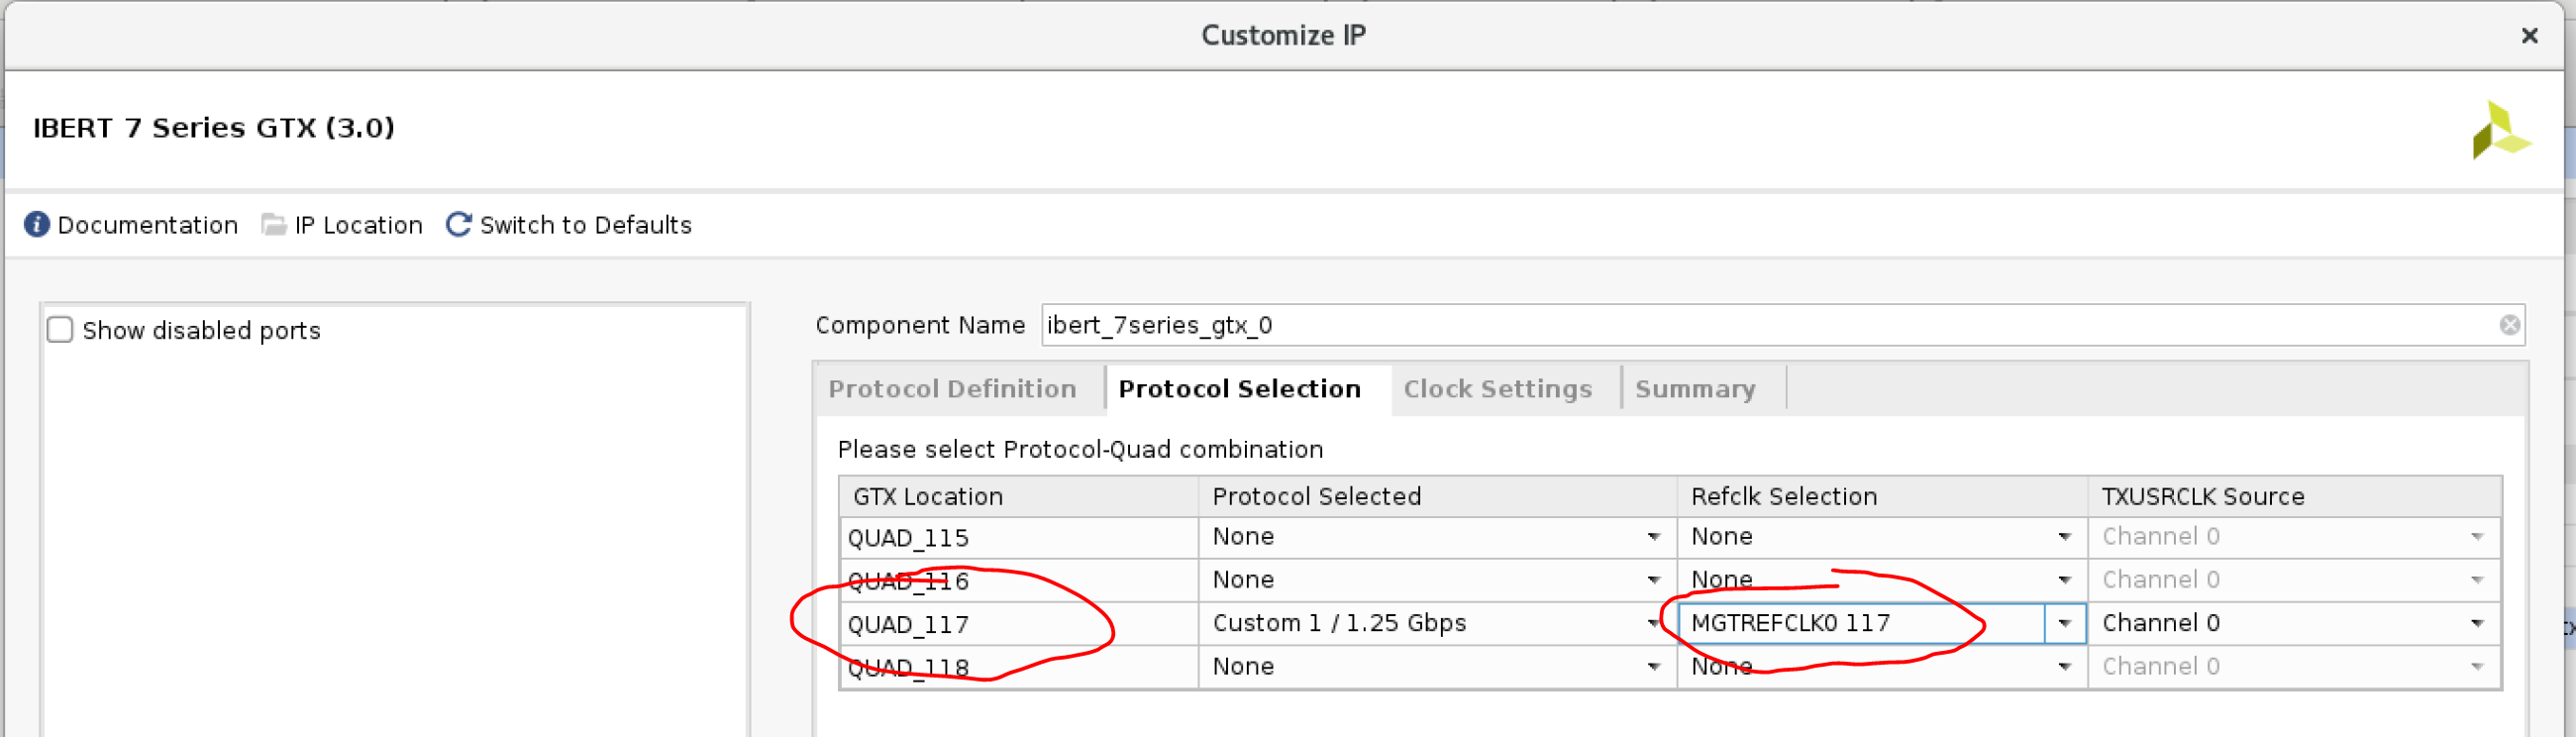
- Quad_117 support the SMA and SPF+ interface
- System Clock setting:

- Customize IP Done:

- right-click the IP instance "ibert_7series_gtx_0", and Open IP Example Design:

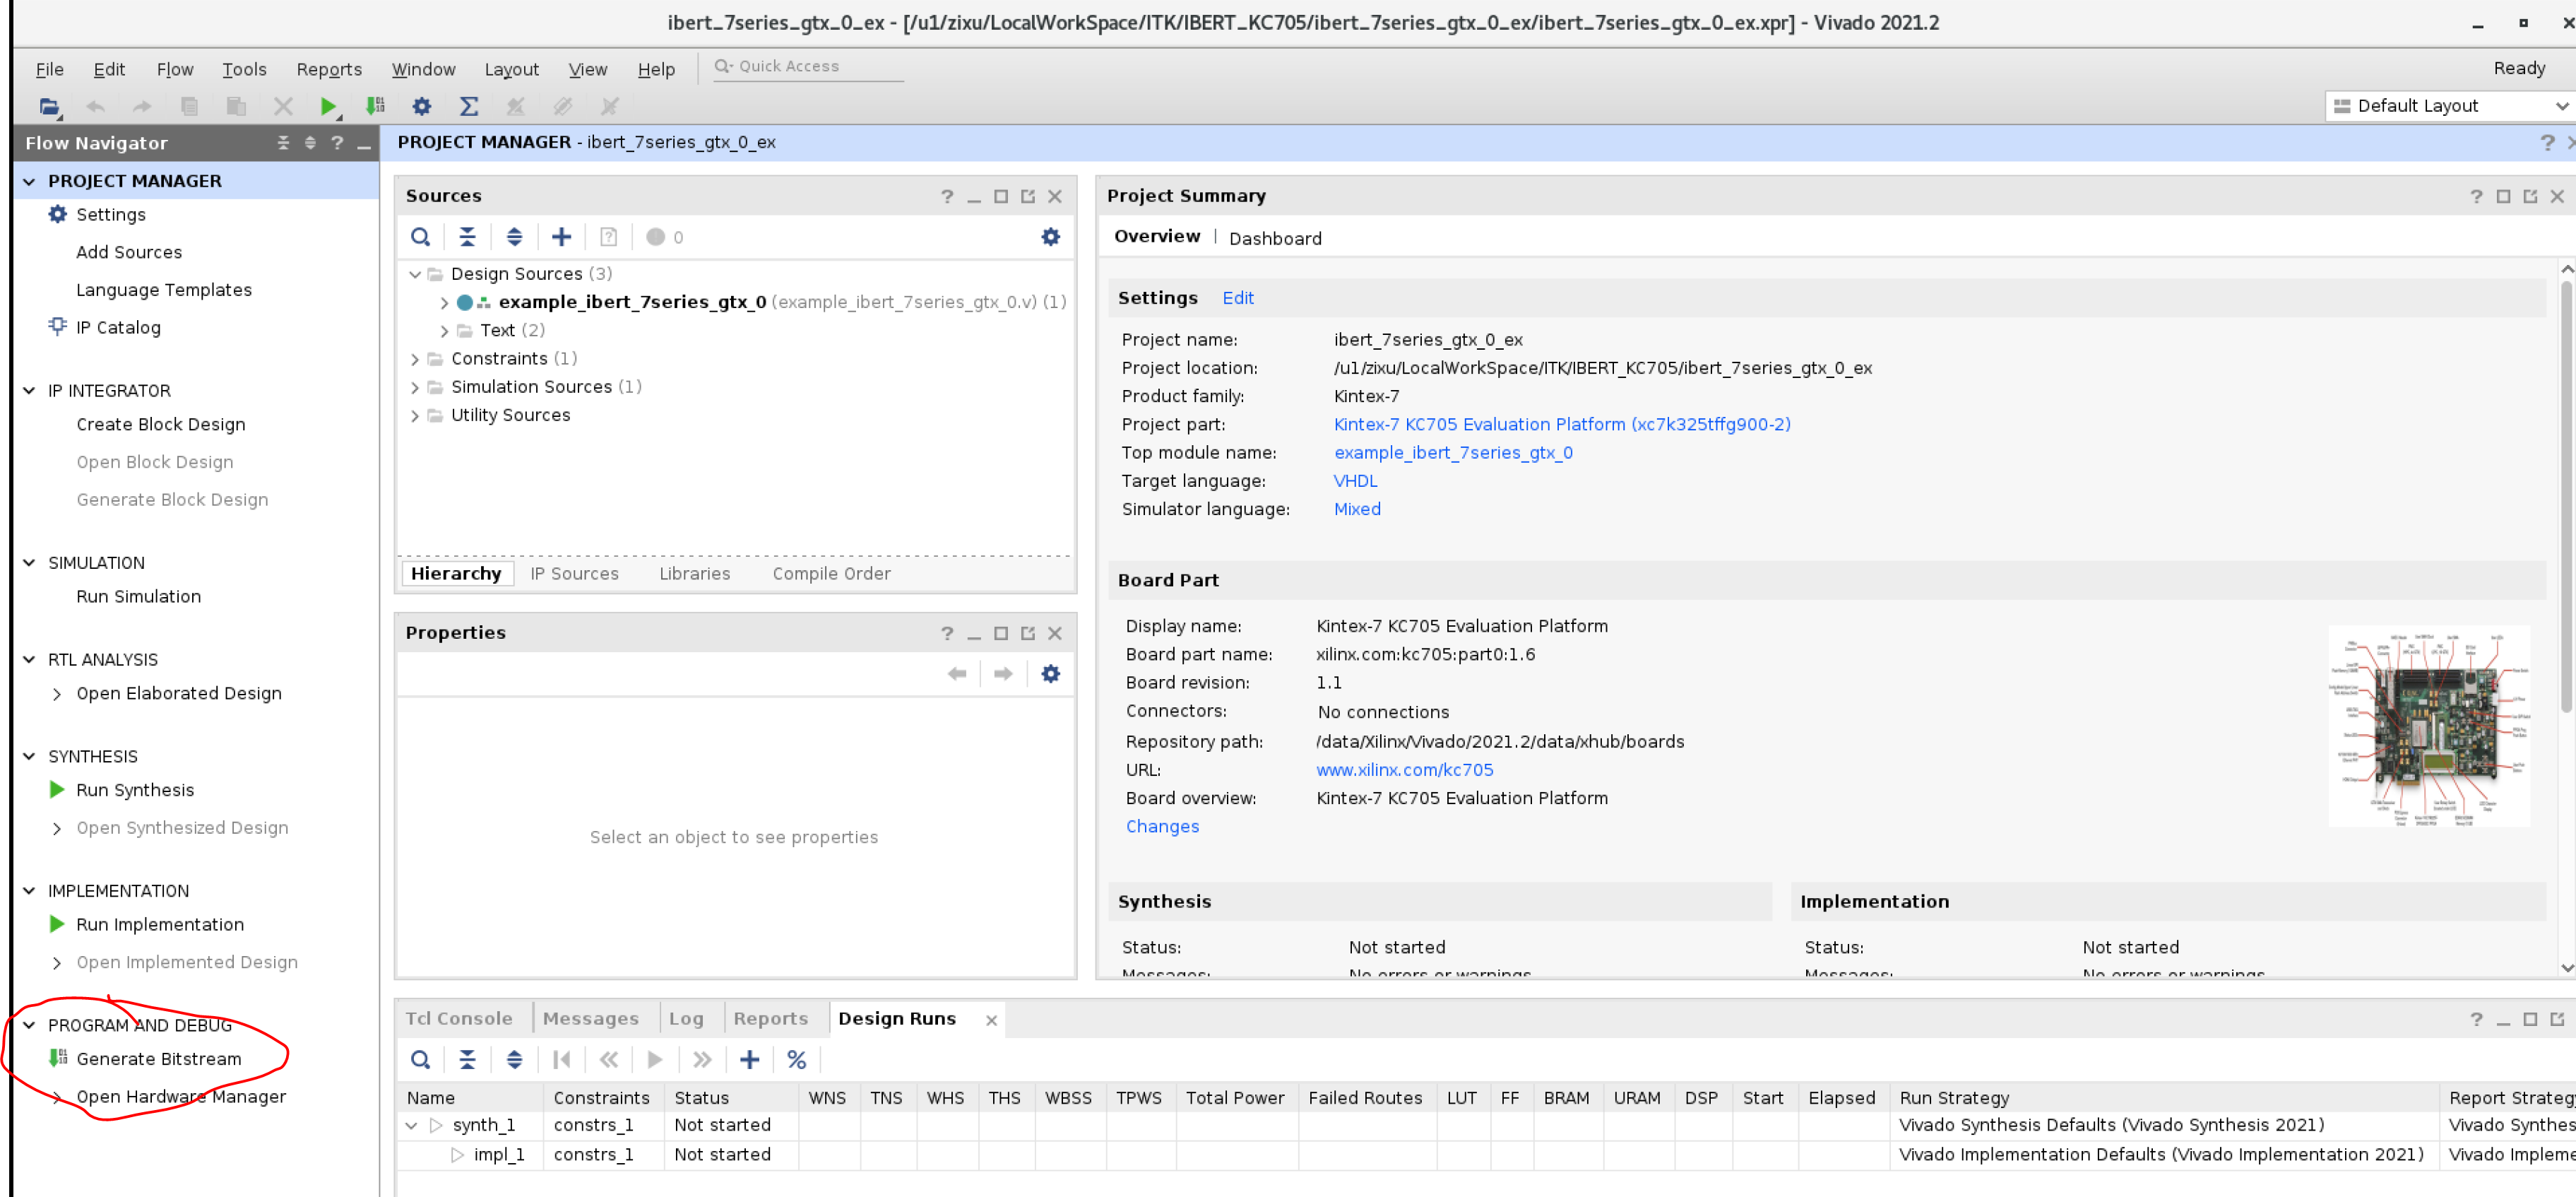
- open IP example design:

- Generate Bitstream on the new vivado GUI:
- Launch Runs, and click ok:
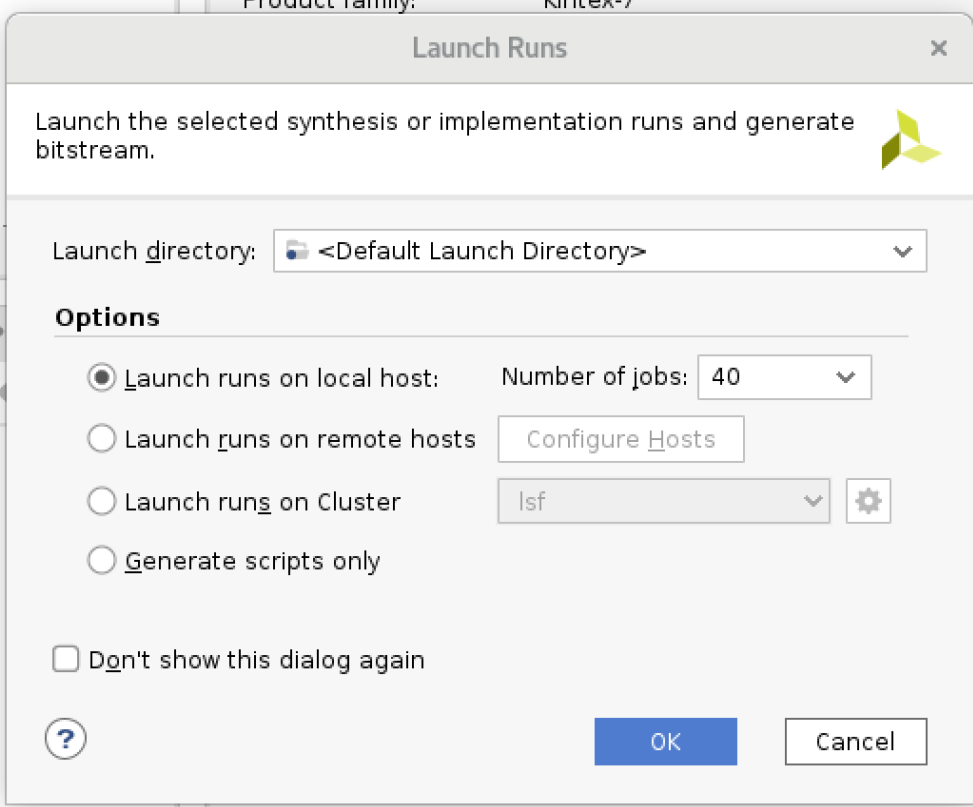
- about 6 mins, done:

- if your FPGA board is connected to this computer, you can choose "Open Hardware Manager" to continue.
- If you want to use another PC/laptop to control the FPGA board, you need to copy the firmware from: <your project location>/ibert_7series_gtx_0_ex/ibert_7series_gtx_0_ex.runs/impl_1/example_ibert_7series_gtx_0.bit