Short Instructions
- Download Maven 2
- Add the Maven 2 bin directory to the PATH variable.
- Download Netbeans.
- Install Netbeans
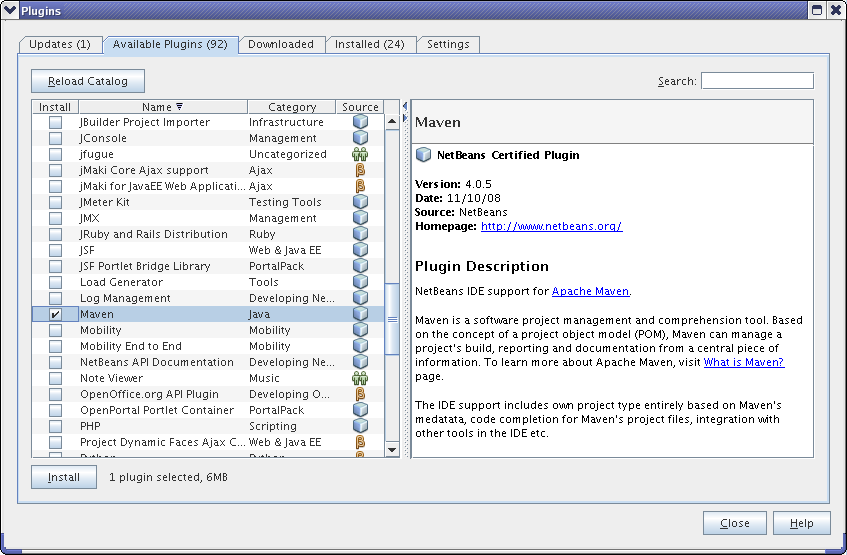
- Install the Maven Plugin in Netbeans at Tools > Plugins > Available Plugins.
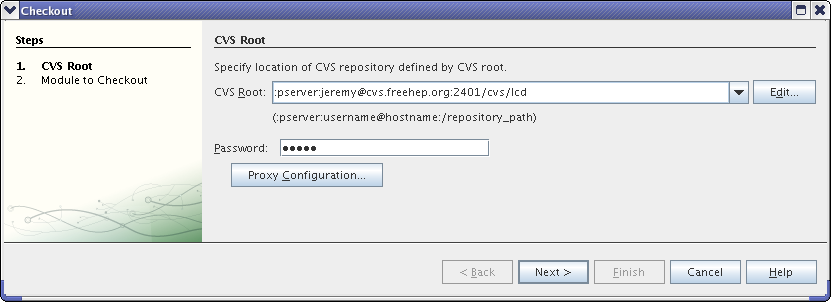
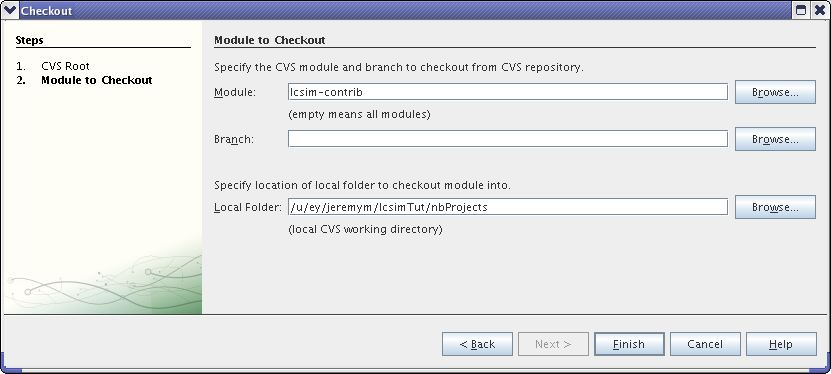
- Checkout a project with Versioning > CVS > Checkout.
Long Instructions
Maven 2 Installation
On Linux, an appropriate version of Maven 2 can be installed as follows.
wget http://www.lcsim.org/dist/maven2/2.0.9/apache-maven-2.0.9-bin.zip
unzip apache-maven-2.0.9-bin.zip
Now, the environment needs to be setup so Netbeans finds this external Maven version. The Maven bin directory must be added to the system path.
This will add the bin directory to the path on Linux using bash.
export PATH=/path/to/apache-maven-2.0.9:$PATH
It can be placed in the RC file for your shell so that this is setup when you login.
On Windows, refer to these instructions for adding an environment variable.
Maven 2 Plugin
Install the Maven Plugin in Netbeans at Tools > Plugins > Available Plugins.
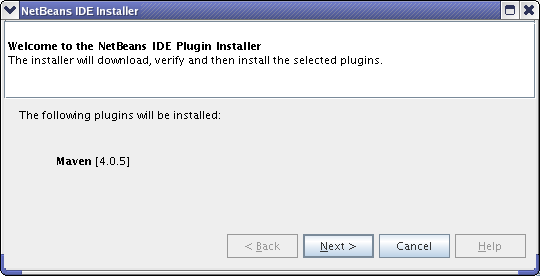
Click Next to continue.
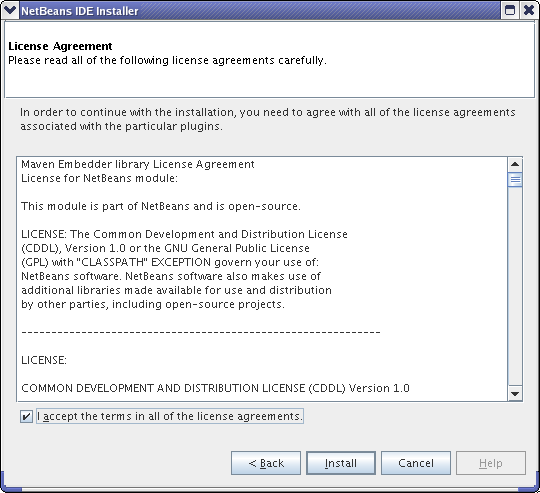
Click Install to continue.
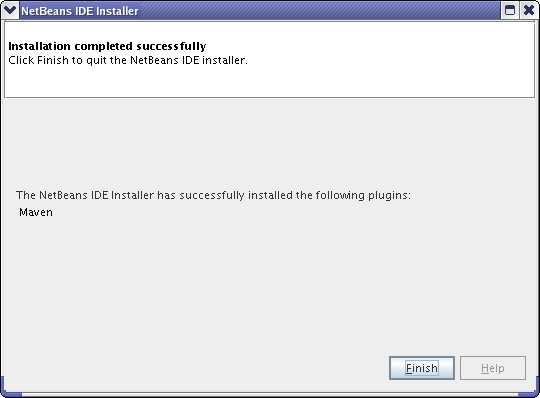
Click Finish to complete the installation.
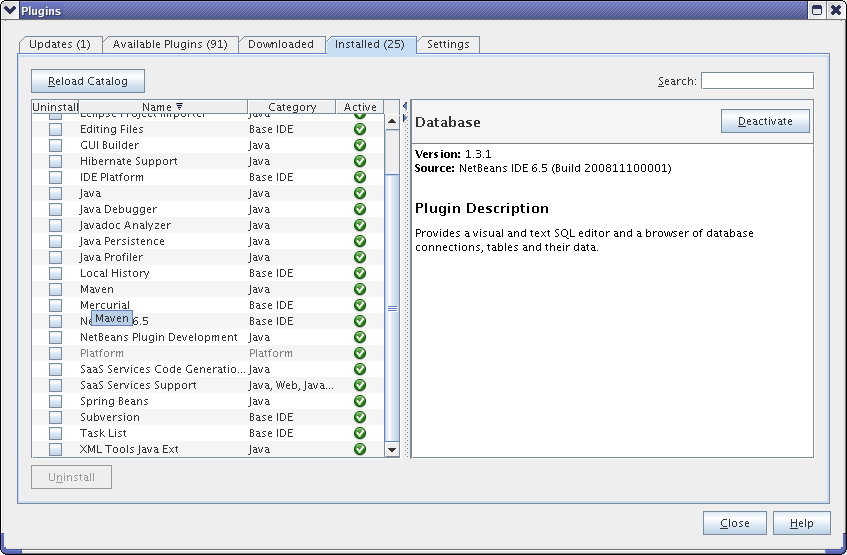
The Maven plugin should show in the Installed tab.
Project Setup
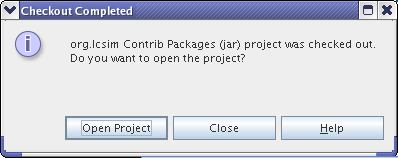
Now that Netbeans is correctly configured, we can checkout and build a Java project.
Checkout the lcsim-contrib project from the SLAC CVS. The user name "jeremy" should be replaced with your cvs account name, and the password should be replaced with your cvs password.
