Netbeans Setup
If you don't have Netbeans on your machine already, download and install it.
Next, install the Netbeans Maven plugin.
Under Tools -> Plugins -> Available Plugins, check the box next to Maven. Click Install.
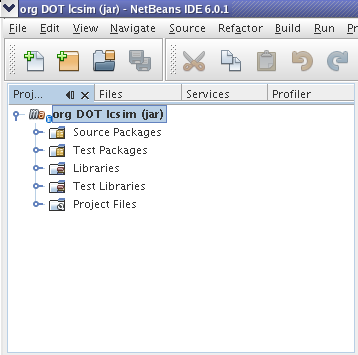
Now open LCSim by selecting Open Project and clicking on the LCSim root directory.
You should see LCSim in your Netbeans project window now.
Setup the Profiler
The profiler needs to be calibrated before it can be used. Select Profiler -> Advanced Commands -> Run Profiler Calibration.
Some information is required to connect the profiler to our application.
Select Profiler -> Attach Profiler to pull up the Attach Profiler window.
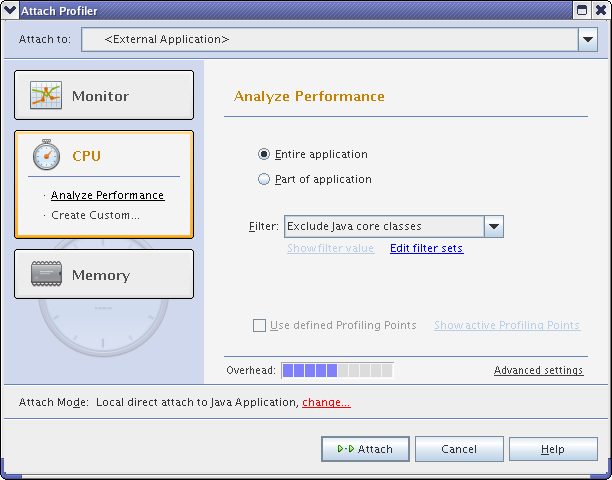
Click on the Change link at the bottom of the window to bring up the Attach Wizard.
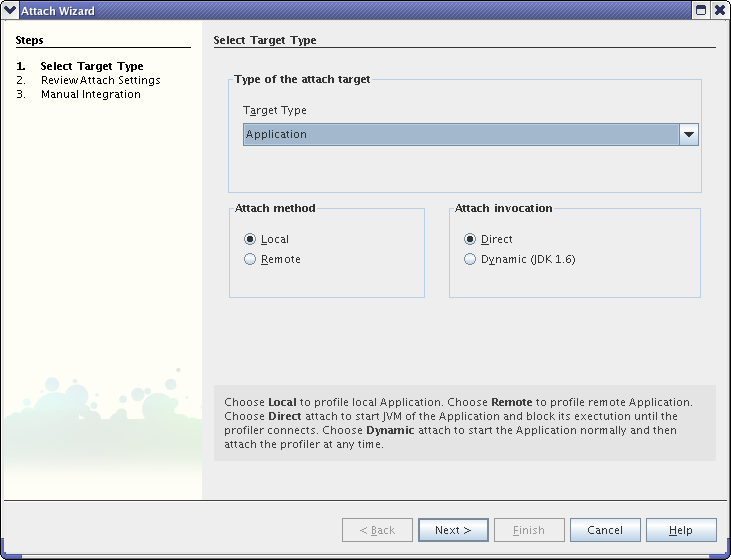
Make sure Local and Direct are selected. Click the Next button twice.
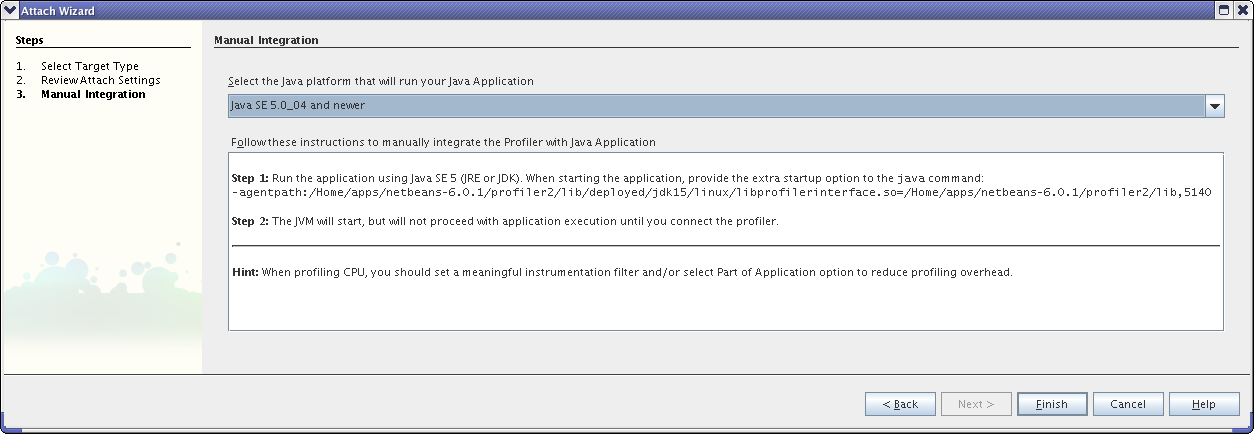
Copy and paste the entire string beginning with "-agentpath" to a local scratch file. This will be needed to connect the running code to the profiler.
Create a Main
The profiler will only run on classes that have a main routine.
I created a class called ProfilingTest in the package org.lcsim. Technically, this class could be called anything and could be located anywhere under the src directory in lcsim.
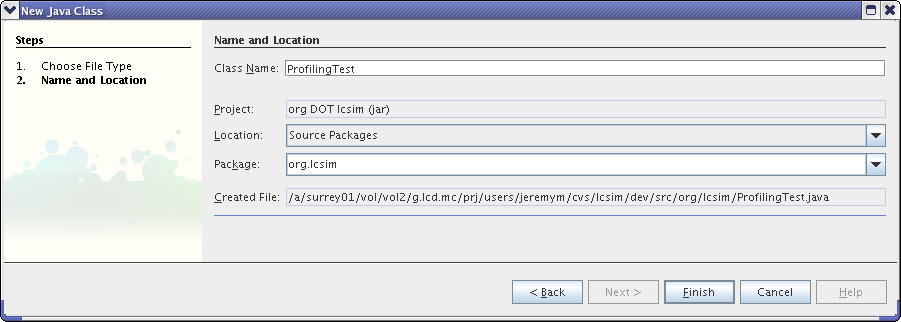
Add a main routine to this class with some test code. Here is my version of ProfilingTest.java.
package org.lcsim;

public class ProfilingTest
{
    public static void main(String args[])
    {
        System.out.println("hello profiler");
    }
}
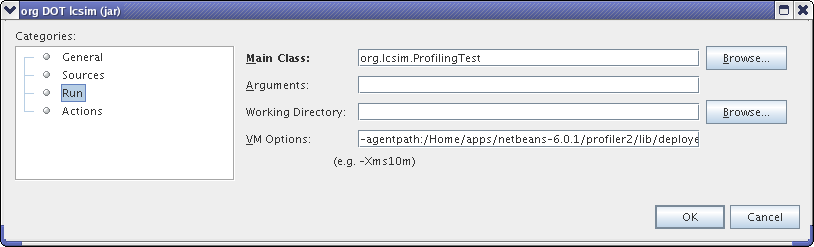
This class needs to be designated as the project's main run class. Right-click on the LCSim project, select Properties and go to the Run window. Enter the fully qualified name of your class in the Main Class field.
Put the profiler connection string into Arguments and VM Options.
Setup LCSim
Right click on LCSim and select Set as Main Project.
Right click on LCSim again and select Properties -> Run.
Paste the string you saved earlier into the VM Options field.
The Run settings should now look similar to this.
Now Netbeans will wait for a profiler connection before running your main.
Connecting to the Profiler
Run the test code by right clicking on the LCSim project and selecting Run.
If all was setup correctly, you should see something like the following in your log window.
Profiler Agent: Initializing...
Profiler Agent: Options: >/Home/apps/netbeans-6.0.1/profiler2/lib,5140<
Profiler Agent: Initialized succesfully
Profiler Agent: JNI On Load Initializing...
Profiler Agent: JNI OnLoad Initialized succesfully
Profiler Agent: Waiting for connection on port 5140 (Protocol version: 8)
This means that you can now launch the profiler using Profile -> Attach Profiler, and your main routine will be executed and profiled according to your selections.
Connecting from the Command Line
The profiler can also be used to connect to compilations run from the command line.
The following command runs the previously created ProfilingTest main from the command-line.
java -agentpath:/Home/apps/netbeans-6.0.1/profiler2/lib/deployed/jdk15/linux/libprofilerinterface.so=/Home/apps/netbeans-6.0.1/profiler2/lib,5140 \-jar ./target/executable-netbeans.dir/lcsim-1.2.jar org.lcsim.ProfilingTest
After this statement is executed, you should see the same log message indicating that the program is waiting for a connection.
Now execute Profile -> Attach Profiler and the command line program will be profiled.