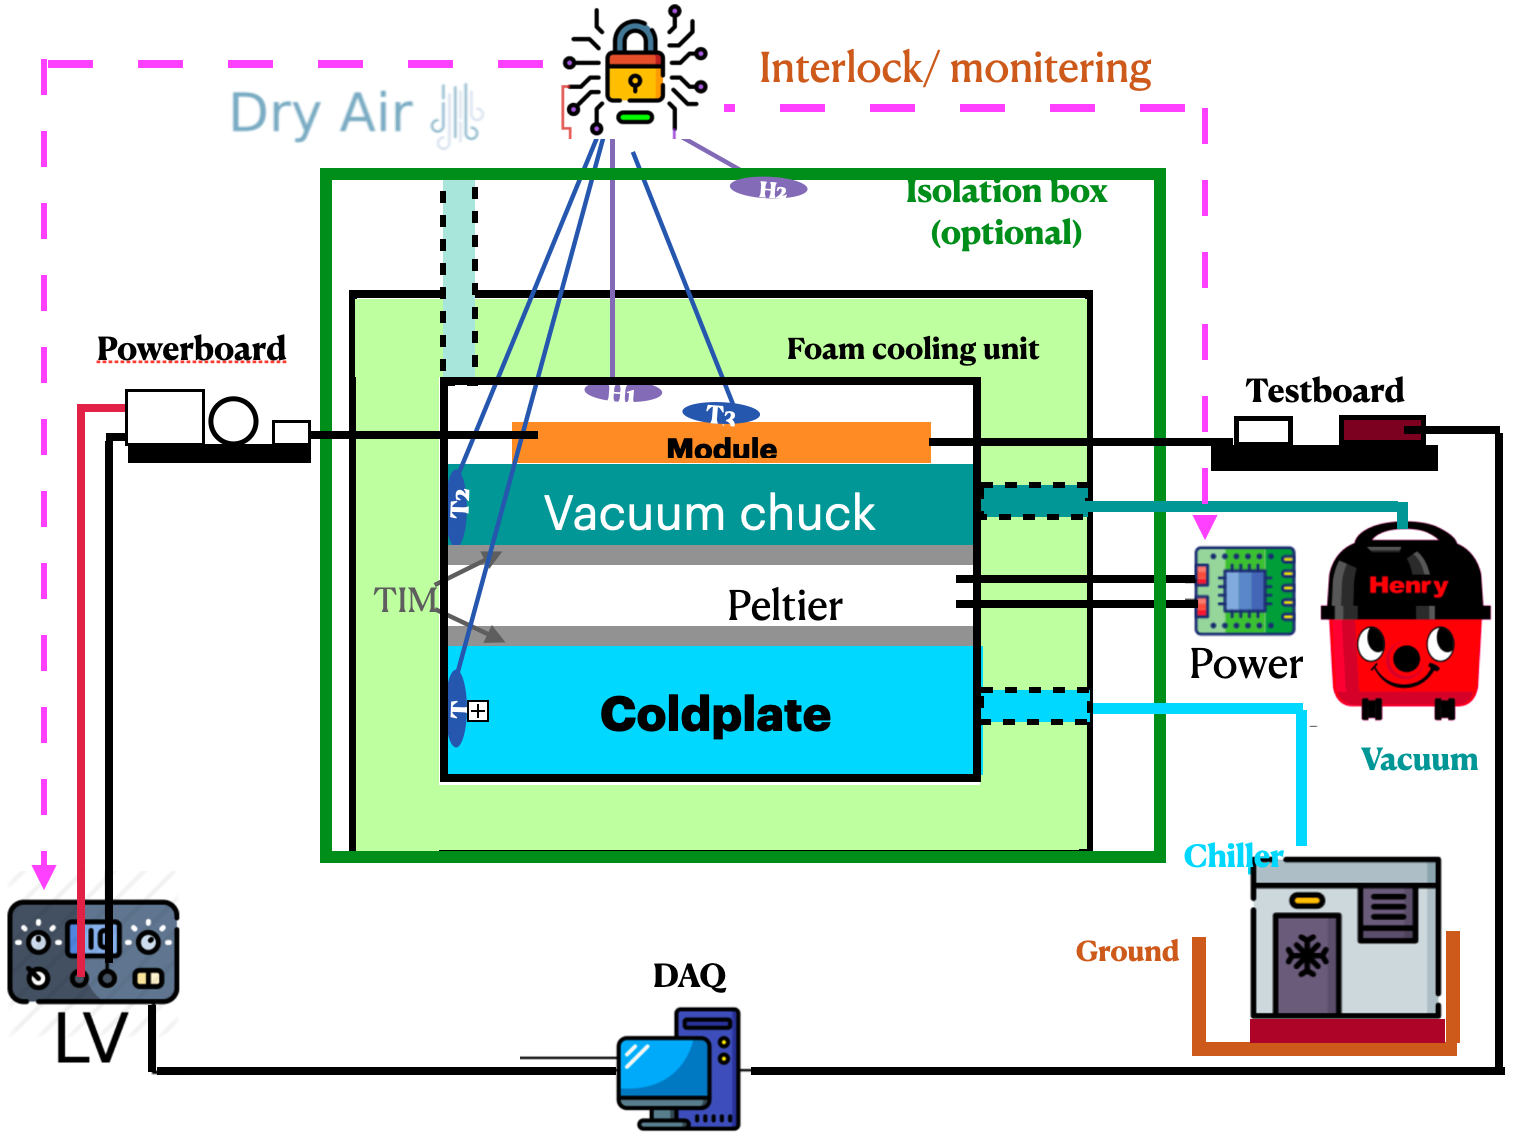
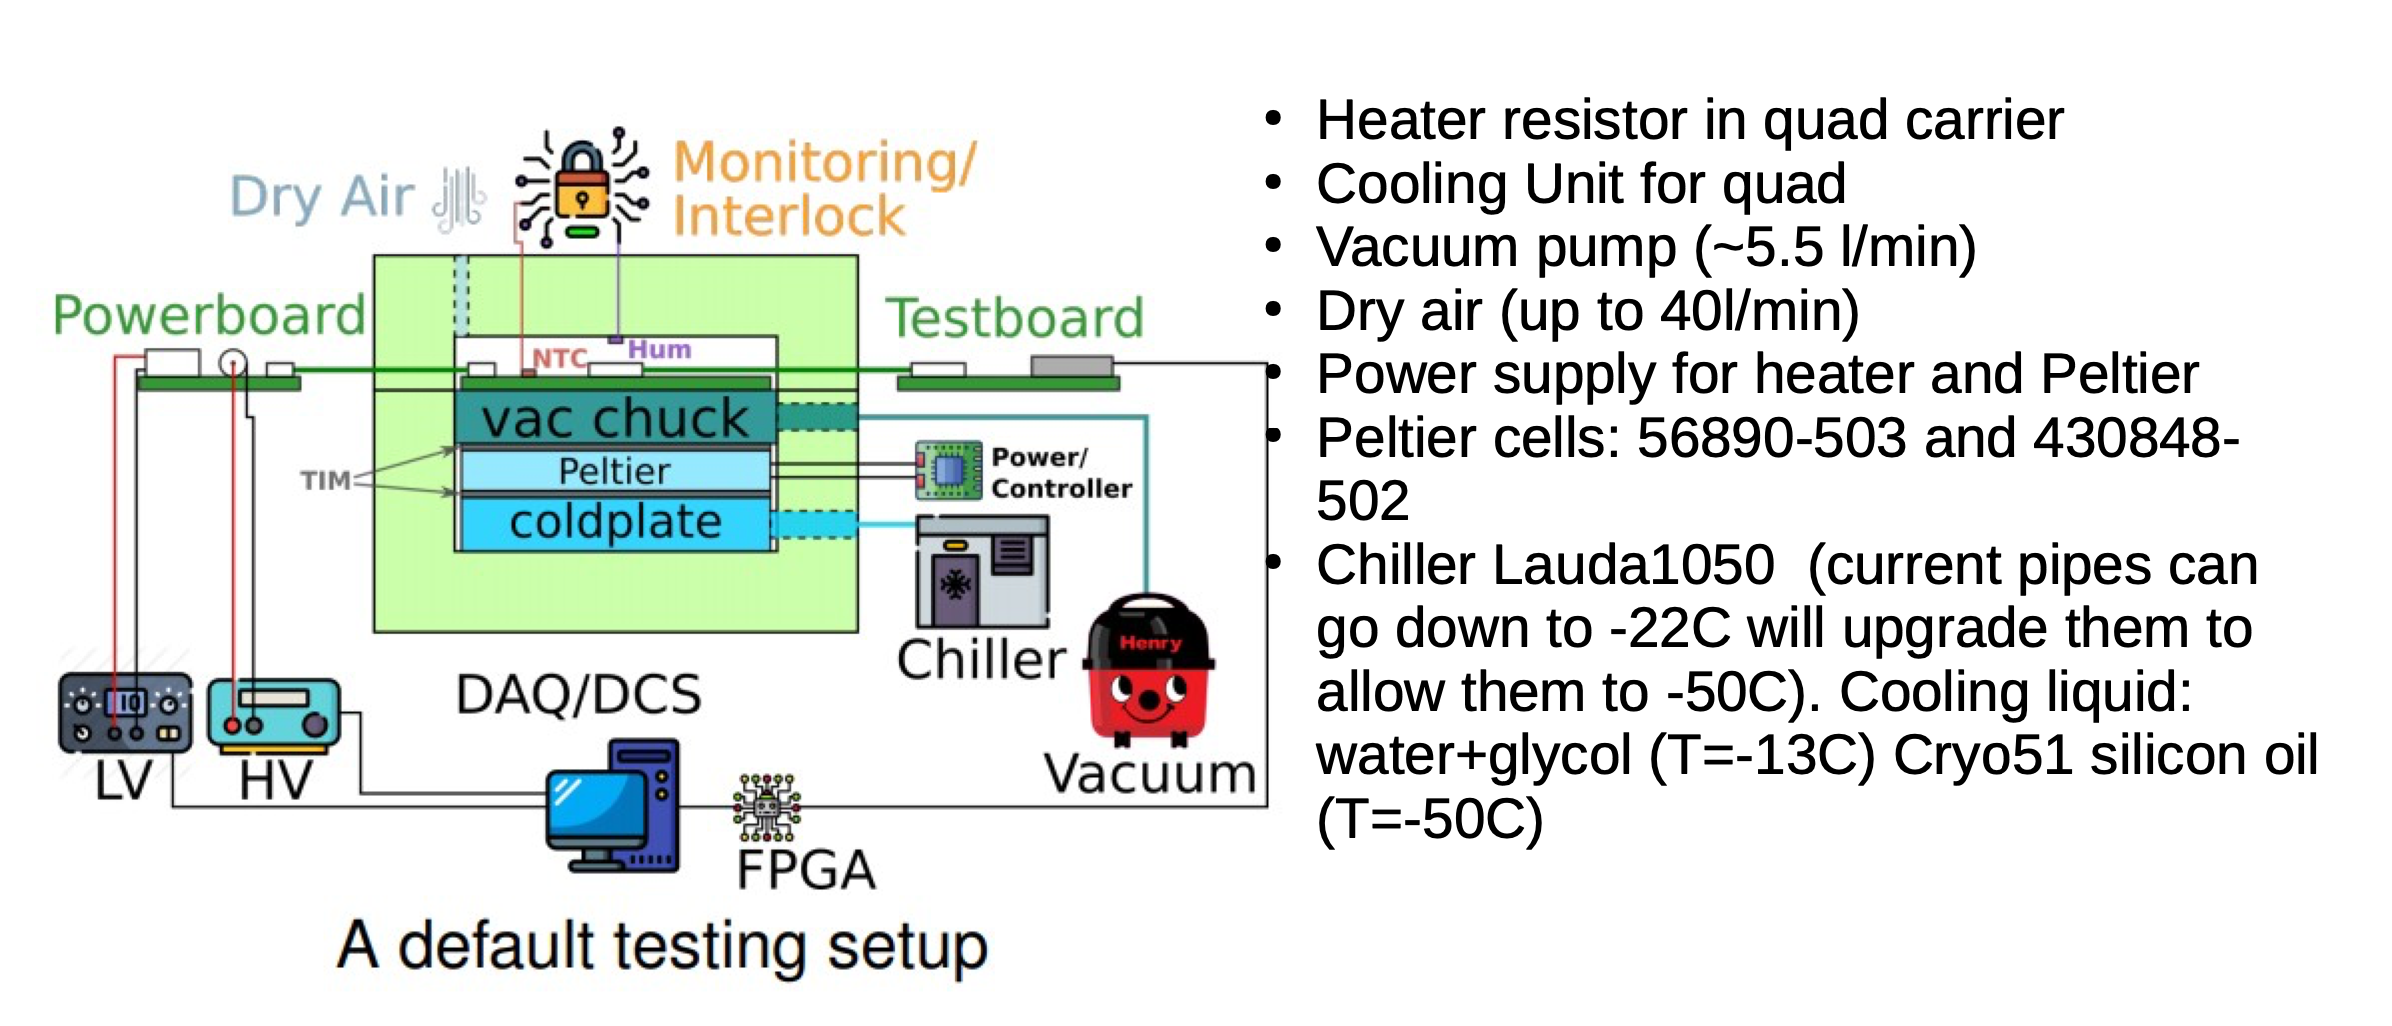
Module QC cooling test setup:
Module:
- Stage 1: test with dummy module ( now we have 6 quards and 1 singlet)
- Stage 2: test with module
Power Supply:
- Power for the peltier: bk precision power supply 9130
Cooling unit:
- Peltier: 4 sets to be tested:
- 2 layer peltier (recommend): Laird 108161050003 (53W) and Laird 387004685 (125W)
- 1 Layer peltier: Sheetak SKCM-240-11-T100-NS-TF00-ALO (75W)
- 1 Layer peltier: HP-199-1.4-0.8 (120W)
- 1 Layer peltier: HP-199-1.4-1.15 (175W)
- Chiller: ThermoCube
- Coolant: 2*700 ml link
- Dry Air
- Vacuum pump
- TIM sheet: Panasonic EYG-S0909LZX2
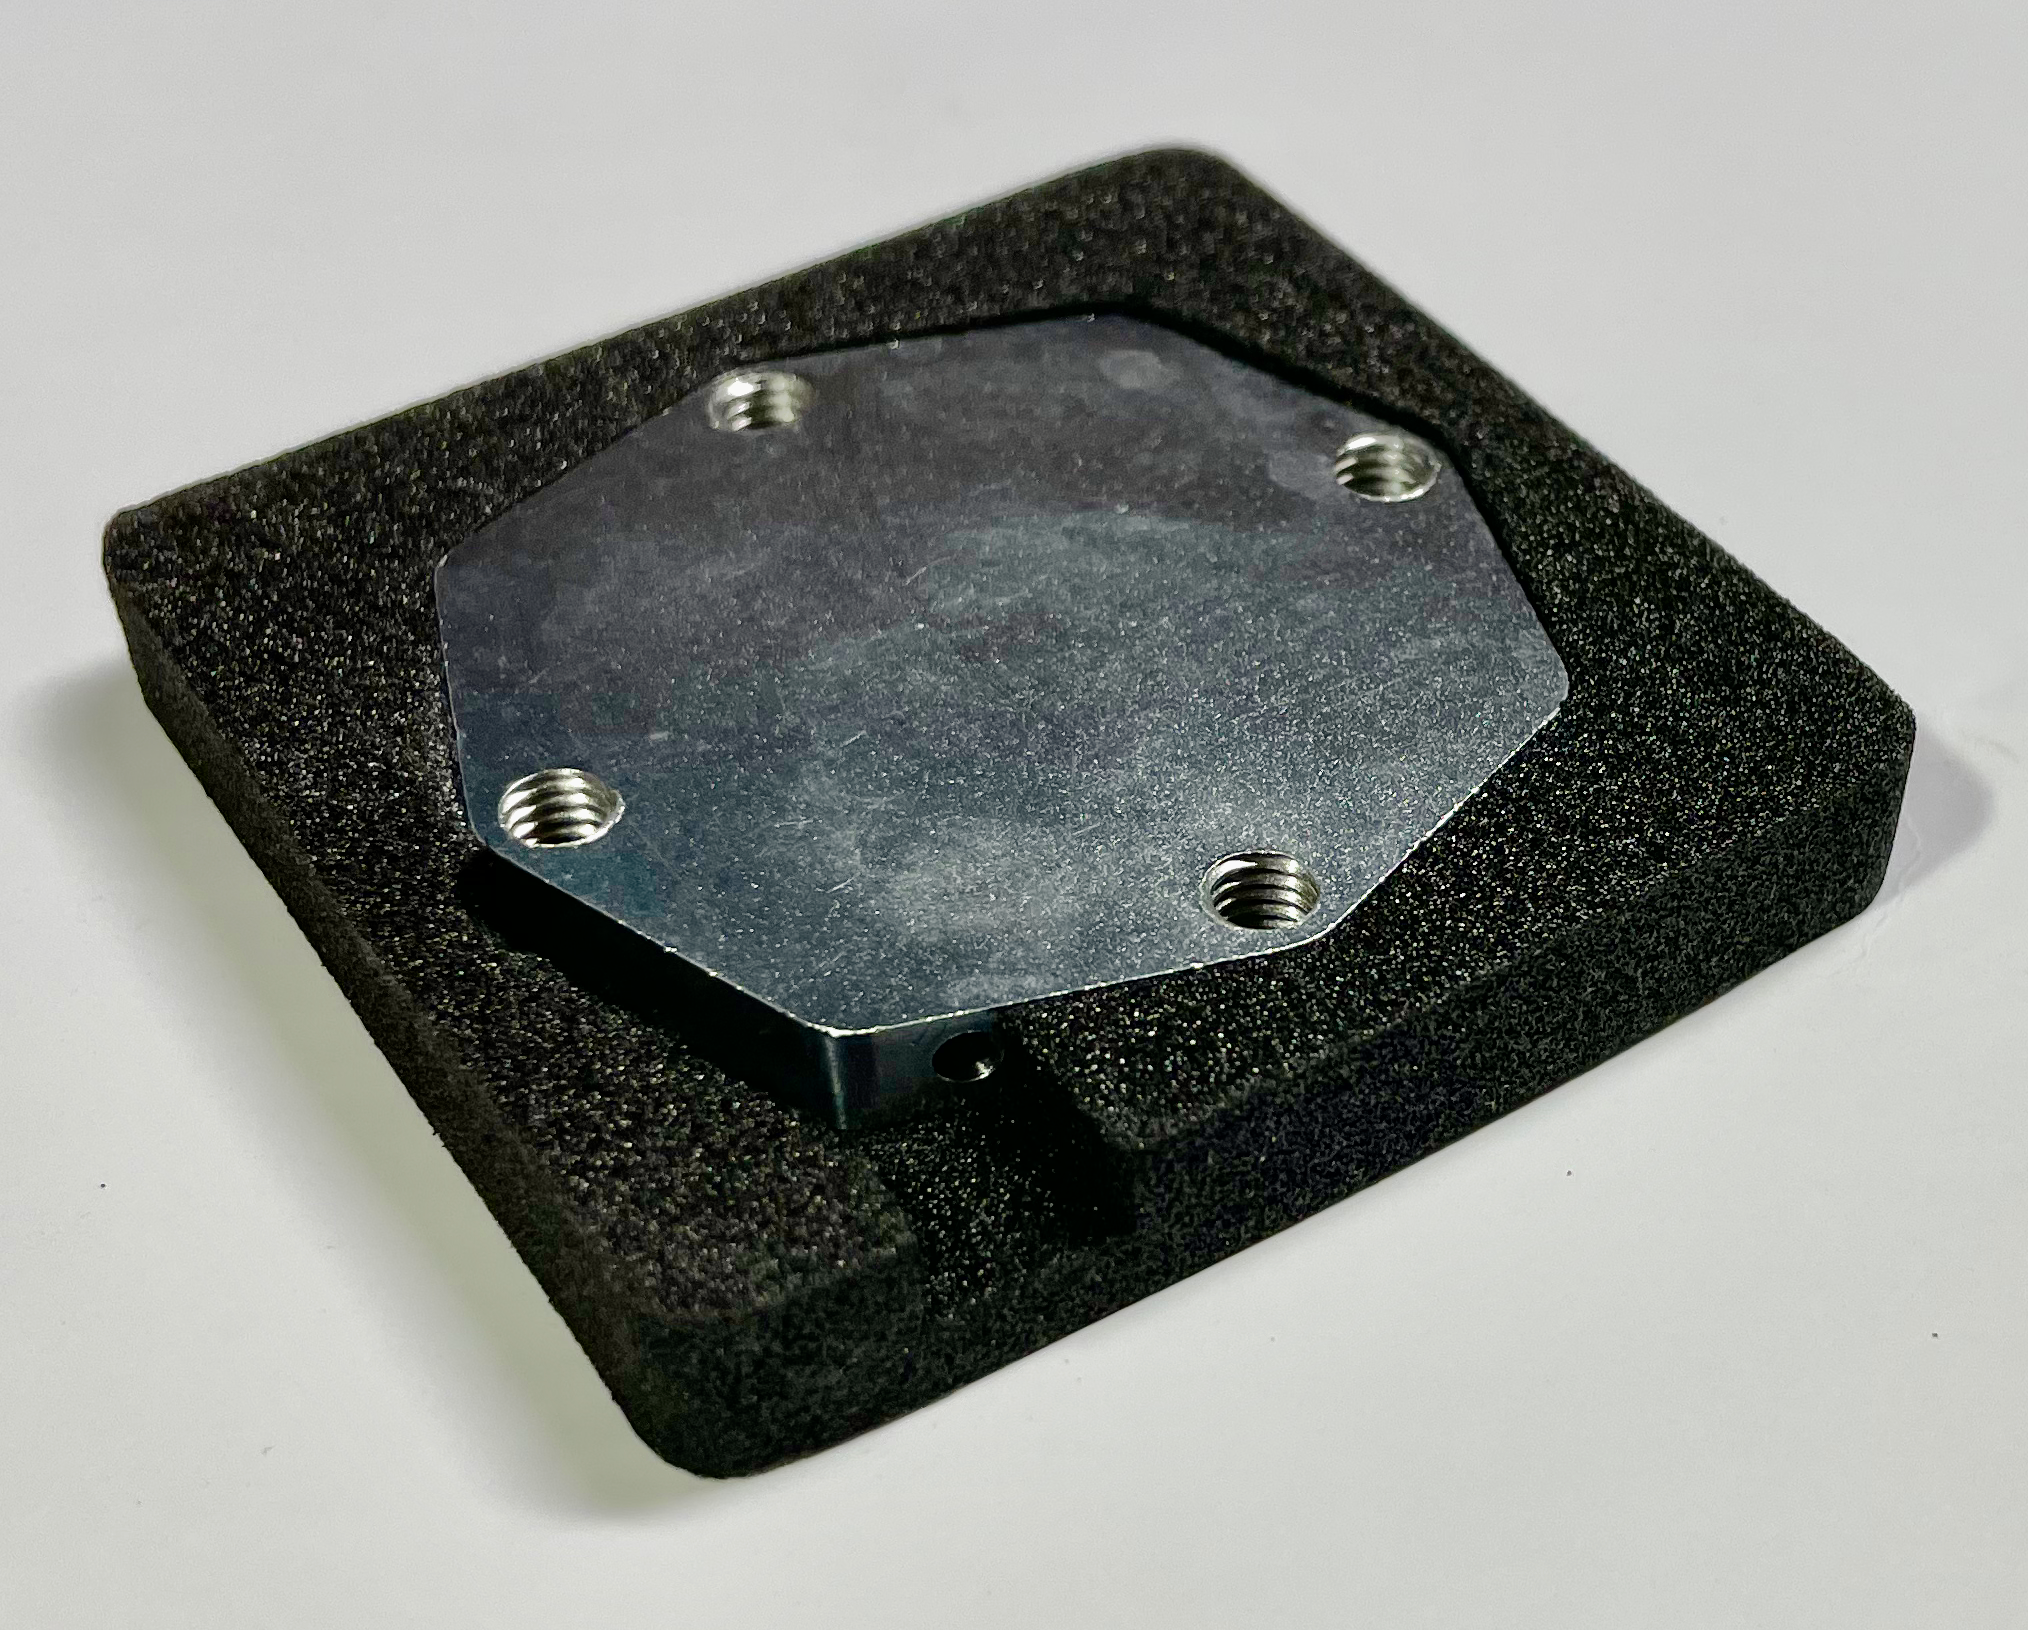
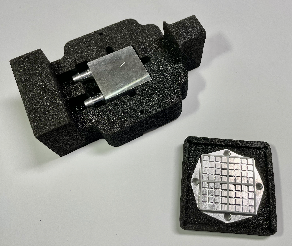
- Cooling unit foam
Monitoring unit
- Raspberry pie and RTD board
Database: link
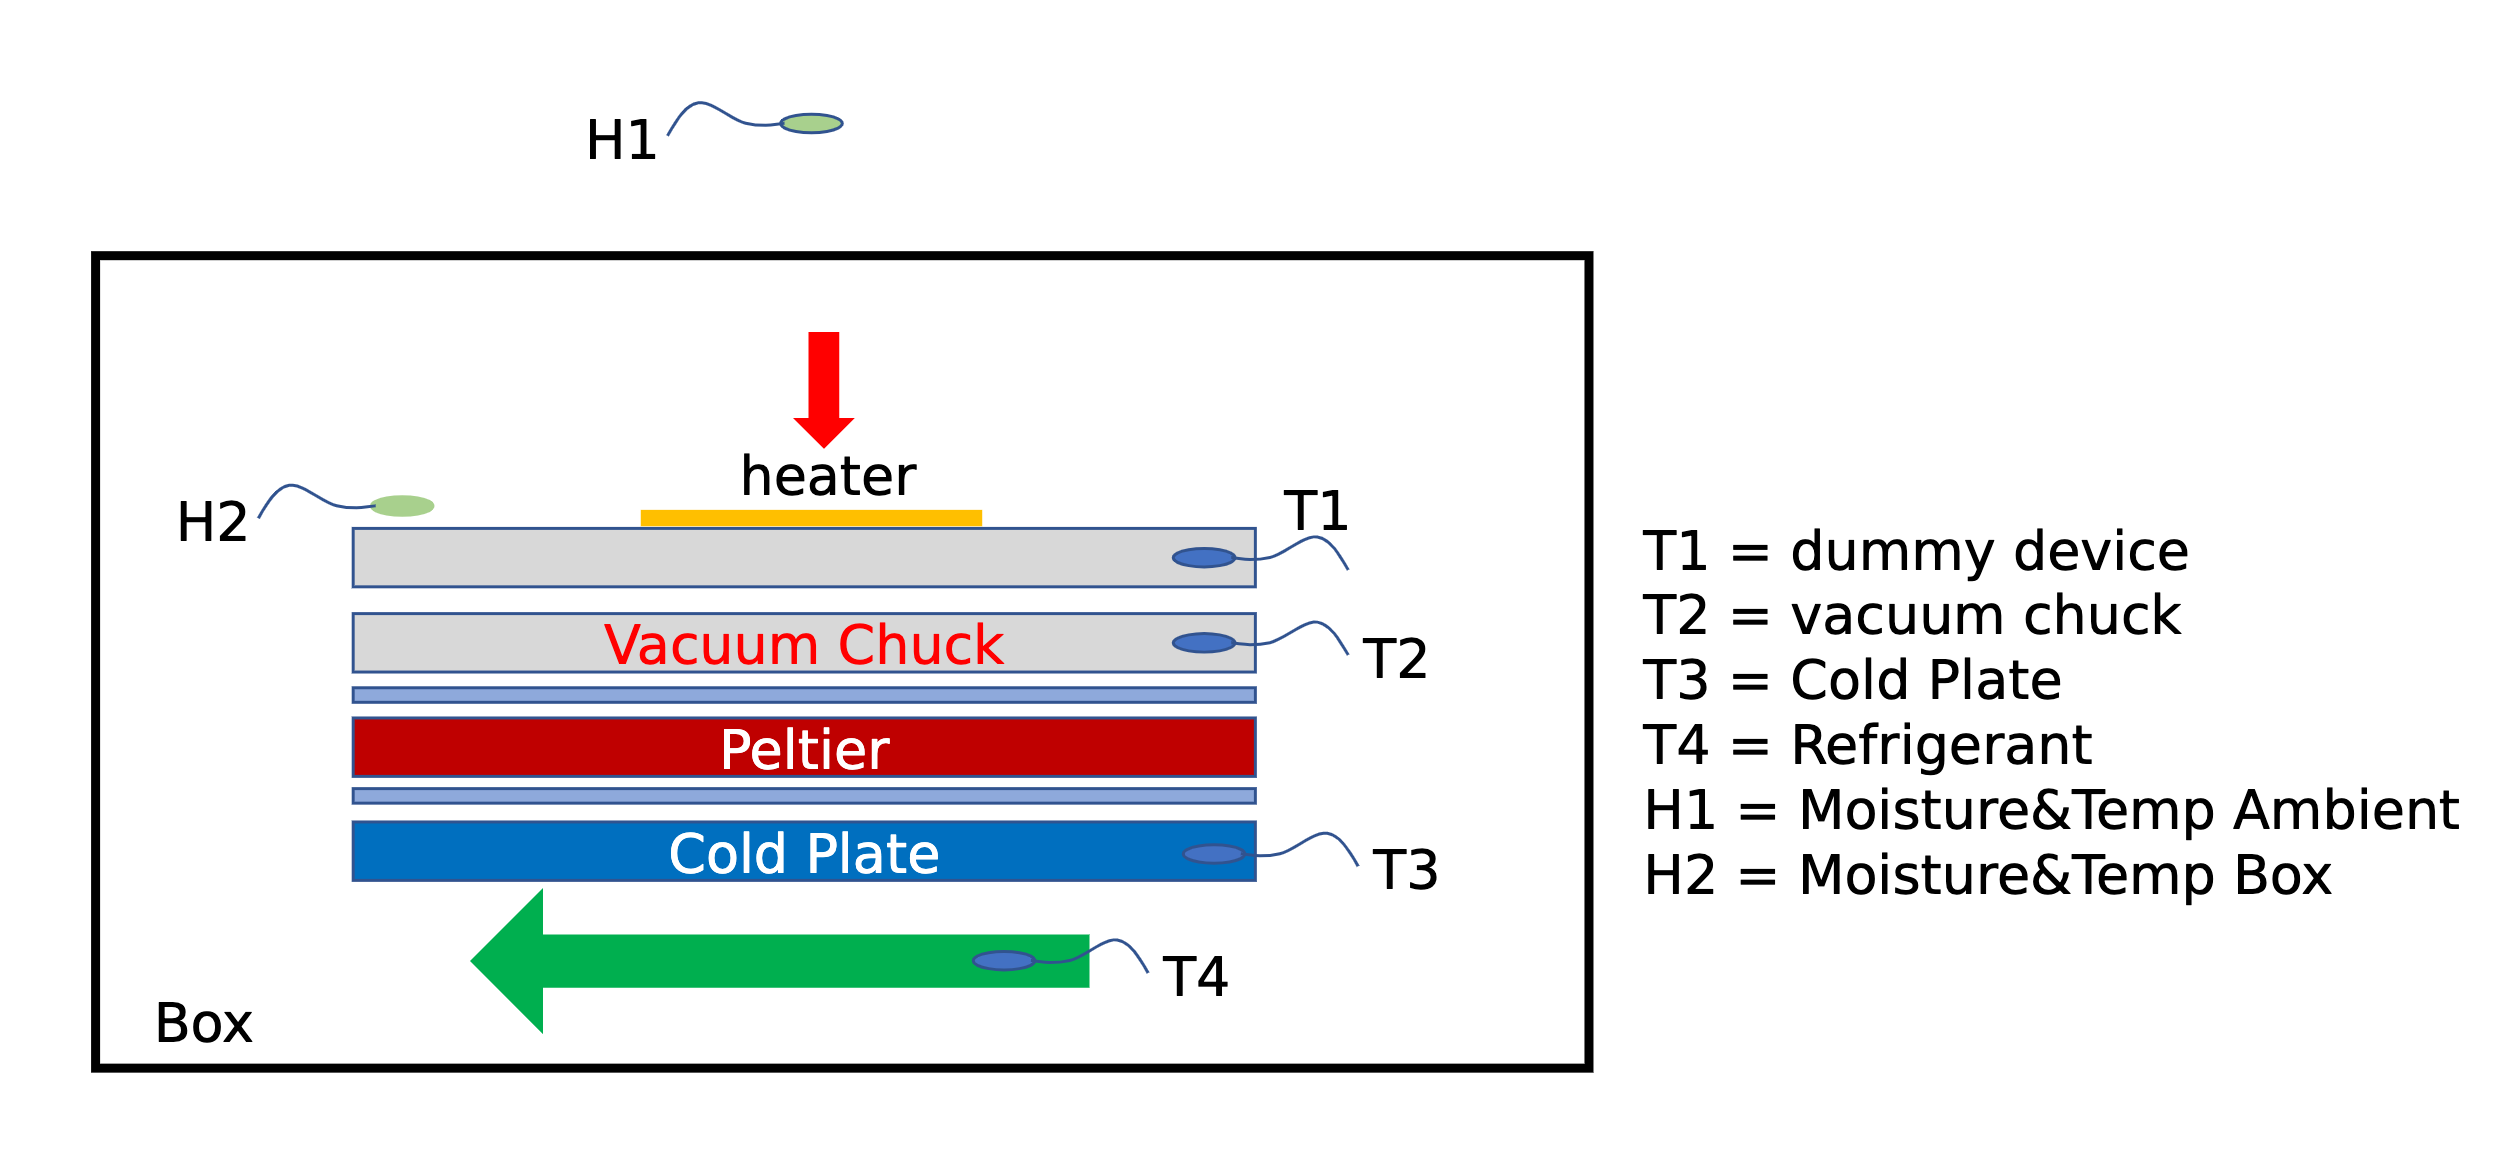
- Sensor:
- Temperature sensor: pT100
- T3: module (on the dummy module)
- T2: Vacuum chuck
- T1: Coldplate
- Humidity sensor:SHT85
- H1: Inside foam box
- H2: Inside isolation box
Setup from other group
The ITk pixel module cooling Twiki page is the main source for the common information. This page captures the local module cooling setup information at the SLAC Integration site. A talk by Magne Lauritzen (Jul/7/2020) has some updated status and additional pictures.
Equipment recommendation:
cooling:
- TIM: Panasonic EYG-S0909ZLX2 thermal resistance: 12.5 mK/W
- peltier:
- TEC 1 : Laird 108161050003 TEC 2 : Laird 387004685
- parallel connecting
PSU current / voltage requirement : 11 A / 8 V
- Coolant : 70% water, 30% ethylene glycol
- Coolant Temperature : -10C
- Dry air : 1.5L/min
chiller requirements: capacity > 385 W
System Test Description from Bologna : [can check this details: for Peltier and chiller need to check]
Similar settings are shown here presented by Argonne: link slide6 link2
Equipment setup:
power supply:
current / voltage: 0-10A / 0-32V
Wiener Mpod (2channel, HV/LV)
Rohde and Schwarz HMP4040
Monitoring:
Temperature: NTC
Humidity (inside cooling unit): SHT85, (+/- %RH and +/- 0.1 C)
Humidity (inside cold box): Thorlabs TSP01 (+/- accuracy)
Arduino Mega 2560
Cooling:
Cooling unit: qual cooling unit v5
Chiller: Julabo HL CF41
Coolant: 100% silicone oil
Dry, room temperature nitrogen
Room temperature vacuum
TIM sheet: Panasonic EYG-S0909LZX2
TEC combination:
TEC 1: Larid 1081611050003
TEC 2: Larid 387004685
Components :
version 1: List of components:
https://docs.google.com/spreadsheets/d/1dNT5ja_pFS2P6HJojZd5K-uXMyx7_lAjD4M-GH4URZ4/edit?usp=sharing
Apr 22 2021 List of component:
https://docs.google.com/spreadsheets/d/1BgjfFbXAt-ffoCWYGcLghxHP21pGV1TTFr1I7jS42yg/edit#gid=0
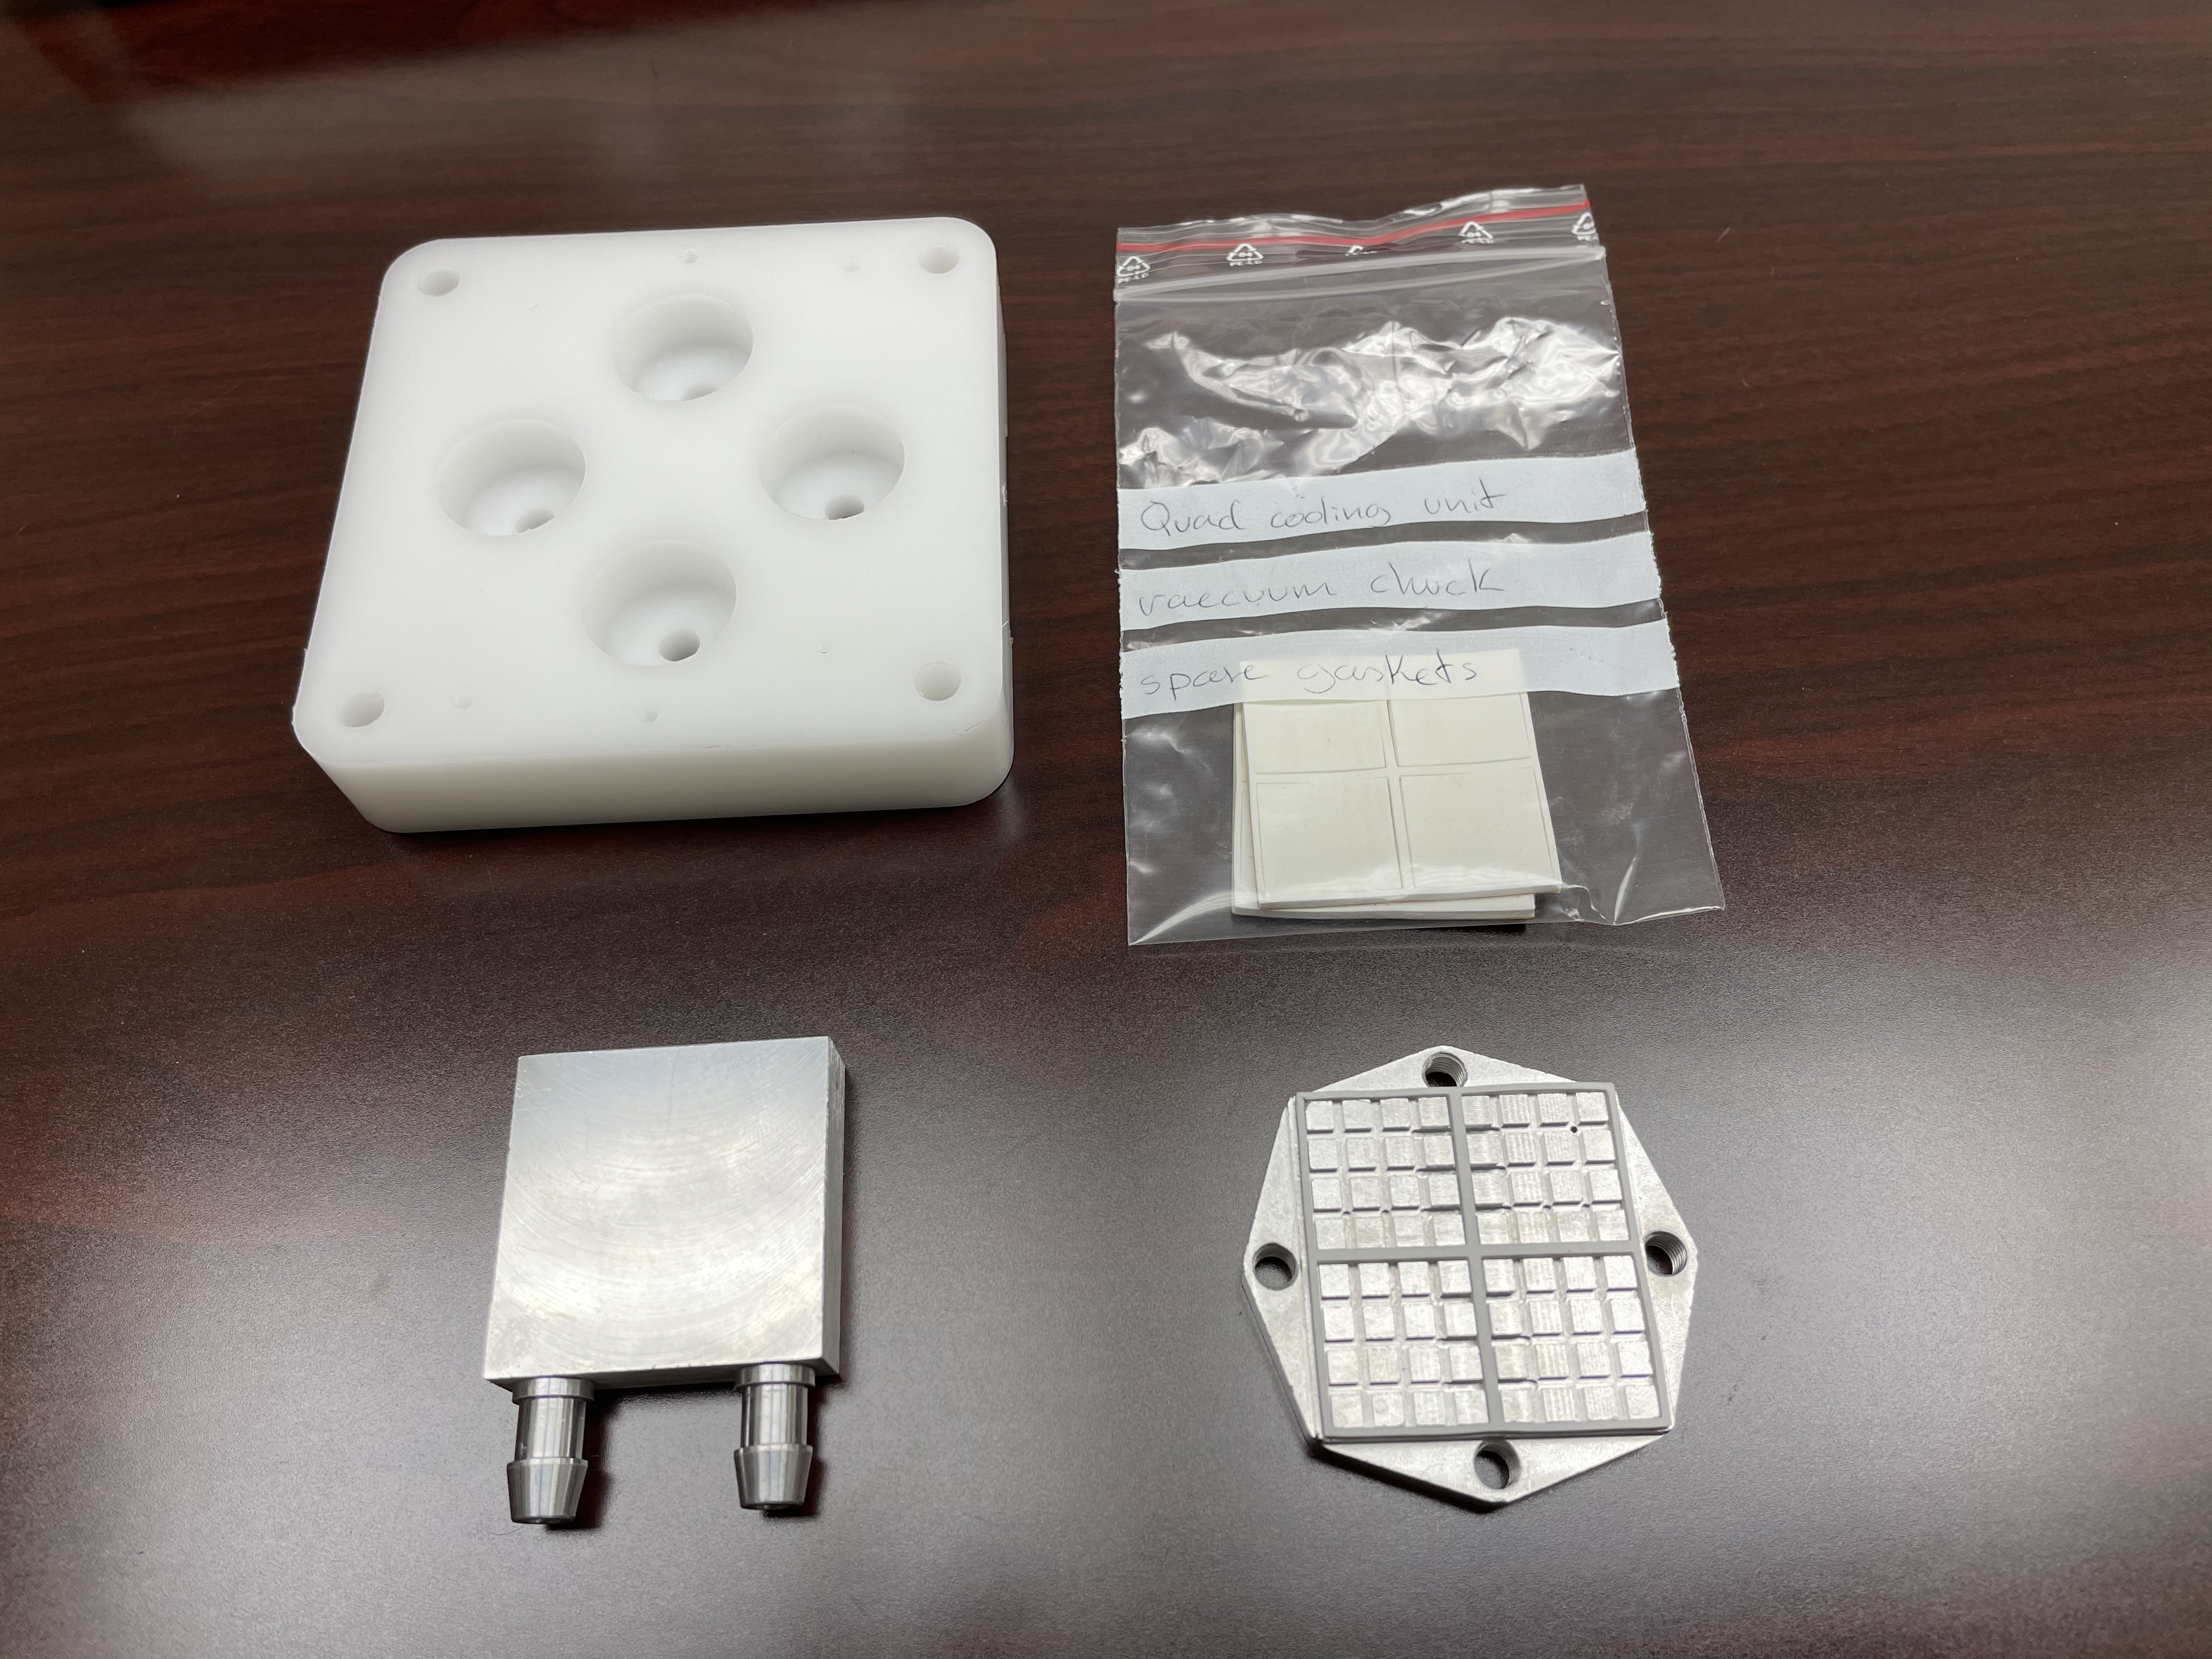
Quad Cooling Unit Component Collection Status
Shipment from Bergen (received)
|
|---|
Shipment from CERN
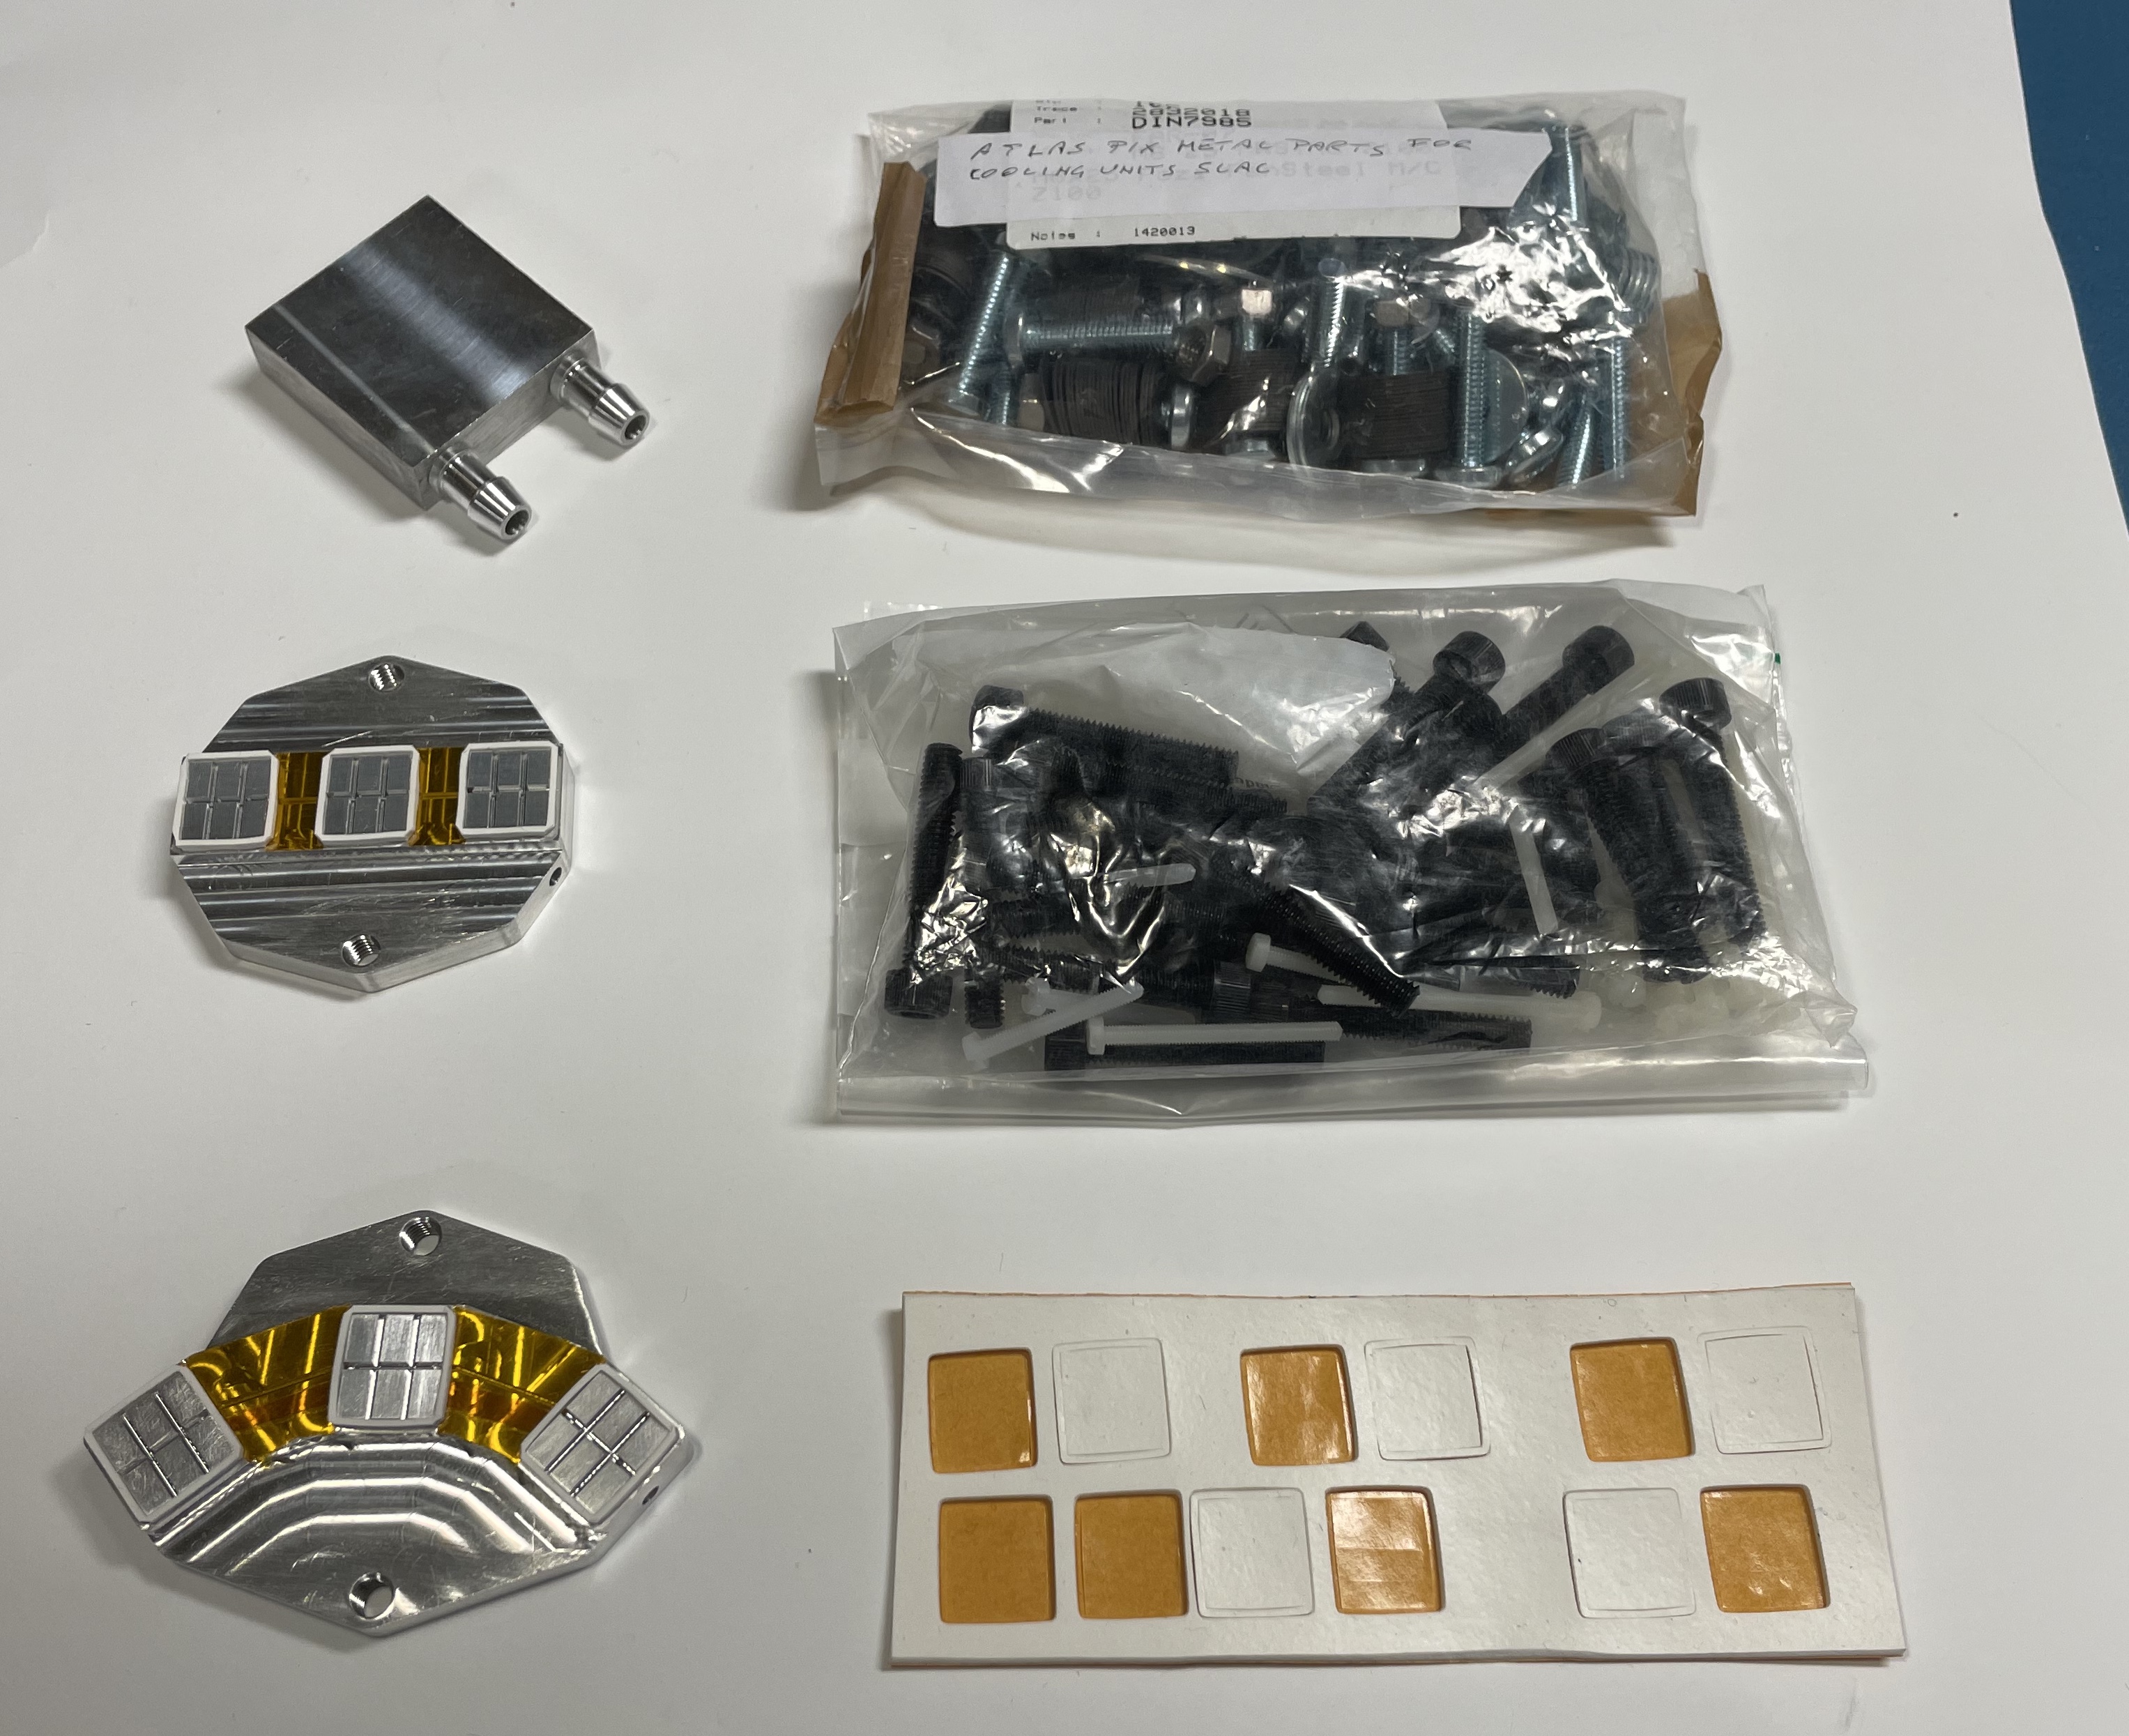
The following items are listed by names and counts from each box of the entire package from CERN. For example, there are 6 POM base plates in total, but they came as sets of there in two separate boxes. Pictures will come soon.
- Data cables for triplets RD53a ITk Pixel (x3)
- POM base plates (x3)
- POM base plates (x3) + coldplates for triplets "linear type" (x3) + vacuum chucks (x3)
- Triplet adapter cards RD53a ITk Pixel (x6)
- Plastic screws: RENY; NYLON M3x35, M3x25, M3x40, washers (check count for all the items) + coldplates for triplets "ring type" (x3)
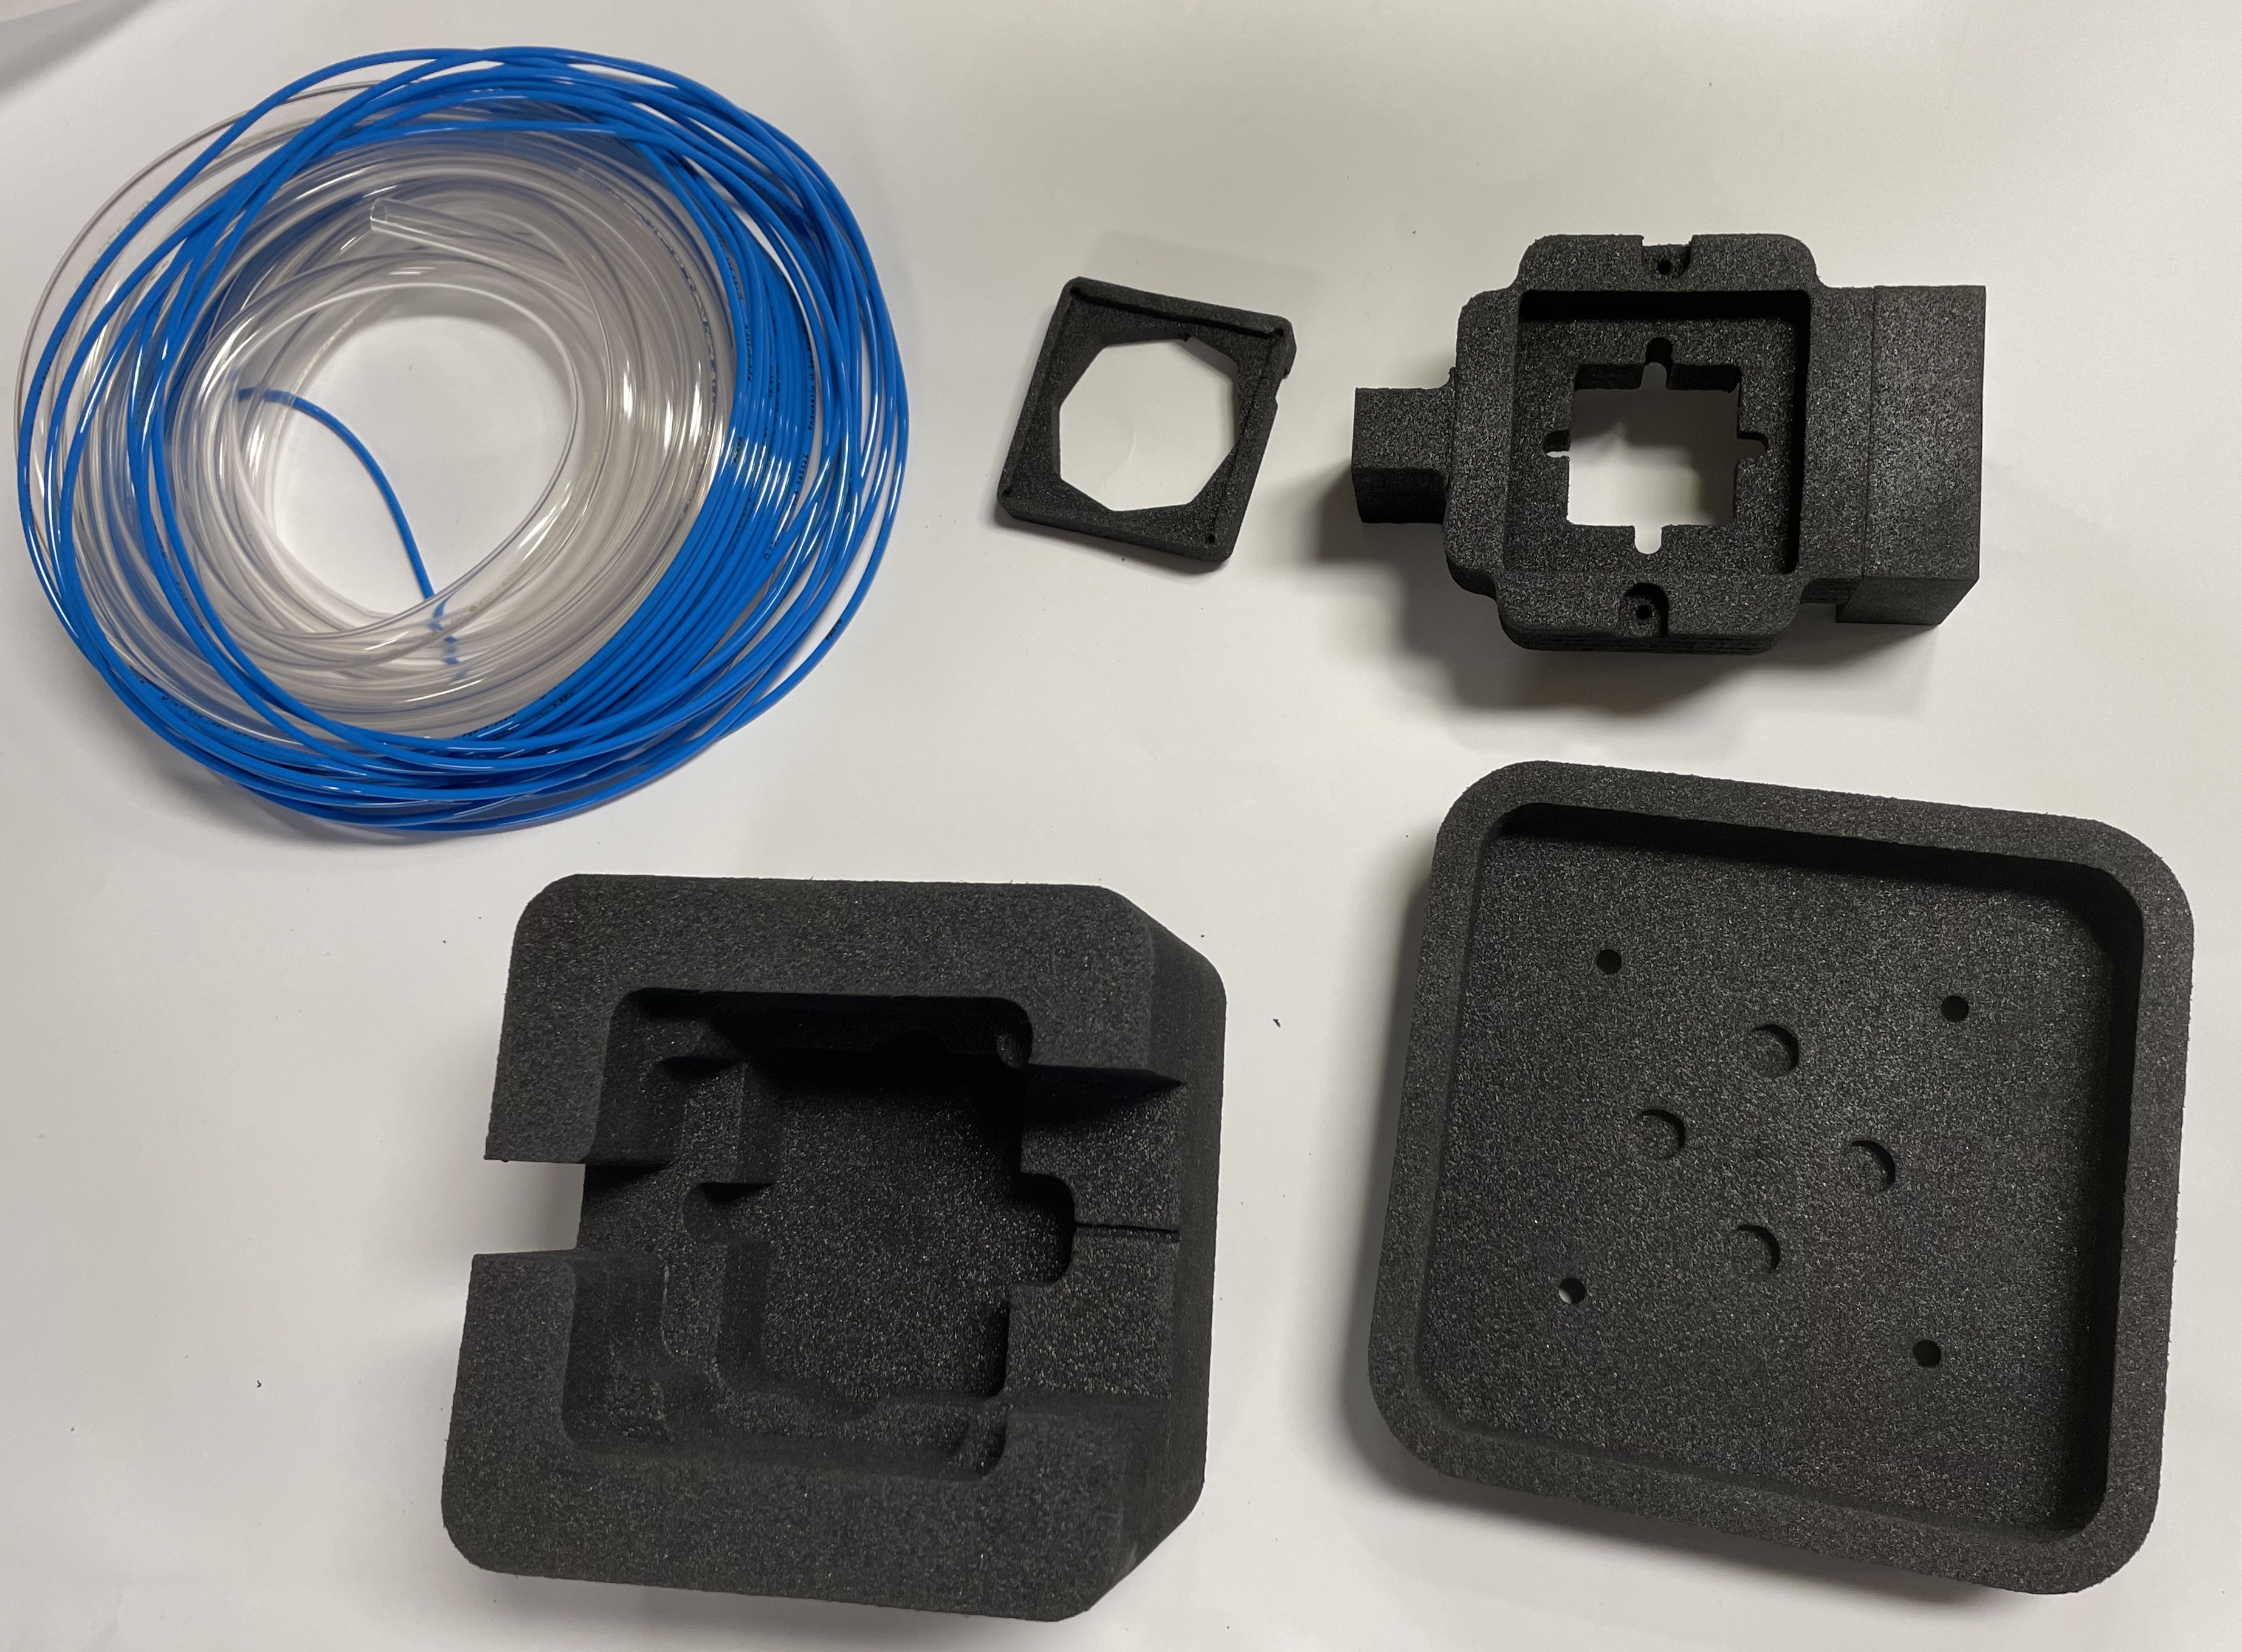
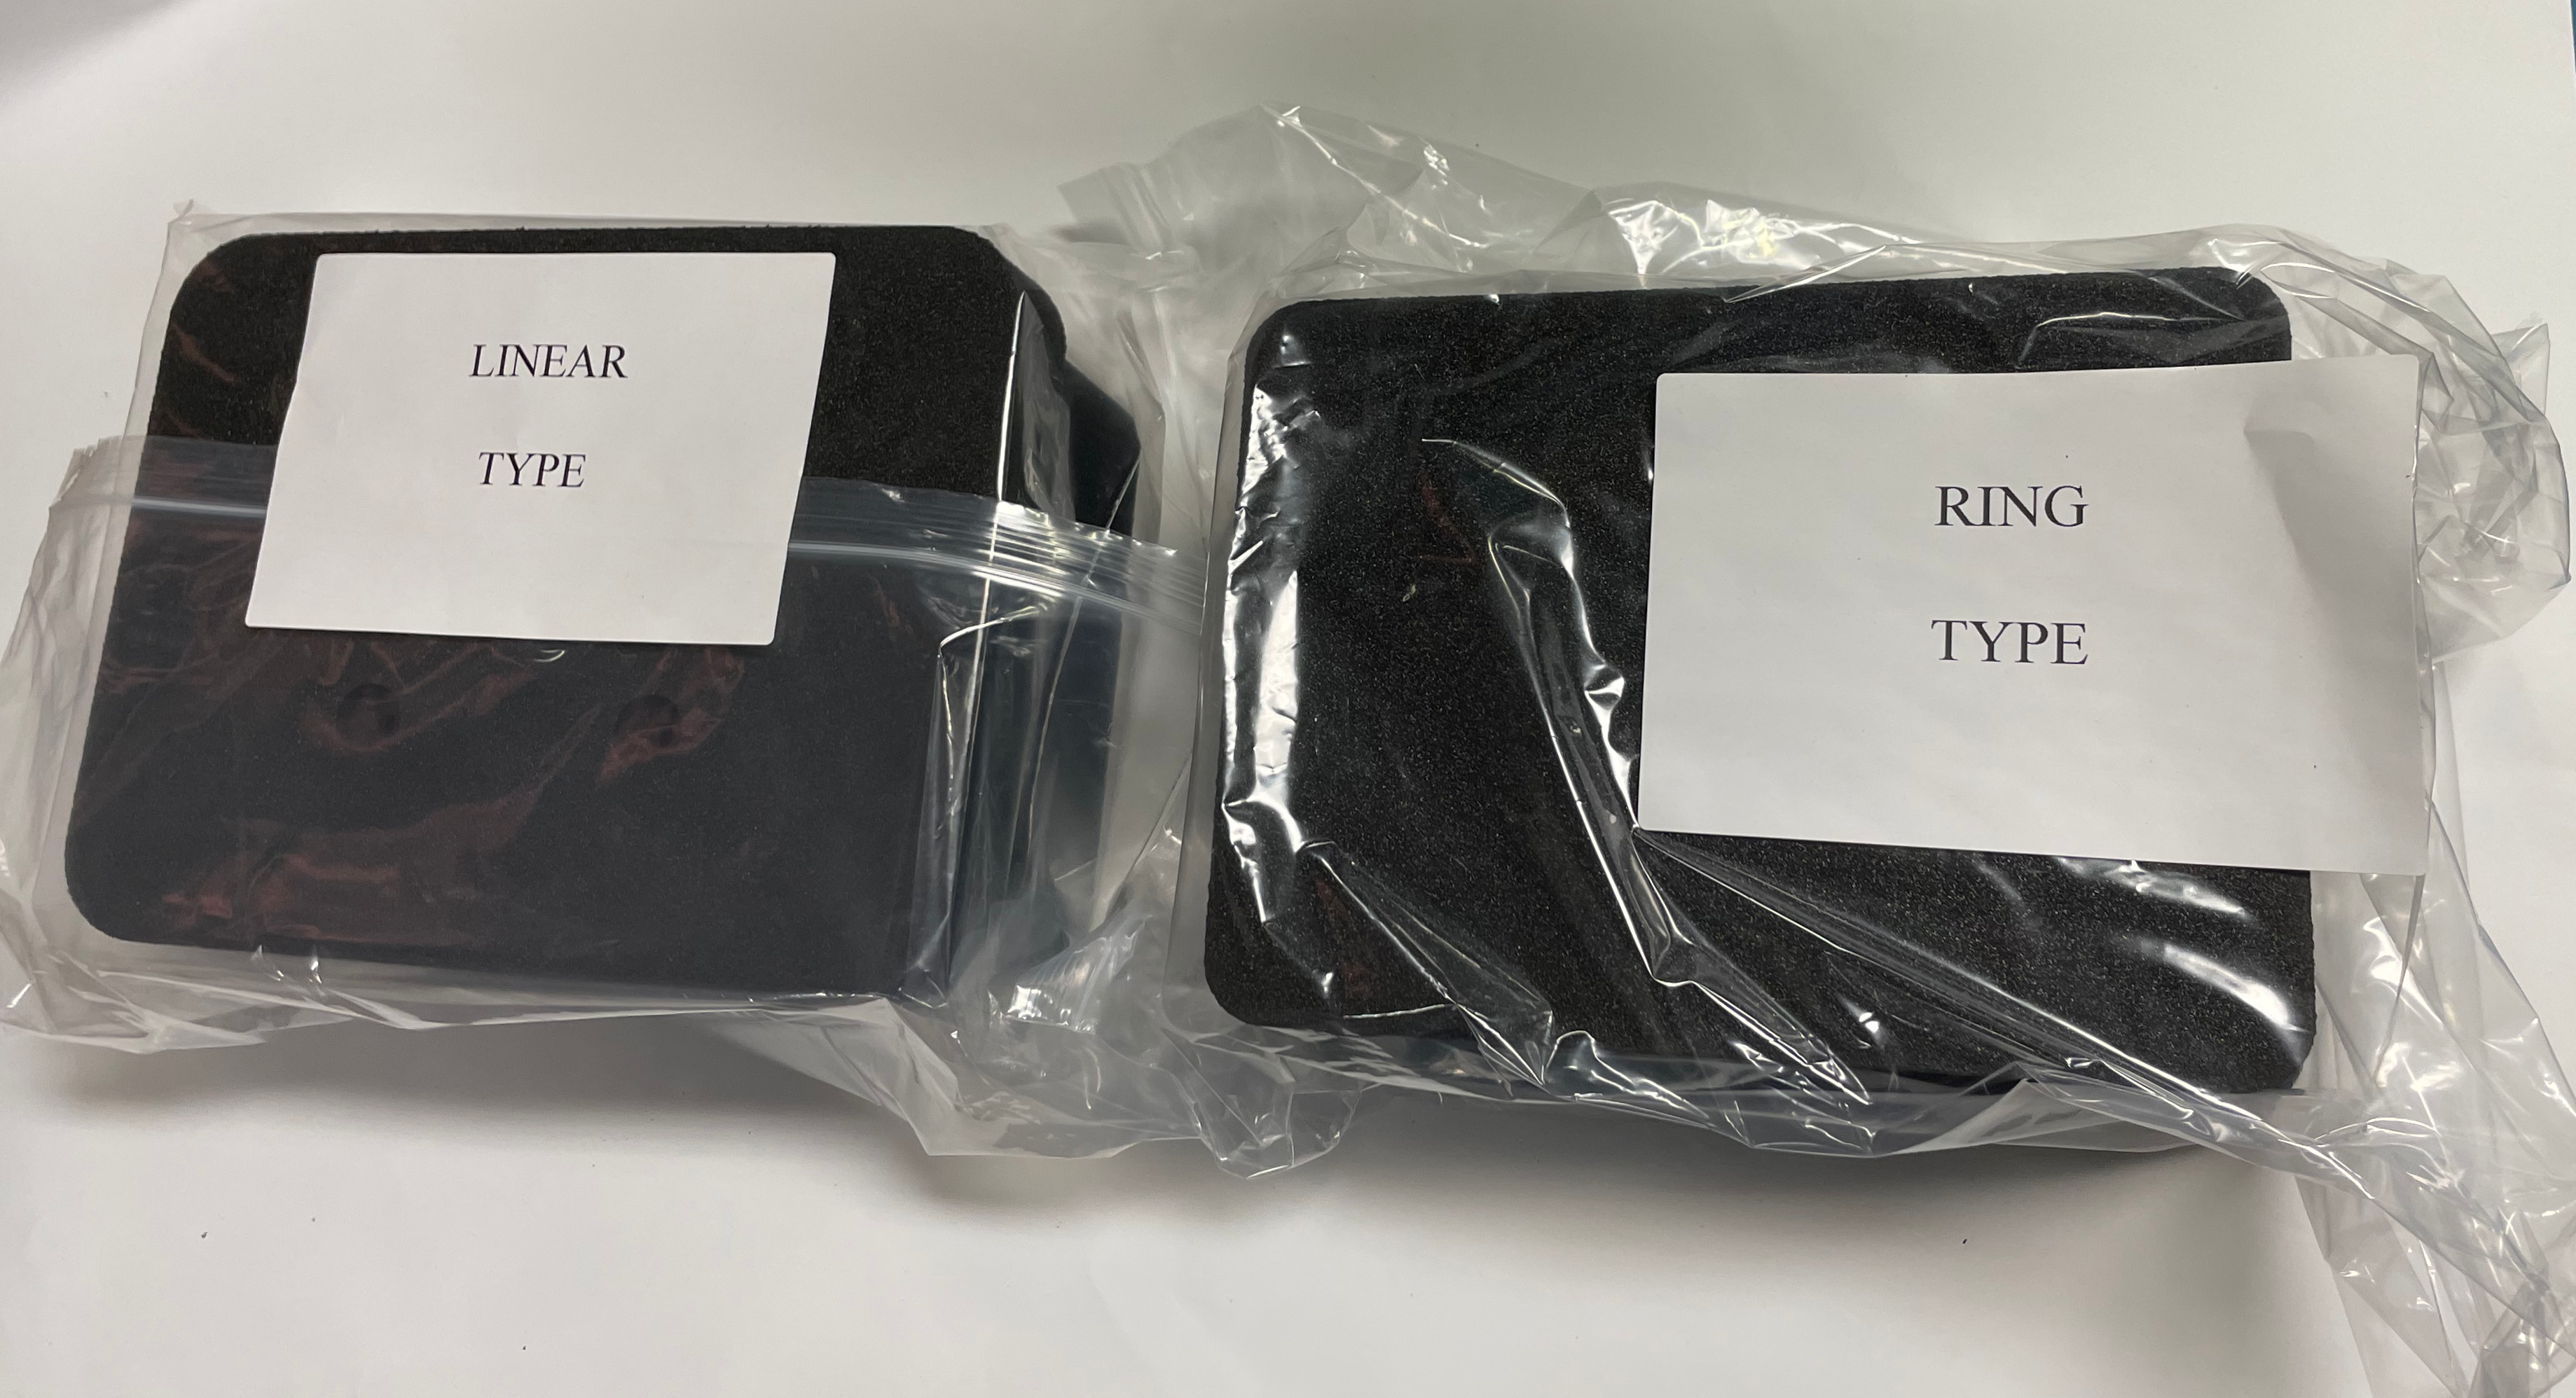
- Foam insulation sets: Linear type (x3), Ring type (x3), presumably Quad V0.4 (exact type is not labeled, actual purpose to be checked) (x2)
- 25m coolant tubes
- 5m dry air / vacuum tubes
They're being shipped from CERN 12/11 https://edh.cern.ch/Document/8559982 together with the Triplet Cooling unit.
Some notes from Saverio:
-- M6 bolt are 10/32 - we need to find more here.
-- The coolant tube is slightly shorter
-- There are spares for all the screw types and the vacuum chucks rubber pads have been already cut
Items to be acquired by INT site
- Peltier devices (see the summary of this presentation for recommendations and page 13 for the list of alternatives):
- Option 1 (tested in Bergen, 2-stage TEC): Module 1 and Module 2 (one of each per cooling unit).
- Option 2 (a single Peltier device, not yet tested): SKCM-240-11-T100-NS-TF00-ALO (Qmax 73 W) [* Q=73W is for hot side at 27 C]
- Option 3 (a single Peltier device, not yet tested): Kryotherm TB-2-(199-199)-0.8 (Qmax 95 W)
- Panasonic EYGS0909ZLX2 TIM sheets (2 sheets 4x4cm2 per cooling unit)
- Temperature sensors (NTC or PT100s, see assembly manual)
Assembly Manuals
Triplet cooling unit assembly procedure (CERN box)
Quad cooling unit assembly procedure (CERN box)
Operation Instructions
E-mail from Magne Lautitzen to atlas-itk-pixel-modules-TestSystem (Oct/26/2020):
To operate the cooling unit, you will need the following infrastructure:
- Vacuum source
- Dry air or nitrogen source
- Circulating chiller
- Peltier power supply and/or controller
The amount of dry air or nitrogen needed to maintain a dry atmosphere in the cooling unit will depend on the humidity in your lab and the lowest temperature you want to reach on the module. A ballpark figure is 1.5L/min at -25C.
The circulating chiller must have a cooling capacity that depends on how cold you need to take the modules. See page 13 on this presentation for recommendations for reaching -55C.
For stable temperature control of the modules, you will need a peltier controller. I have been successfully using the Meerstetter 1089.
To avoid condensation on the peltier devices, you must maintain a dry atmosphere in the cooling unit whenever there is coolant flowing through the coldplate. If condensation forms on the peltier devices, it will degrade the performance of the cooling unit because ice and water is an excellent conductor of heat. Getting rid of this condensation requires a long term “bakeout” of the coldstack and is best avoided.
Monitoring unit and Sensor
- Monitoring setting
- 2 moisture sensor (SHT85) [sensor interface using I2C]
- 4 RTD
Temperature sensor
Temperature sensor: pT100
Humidity Sensor
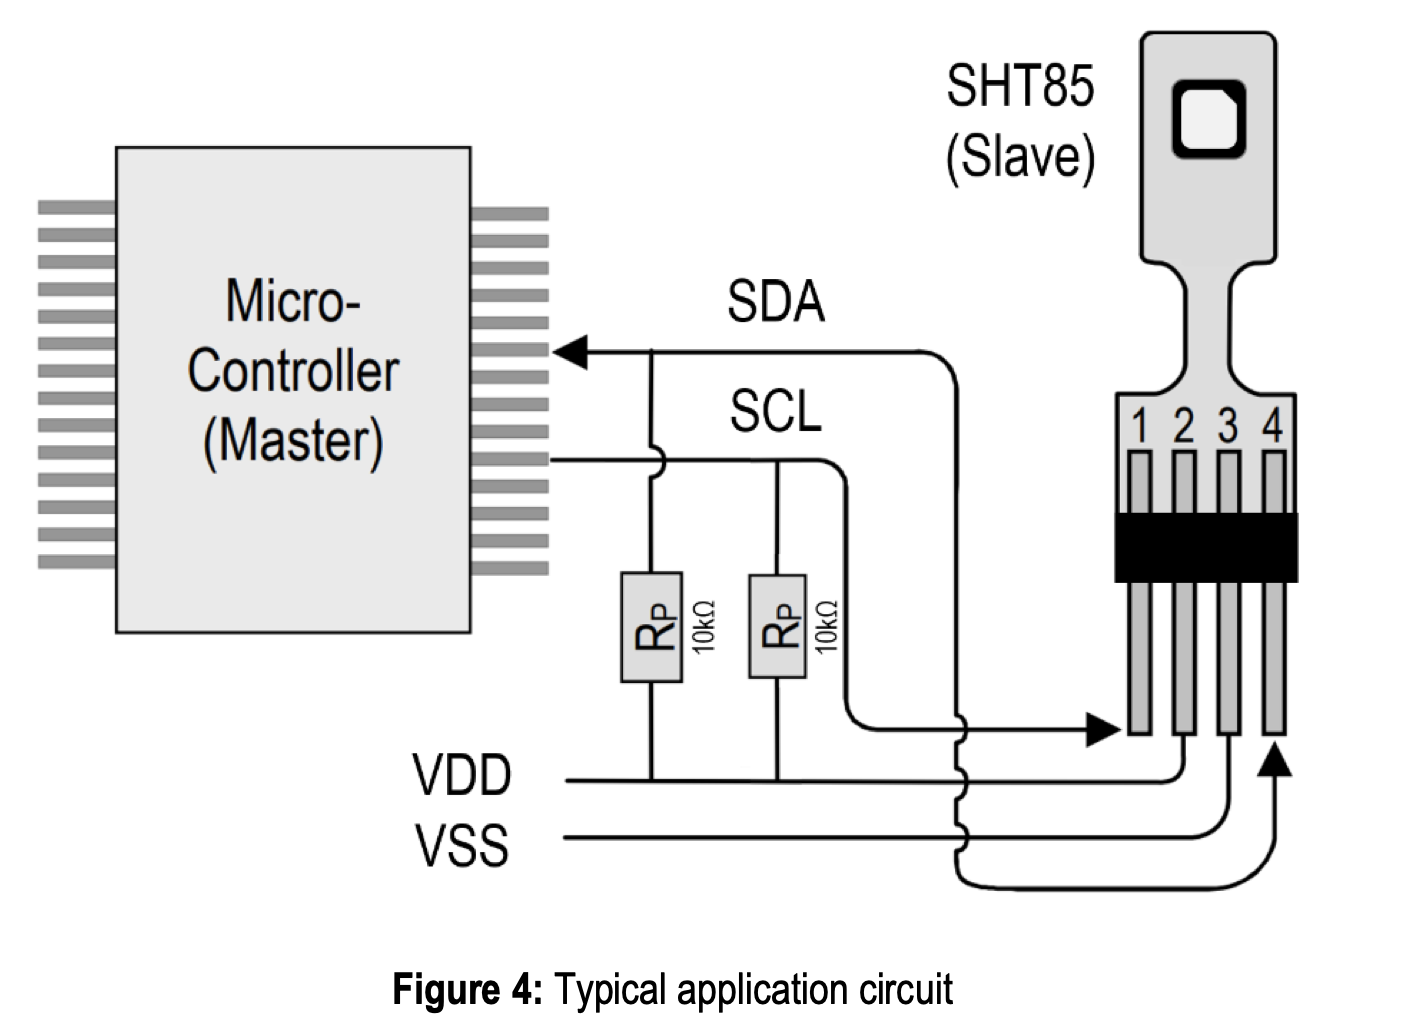
Setting up SHT85
Connecting SHT85 to raspberry pi:
Setup:
PI to SHT85 (datasheet)
pin 1 3.3V. to 2 VDD
pin 3 SDA to 4 SDA Serial data
pin 5 SCL to 1 SCL Serial clock
pin 9: ground to 3 VSS Ground
Monitoring
Readout: RTD Data Acquisition Stackable Card for Raspberry Pi with Raspberry Pi
Firmware to control: https://github.com/SequentMicrosystems/rtd-rpi
For SHT85: https://github.com/jothanna/sht85/tree/master/sht85
connecting to the raspberry pi:
- connecting to the rddev111
- ssh pi@192.168.4.122
- password: slac-dcs-cooling
Readout RTD database:http://atlascr.slac.stanford.edu:3000/d/AhqDEQ_Mk/dcs-cooling-tests?orgId=1&from=1619033502000&to=now&refresh=1m
(login atlas/atlas)
Interlock
- Overheating = the chiller fails and the PS keep running
- temperature on the cold plate
- Condensation = Dry air fails, moisture condense and destroys the device
- dew point < temperature on the module
- module temperature drop ←55C
- communication => fail safe
Action when fail is to turn off the power of Peltier and module
Chiller
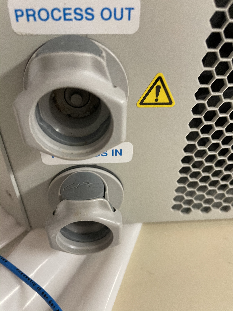
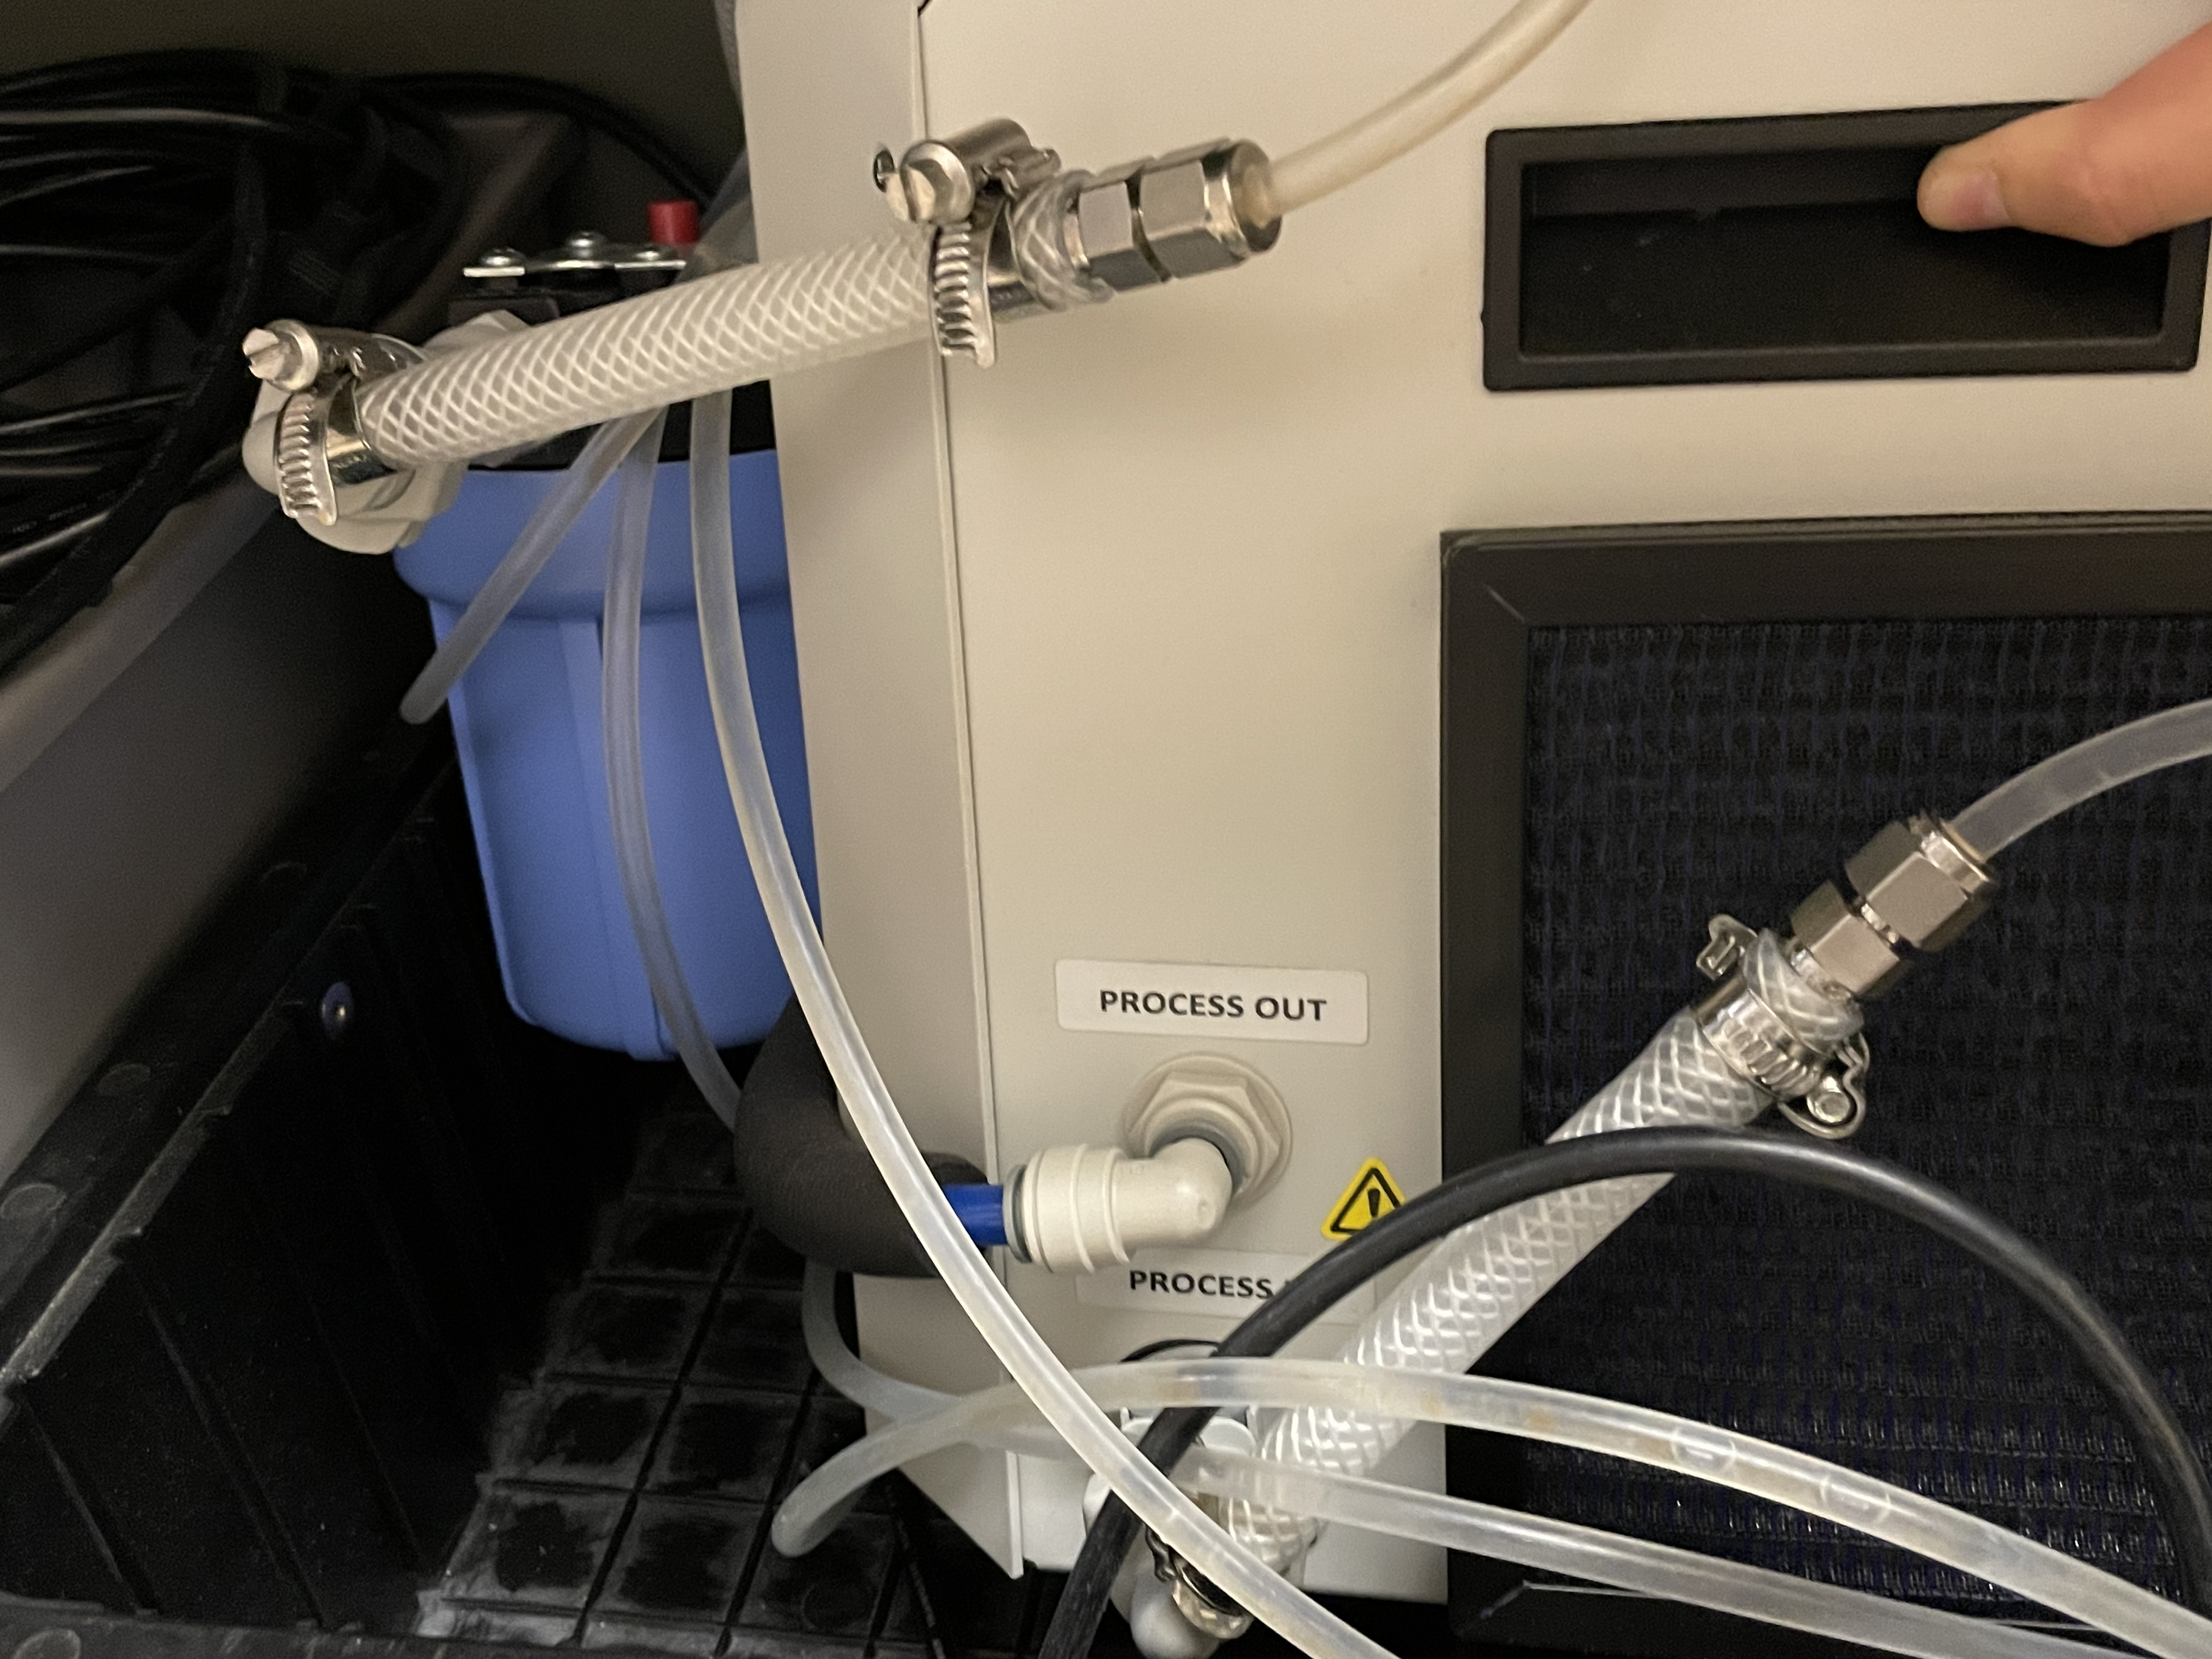
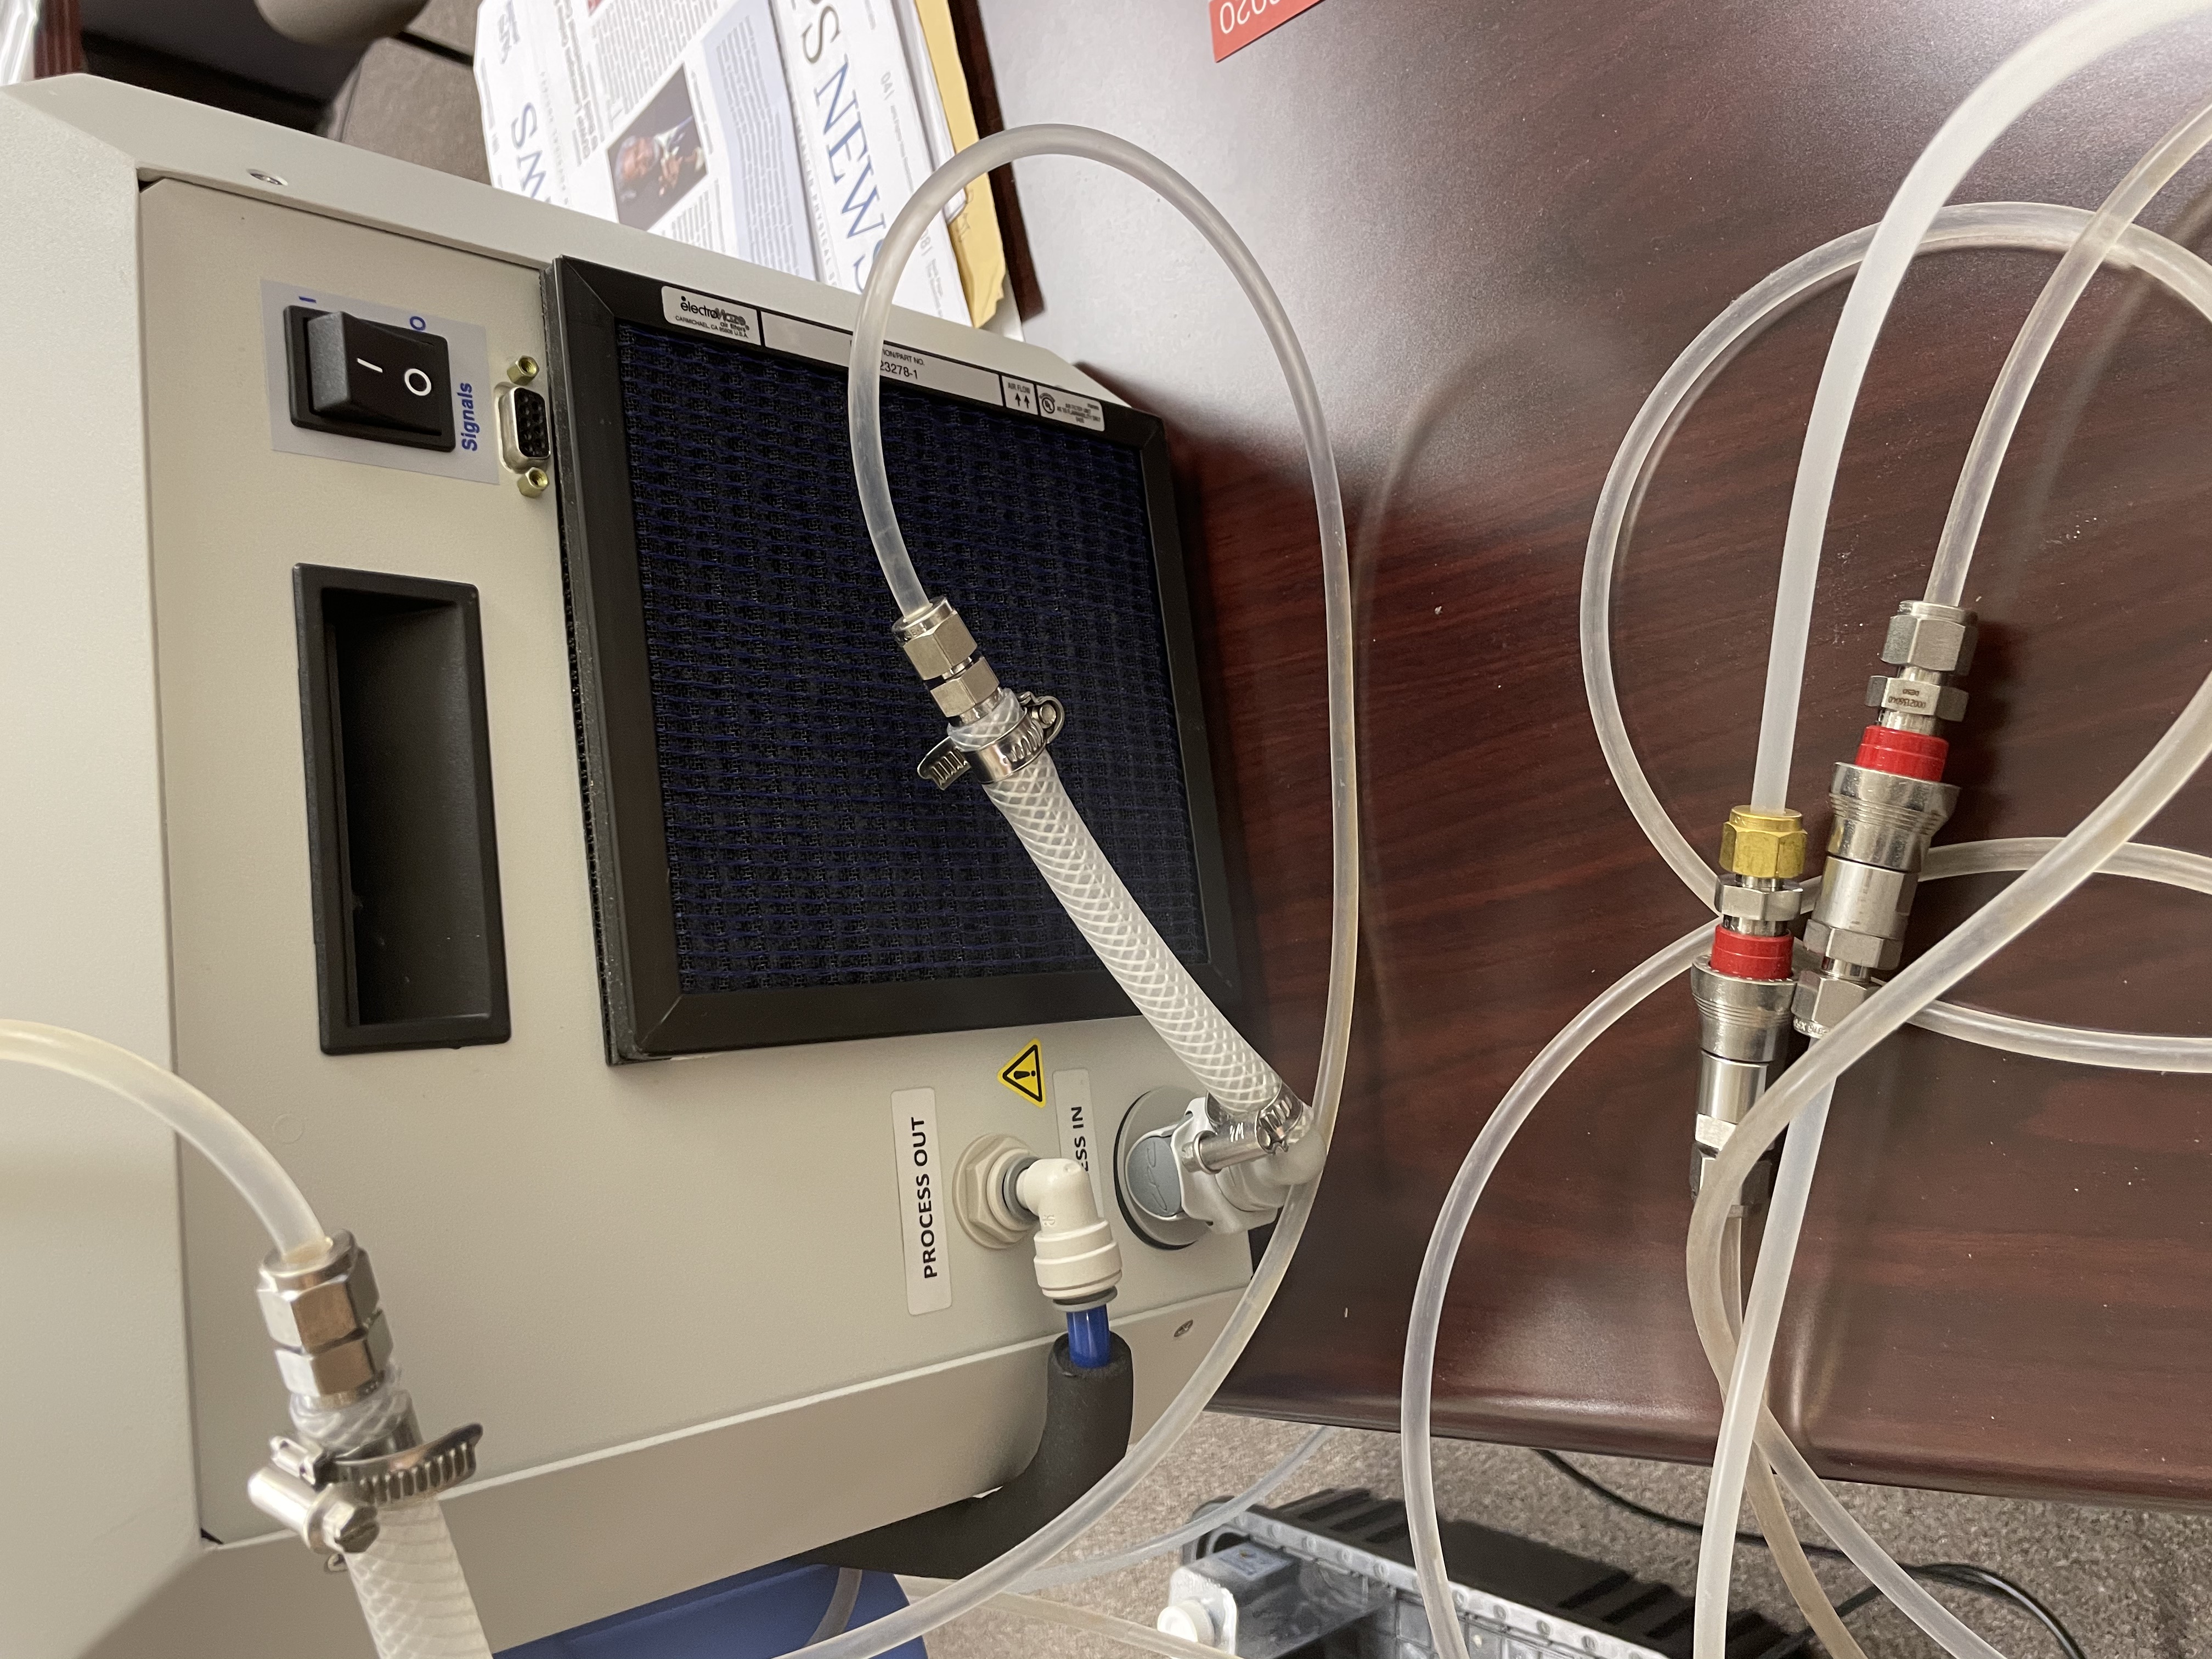
There are two ThermoCube units in B84/TID cabinet. Unit #1 is with full tubing setup and regularly used by Gabriel Blaj for LCLS so that we are trying to use unit #2 (no tubing) by assembling similar tubing arrangement as unit #1. Unit #2 has different coolant connectors compared to unit #1, but the rest of the tubing can work the same way still.
| Unit #2 Model | 10-400-3G20-1-CP2-R2-LT-AR |
|---|---|
| -400 | ~400W @ 20C with ambient air cooling for the Cube |
| 3G20 | >3 lpm @30 pig magnetic drive gear pump. Adjustable flow setting for 2 lpm. |
| CP2 | 3/8" CPC shut off valve (1-3 lpm) |
| R2 | RS232 interface controller |
| LT | Low temperature operation (<5C) |
| AR | Auto reset - software |
| Coolant connector (3/8" CPC) on unit #2 | Connection to the filter for unit #1 | Unit #1 with Swagelock QC4-316 joint for application insertion |
|---|---|---|
|
Thermo Cube: Chiller manual
Tubing
- A) Application section (2*100cm): Our application tubing came with the CERN shipment is 8mm ID/11.5mm OD that fit well onto the cooling block thread nose. Need to terminate at two ends with Swagelock quick connect QC4-316. Is there a suitable part for the 8mm ID tubing ?
- B) Application joint to chiller Process In (30+15cm): Application joint is QC4-316 with 1/4" tube for ~30cm then transition to a short (15cm) 1/2" tube to fit onto the hose barb from the HFC 12 series (rating only down to 0C ?) which can connect with the 3/8" CPC at chiller Process In.
- C) Application joint to filter (or Process Out) (30+15cm): similar piece like B), such that the hose barb end can plug directly into the chiller Process Out, or filter out.
- D) Filter: Not yet identified the exact part for the filter. Also needs caution whether filter is compatible with <0C coolant. The filter output end should be fitted with the 3/8" NPT shutoff as those on the chiller unit. Filter inlet (fitting unknown) needs to transition to 1/2" tuber over the 3/8" hose barb to connect to the chiller Process Out.
- E) Jacket insulation: At least all thinner tubing section should have foam jacket insulation to allow running coolant <~0C.
Coolant
We intend to use the ThermoCube recommended coolant Koolance 702 (27% propylene glyco + water mix): https://koolance.com/liq-702-liquid-coolant-bottle-high-performance-700ml-blue. Propylene glyco is a nicer substance (used as food additive in some cases) than the more commonly used ethylene glyco as an alternative antifreeze.
The ThermoCube tank is 300 ml but there may be some additional piping volume within chiller besides the 300ml. The tubing outside the chiller (not including filter) is <~200ml. So it may sufficiently safe if we get two 700ml bottles of the recommended Koolance 702. This unit description doesn’t say what type of cold plate it has. Stainless would have carried a tag ’S” in the model number somewhere so this may be old style anodized AL PCW plate ? Koolance claims to be friendly with both Al and SS.
Peltier
- Peltier: 4 sets to be tested:
- 2 layer peltier (recommend): Laird 108161050003 (53W) and Laird 387004685 (125W)
- 1 Layer peltier: Sheetak SKCM-240-11-T100-NS-TF00-ALO (75W)
- 1 Layer peltier: HP-199-1.4-0.8 (120W)
- 1 Layer peltier: HP-199-1.4-1.15 (175W)
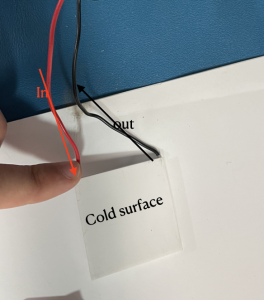
Peltier TE-127-1.0-2.5:
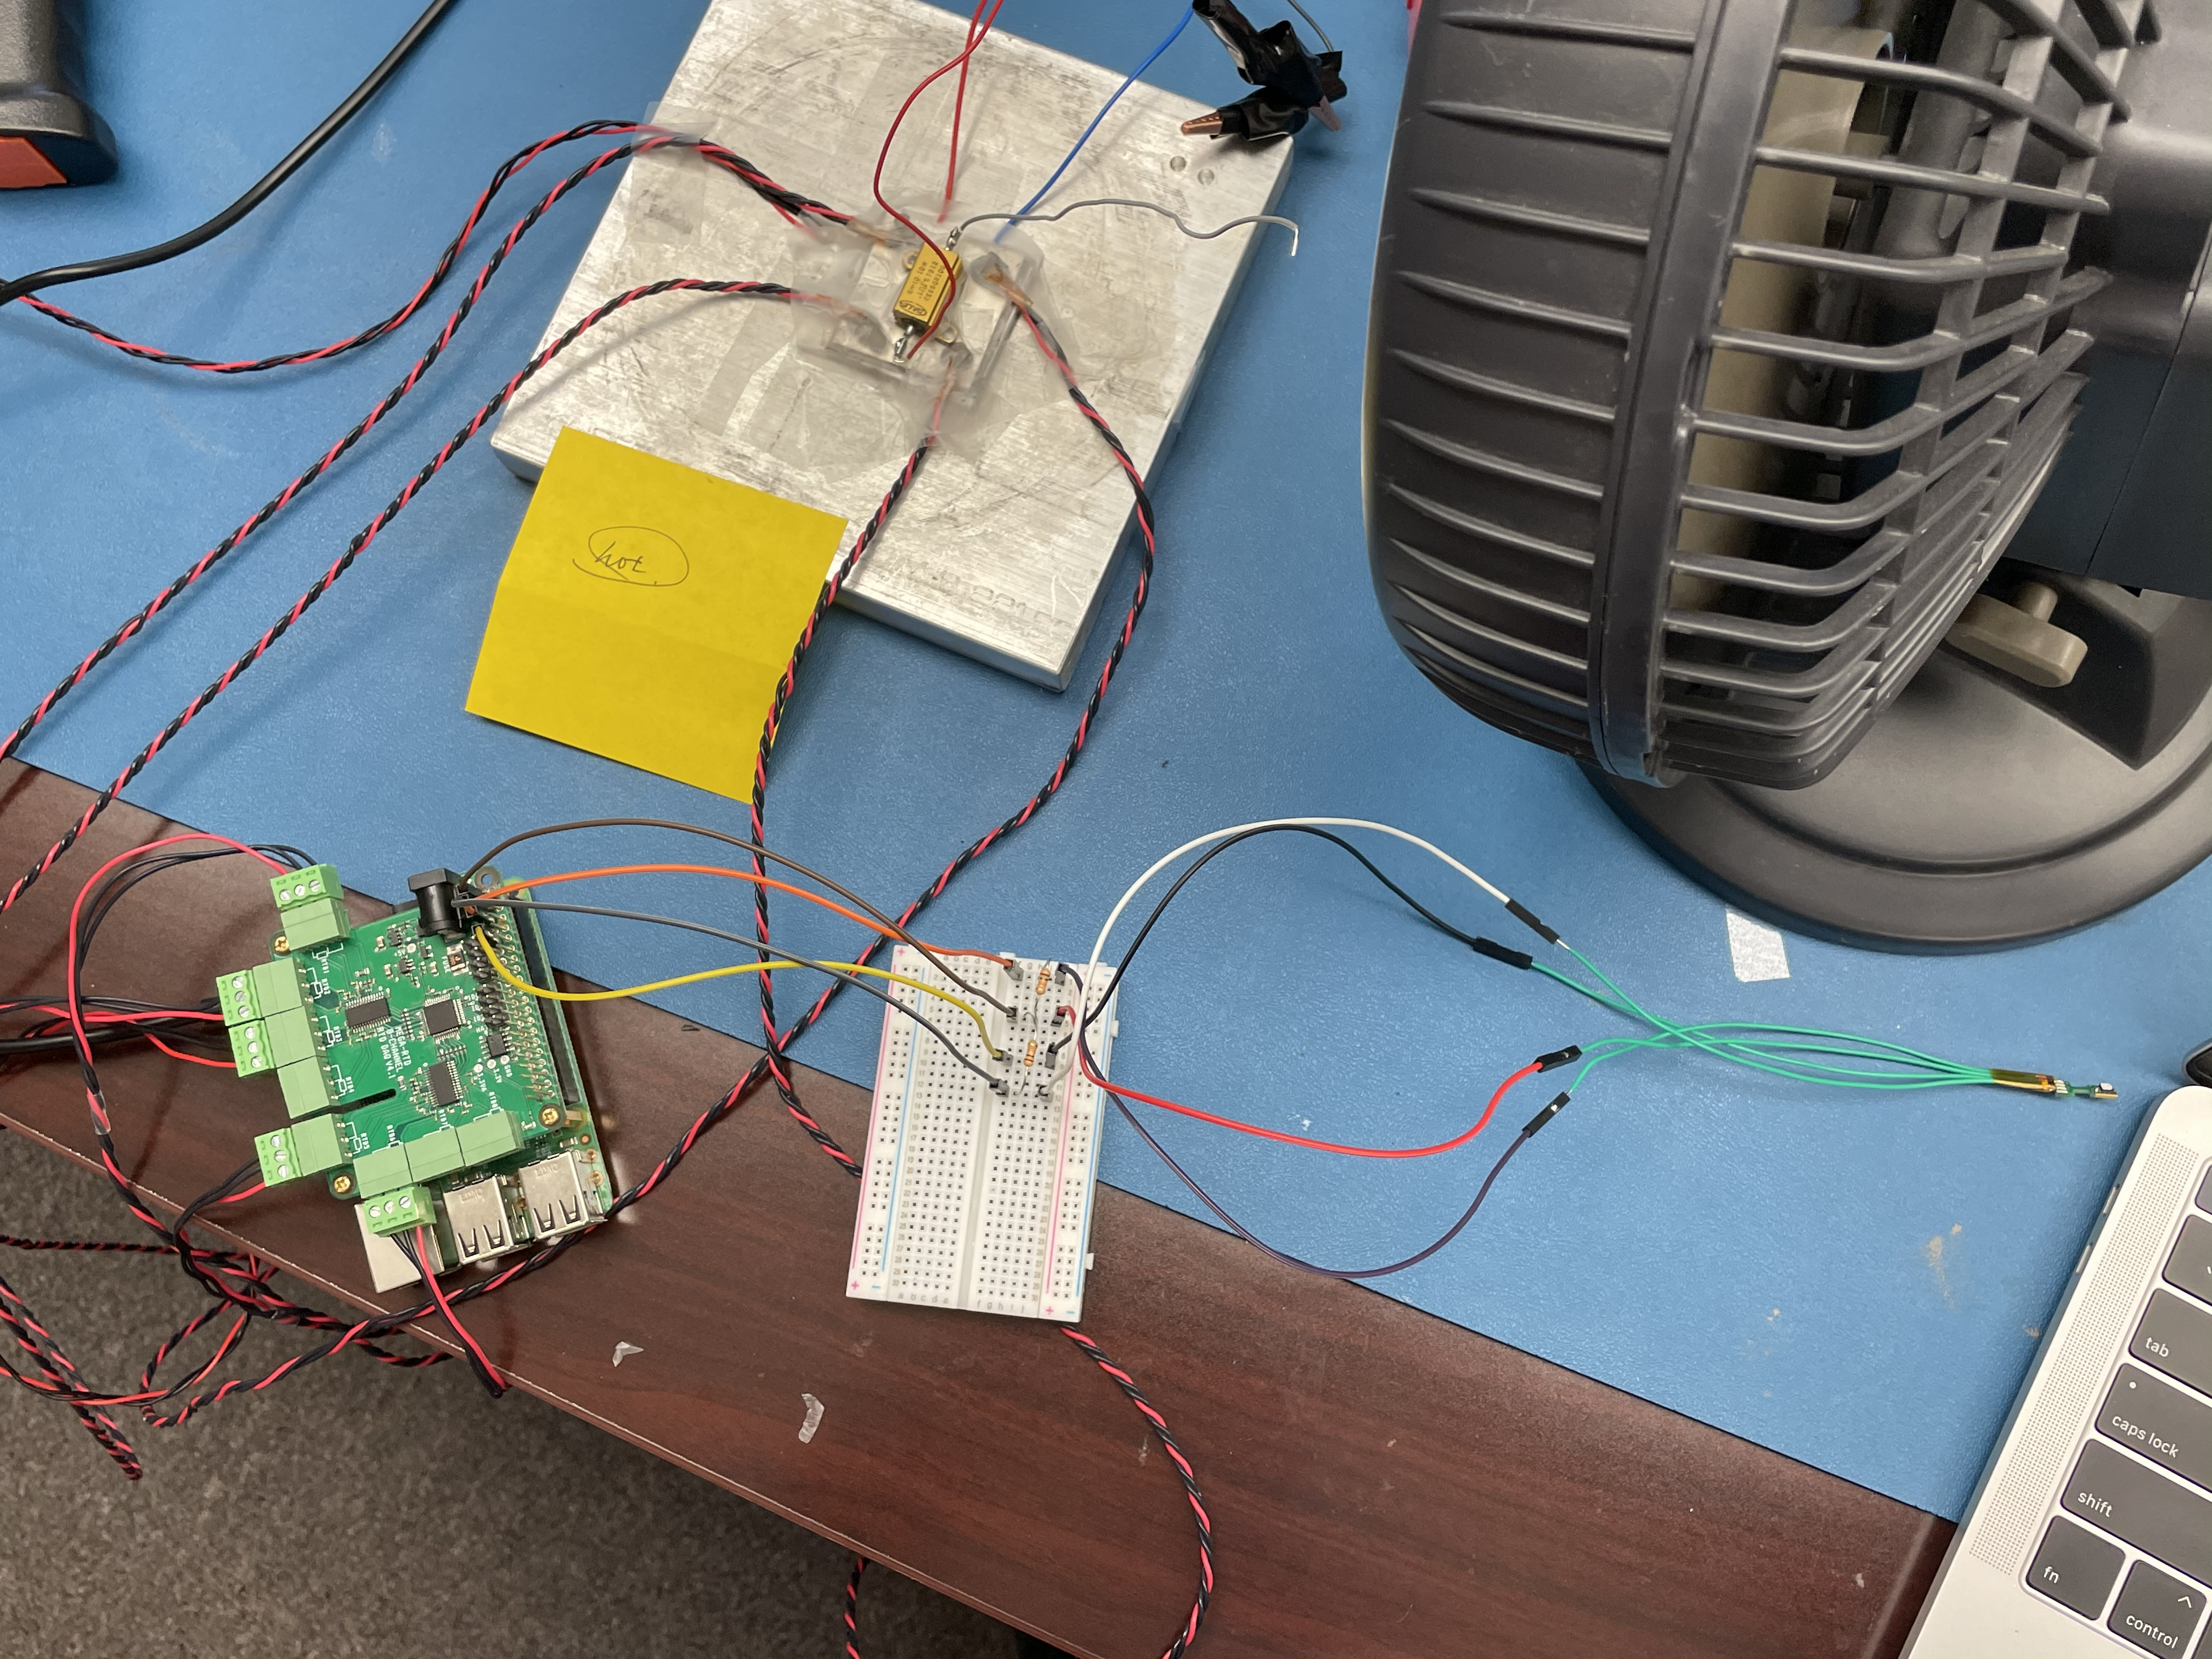
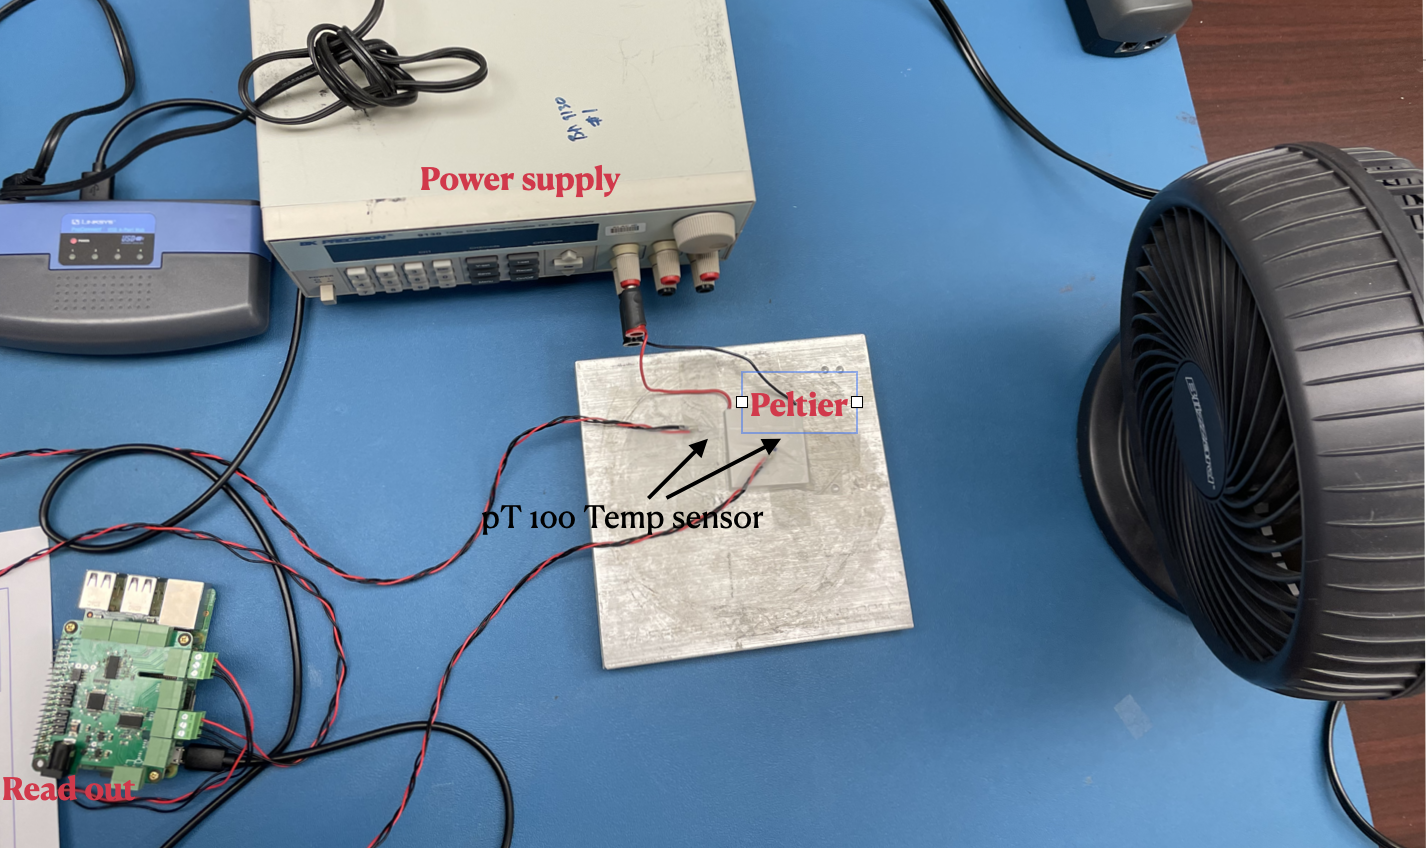
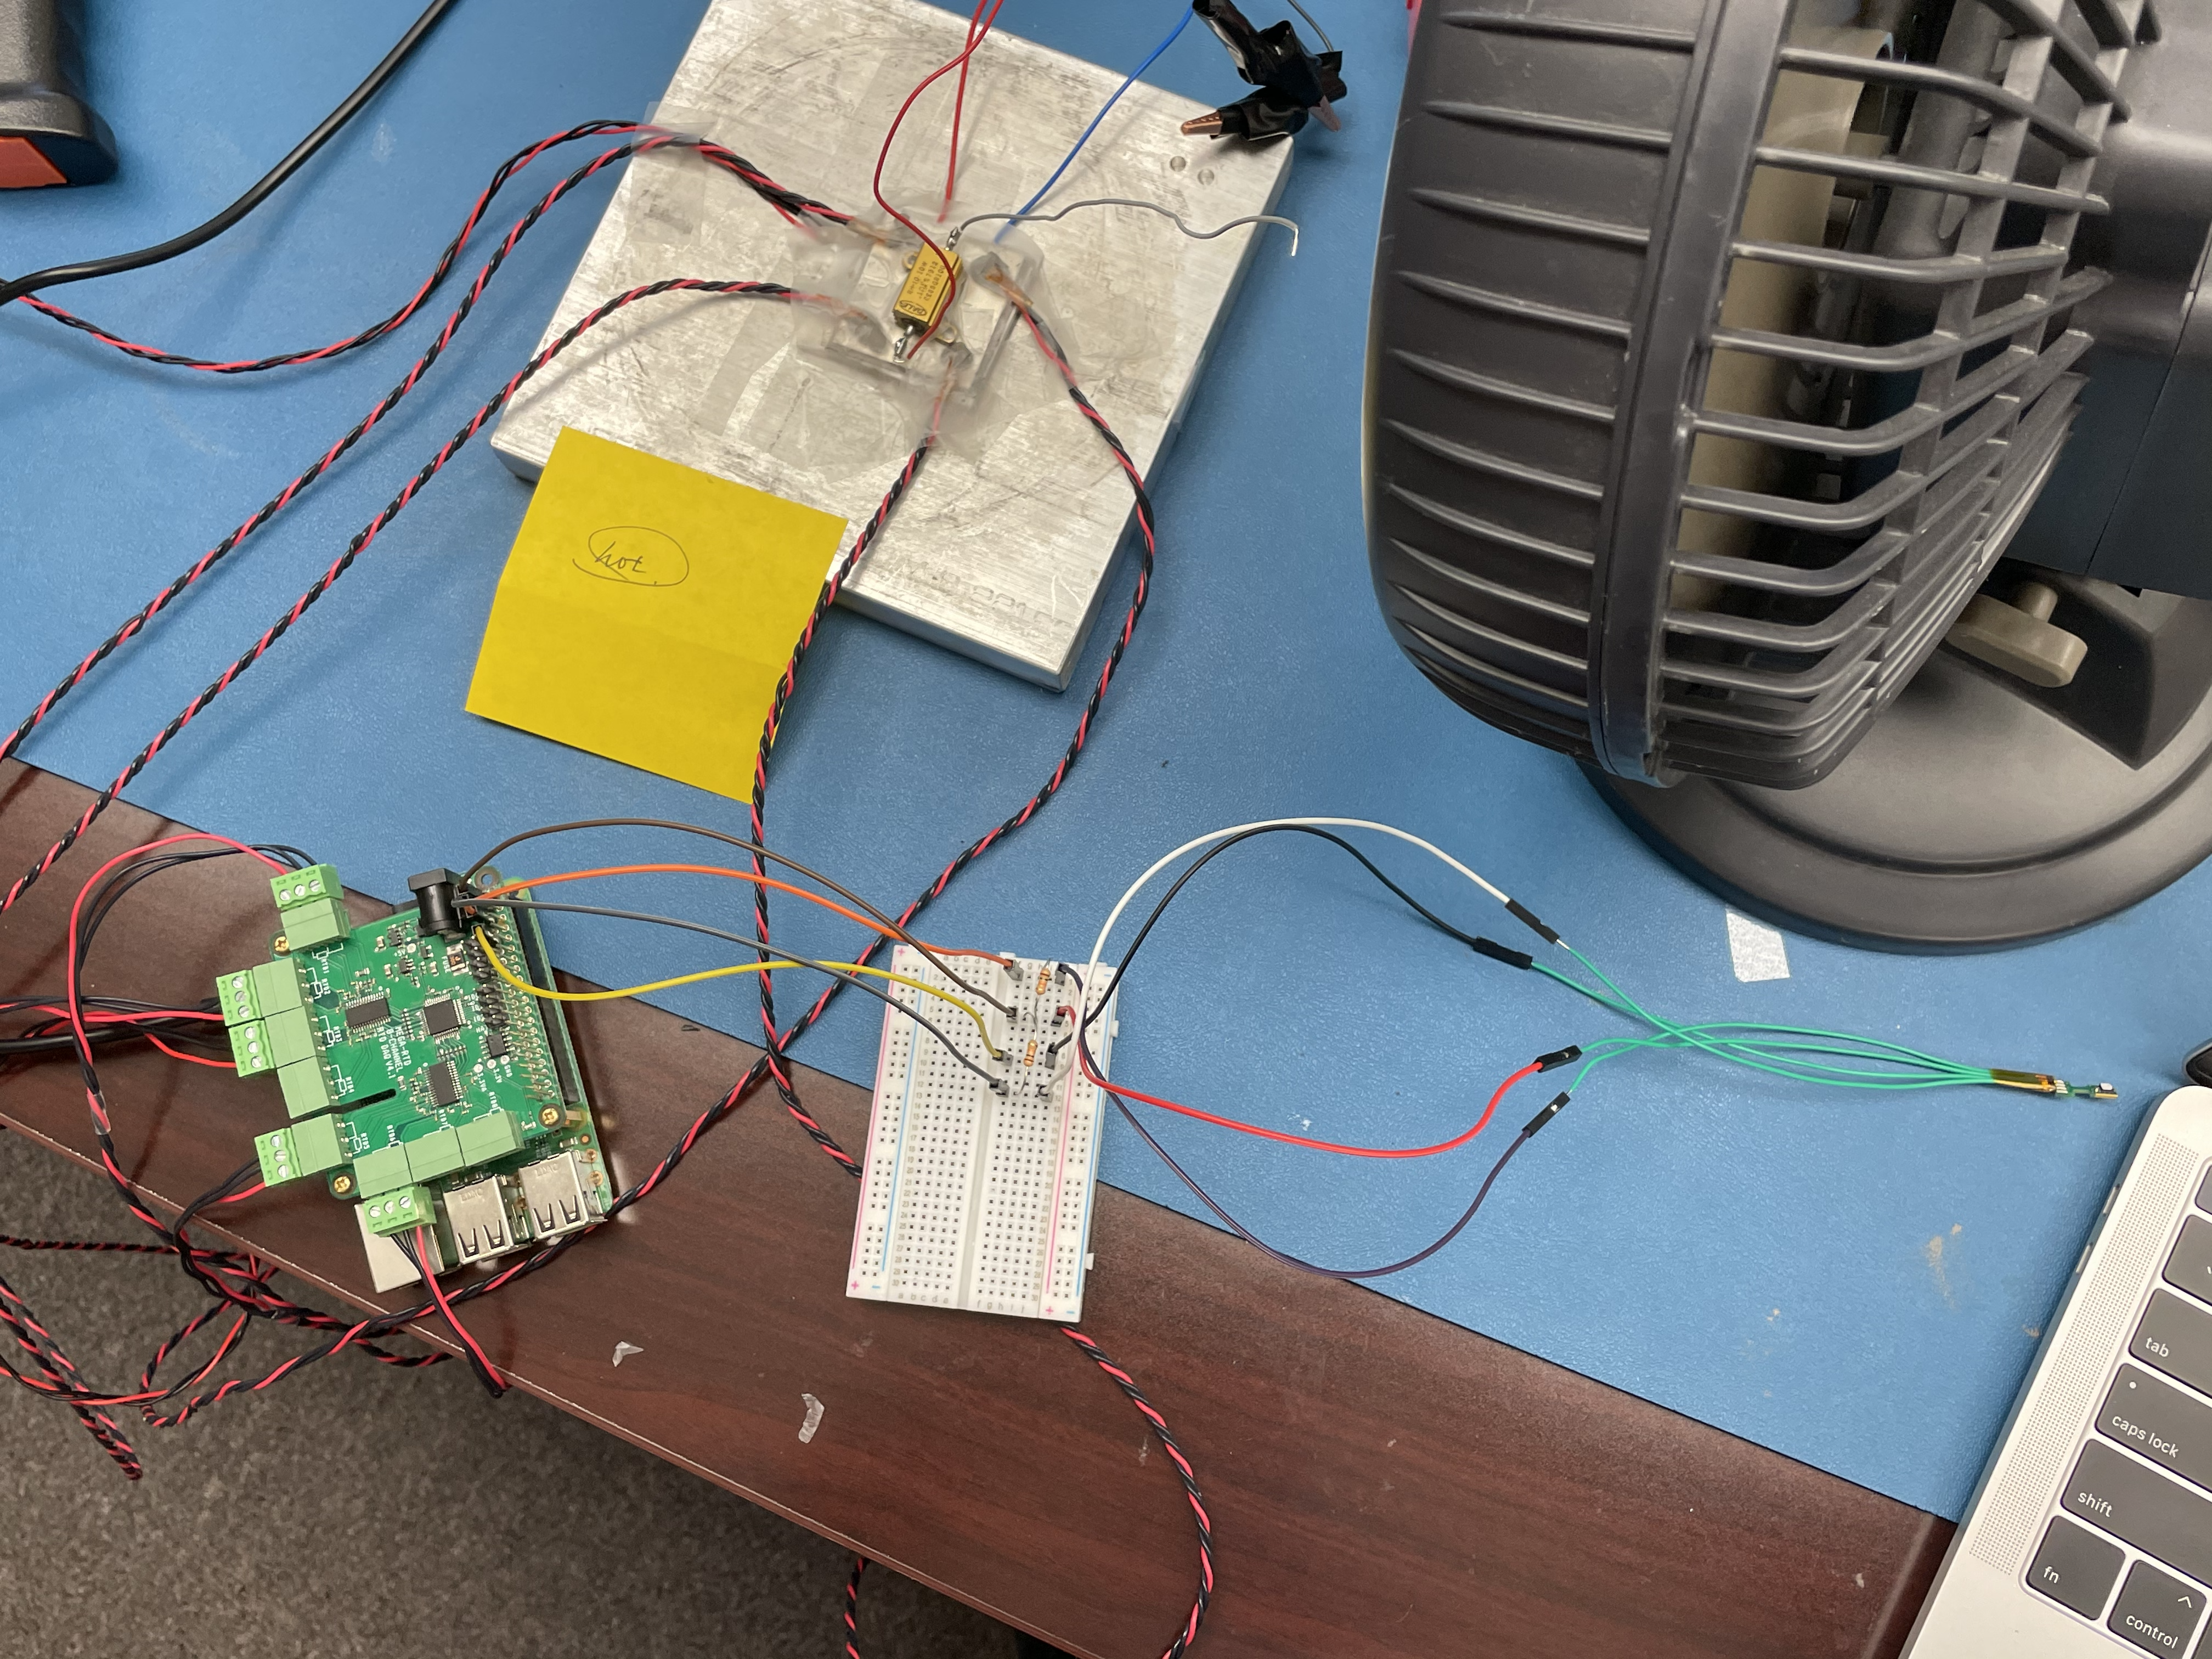
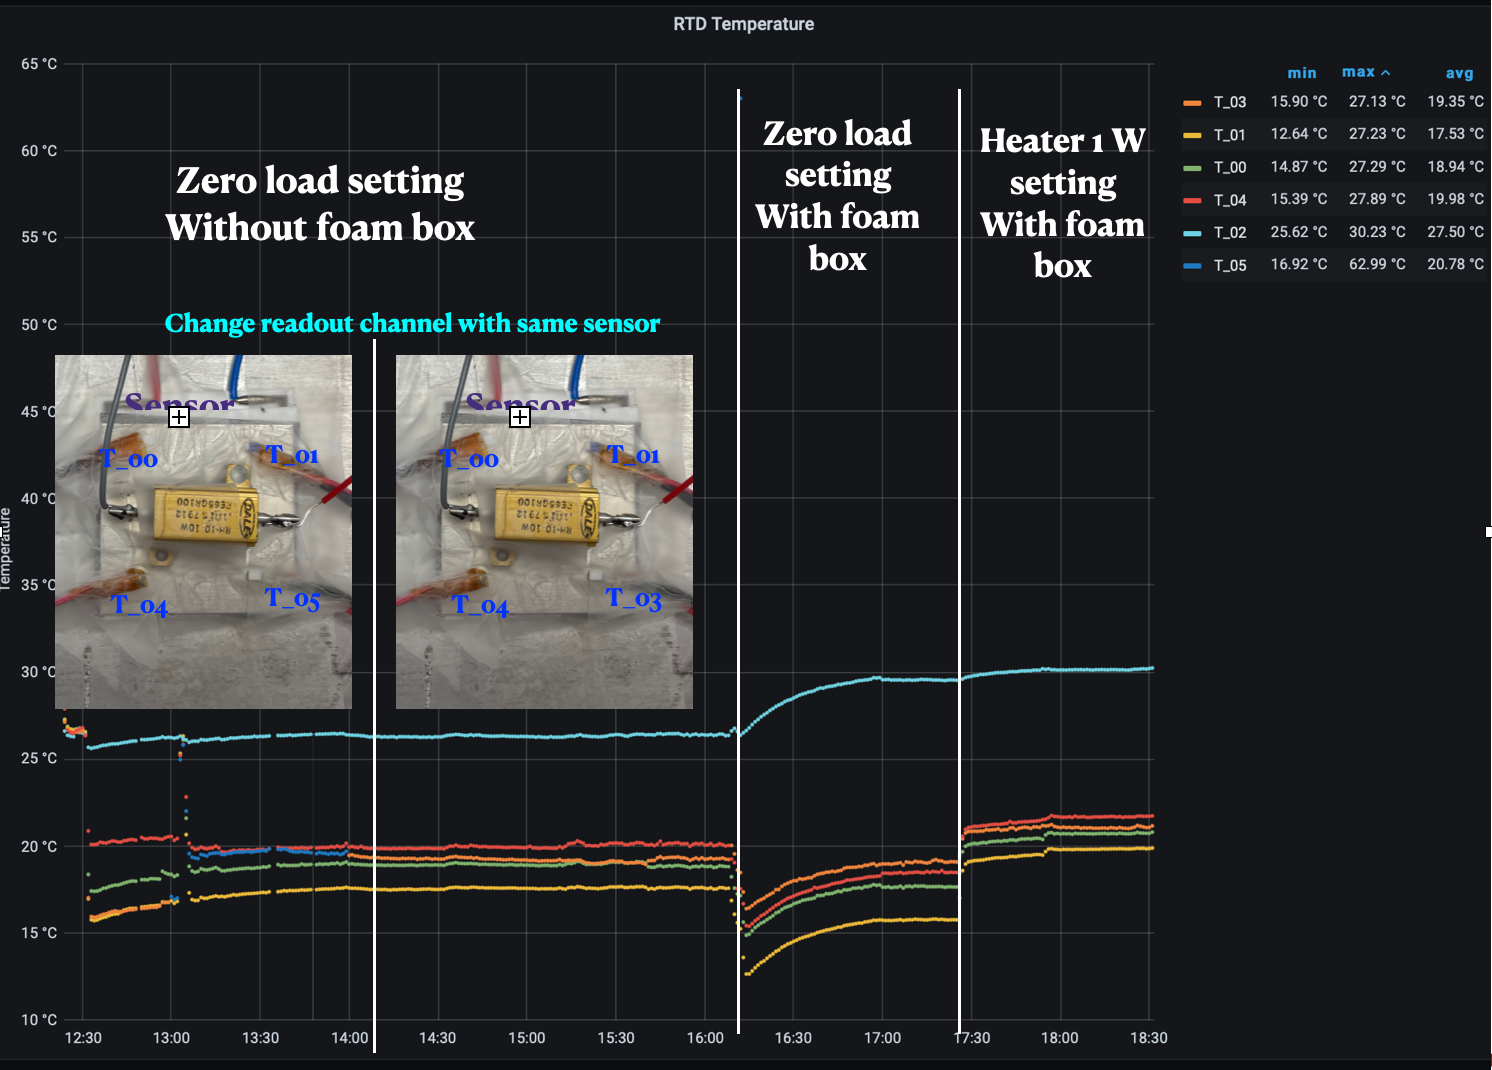
Preliminary Setup and Test Result
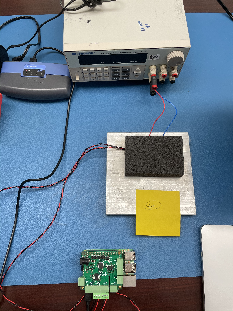
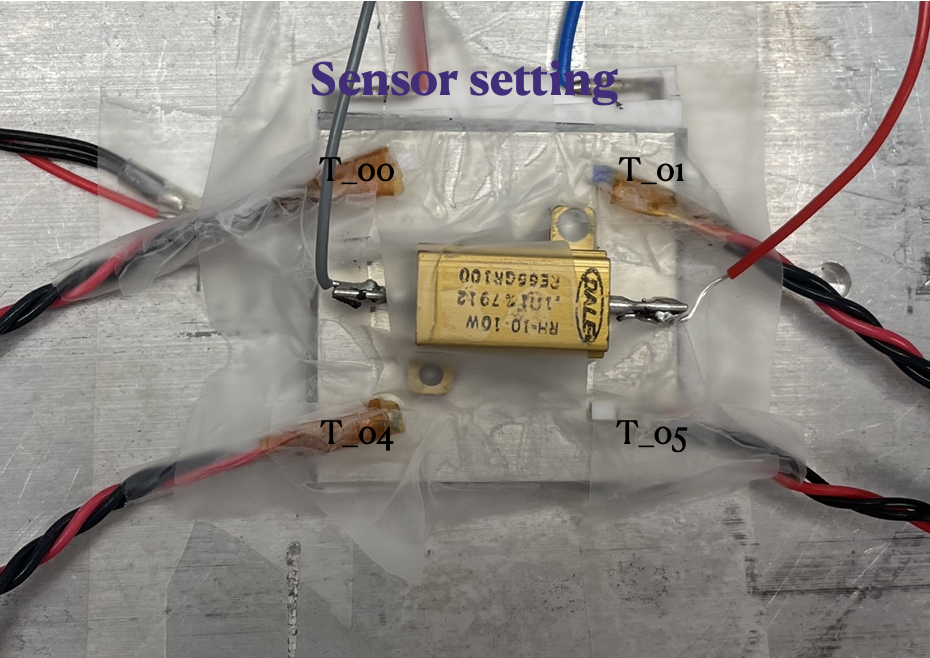
Empty load step up | With Heater | with foam box |
|---|---|---|
Results
- Check the Temperature distribution on the Peltier, temperature distribution is not flat on the cold side of Peltier while running the Peltier
- foam box can help isolate the Peltier system and increase the temperature difference between hot side and cold side
- running load will increase the temperature on the cold side
