This tutorial describes how you can use Netbeans to edit and compile drivers, and then load them into JAS3 to run them. The advantage of using Netbeans to do this, as opposed to the editor built-in to JAS3, is that you can get code completion, syntax highlighting etc.
Prerequisites
Before proceeding with this tutorial you must have already installed Netbeans and mevenide, and must have already checked out and built GeomConverter and org.lcsim. Next you must build org.lcsim with two special targets:
jas:install |
This copies the latest version of org.lcsim into the JAS3 plugins directory |
jar:install |
This copied the latest version of org.lcsim into the maven repository so it can be found by the example project described below |
To execute a custom goal select the org.lcsim project, from the popup menu select "Execute Custom Goal", "More Goals...", then from the dialog choose "jar:install" and then "jas:install".
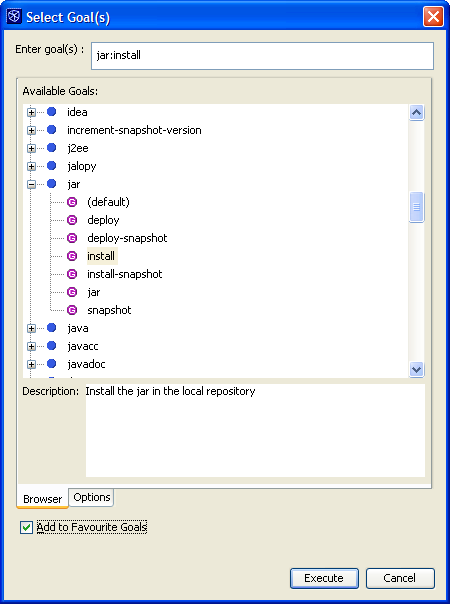
Selecting the toggle "Add to Favorite Goals" will make repeating this in future easier.
Checking out the example project
You can check out the ExampleProject from CVS in the same way you checked out GeomConverter and org.lcsim. The module name is ExampleProject.
Opening the example project in Netbeans
You can open the project in the same way that you opened GeomConverter and org.lcsim, i.e. choose Open Project, select the folder where you checked out ExampleProject and select "Open Project Folder".

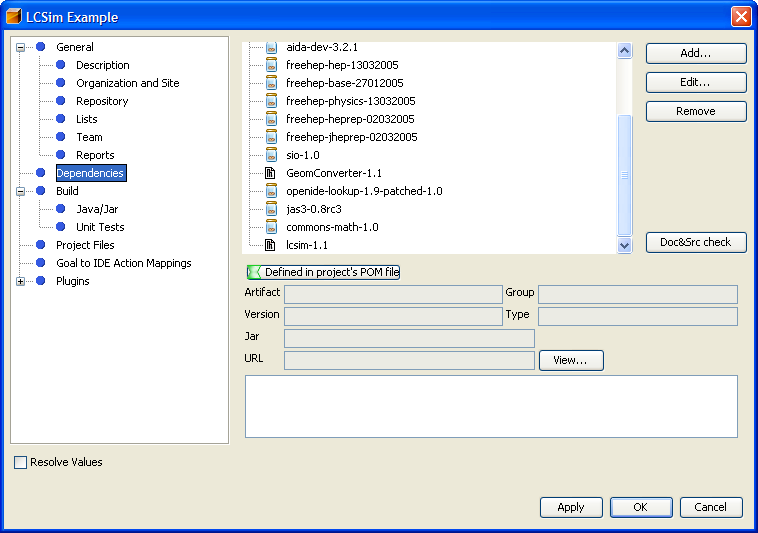
Changing dependency
You should change the dependency to latest version of GeomConverter and lcsim.
Building the project in Netbeans
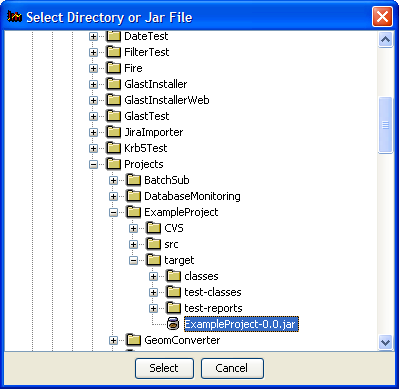
Select "Build" from the popup menu on the LCSim Example project. This should build a jar file called ExampleProject-0.0.jar in the target directory created in the ExampleProject folder.
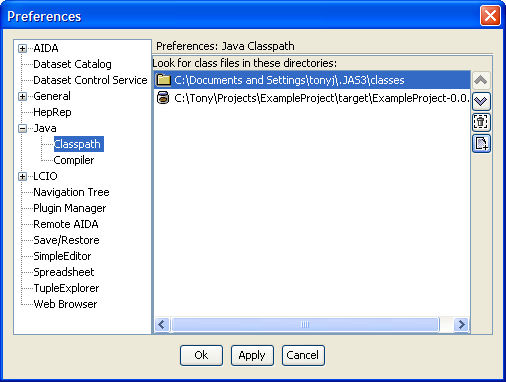
Running the driver in JAS3
From JAS you need to add the newly created ExampleProject-0.0.jar file to your "JAS ClassPath". From the JAS View menu choose Preferences, then from the tree select Java ClassPath. Press the little button with the + on it, and add the jar file to the classpath.
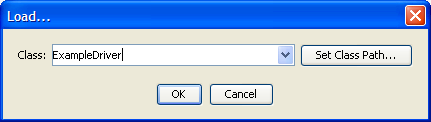
Now from the JAS3 file menu, select Load, type in ExampleDriver and hit OK.
Now you can open a data file and analyse it in the normal way.
Updating your code and reloading it in JAS3
If you modify your code in Netbeans you must first run build again, and the right click on the "Programs" node in the JAS3 tree and select "Reload All"