Page History
...
- Run(s): 124
- Queue: psanaq
- CPUs: 24
- Keep CXI images: On
Indexing will take some time to complete. If successful, you should see a stream file in: /reg/d/psdm/cxi/cxic00318/scratch/<username>/psocake/r0124/cxic00318_0124.stream
You can check the status of your indexing job here: /reg/d/psdm/cxi/cxic00318/scratch/<username>/psocake/r0124/status_index.txt
Psocake saves the detector images of only the hits in the .cxi file. It is likely that you may want to reindex these files to optimize the indexing rate. If you anticipate that you have finalized the indexing parameters, set 'Keep CXI images' to Off. It will delete the detector images in your .cxi file which will free up your precious disk space for doing other things.
As with peak finding, you can launch indexing jobs on multiple runs by specifying runs in the Run(s) field.
Save publication images
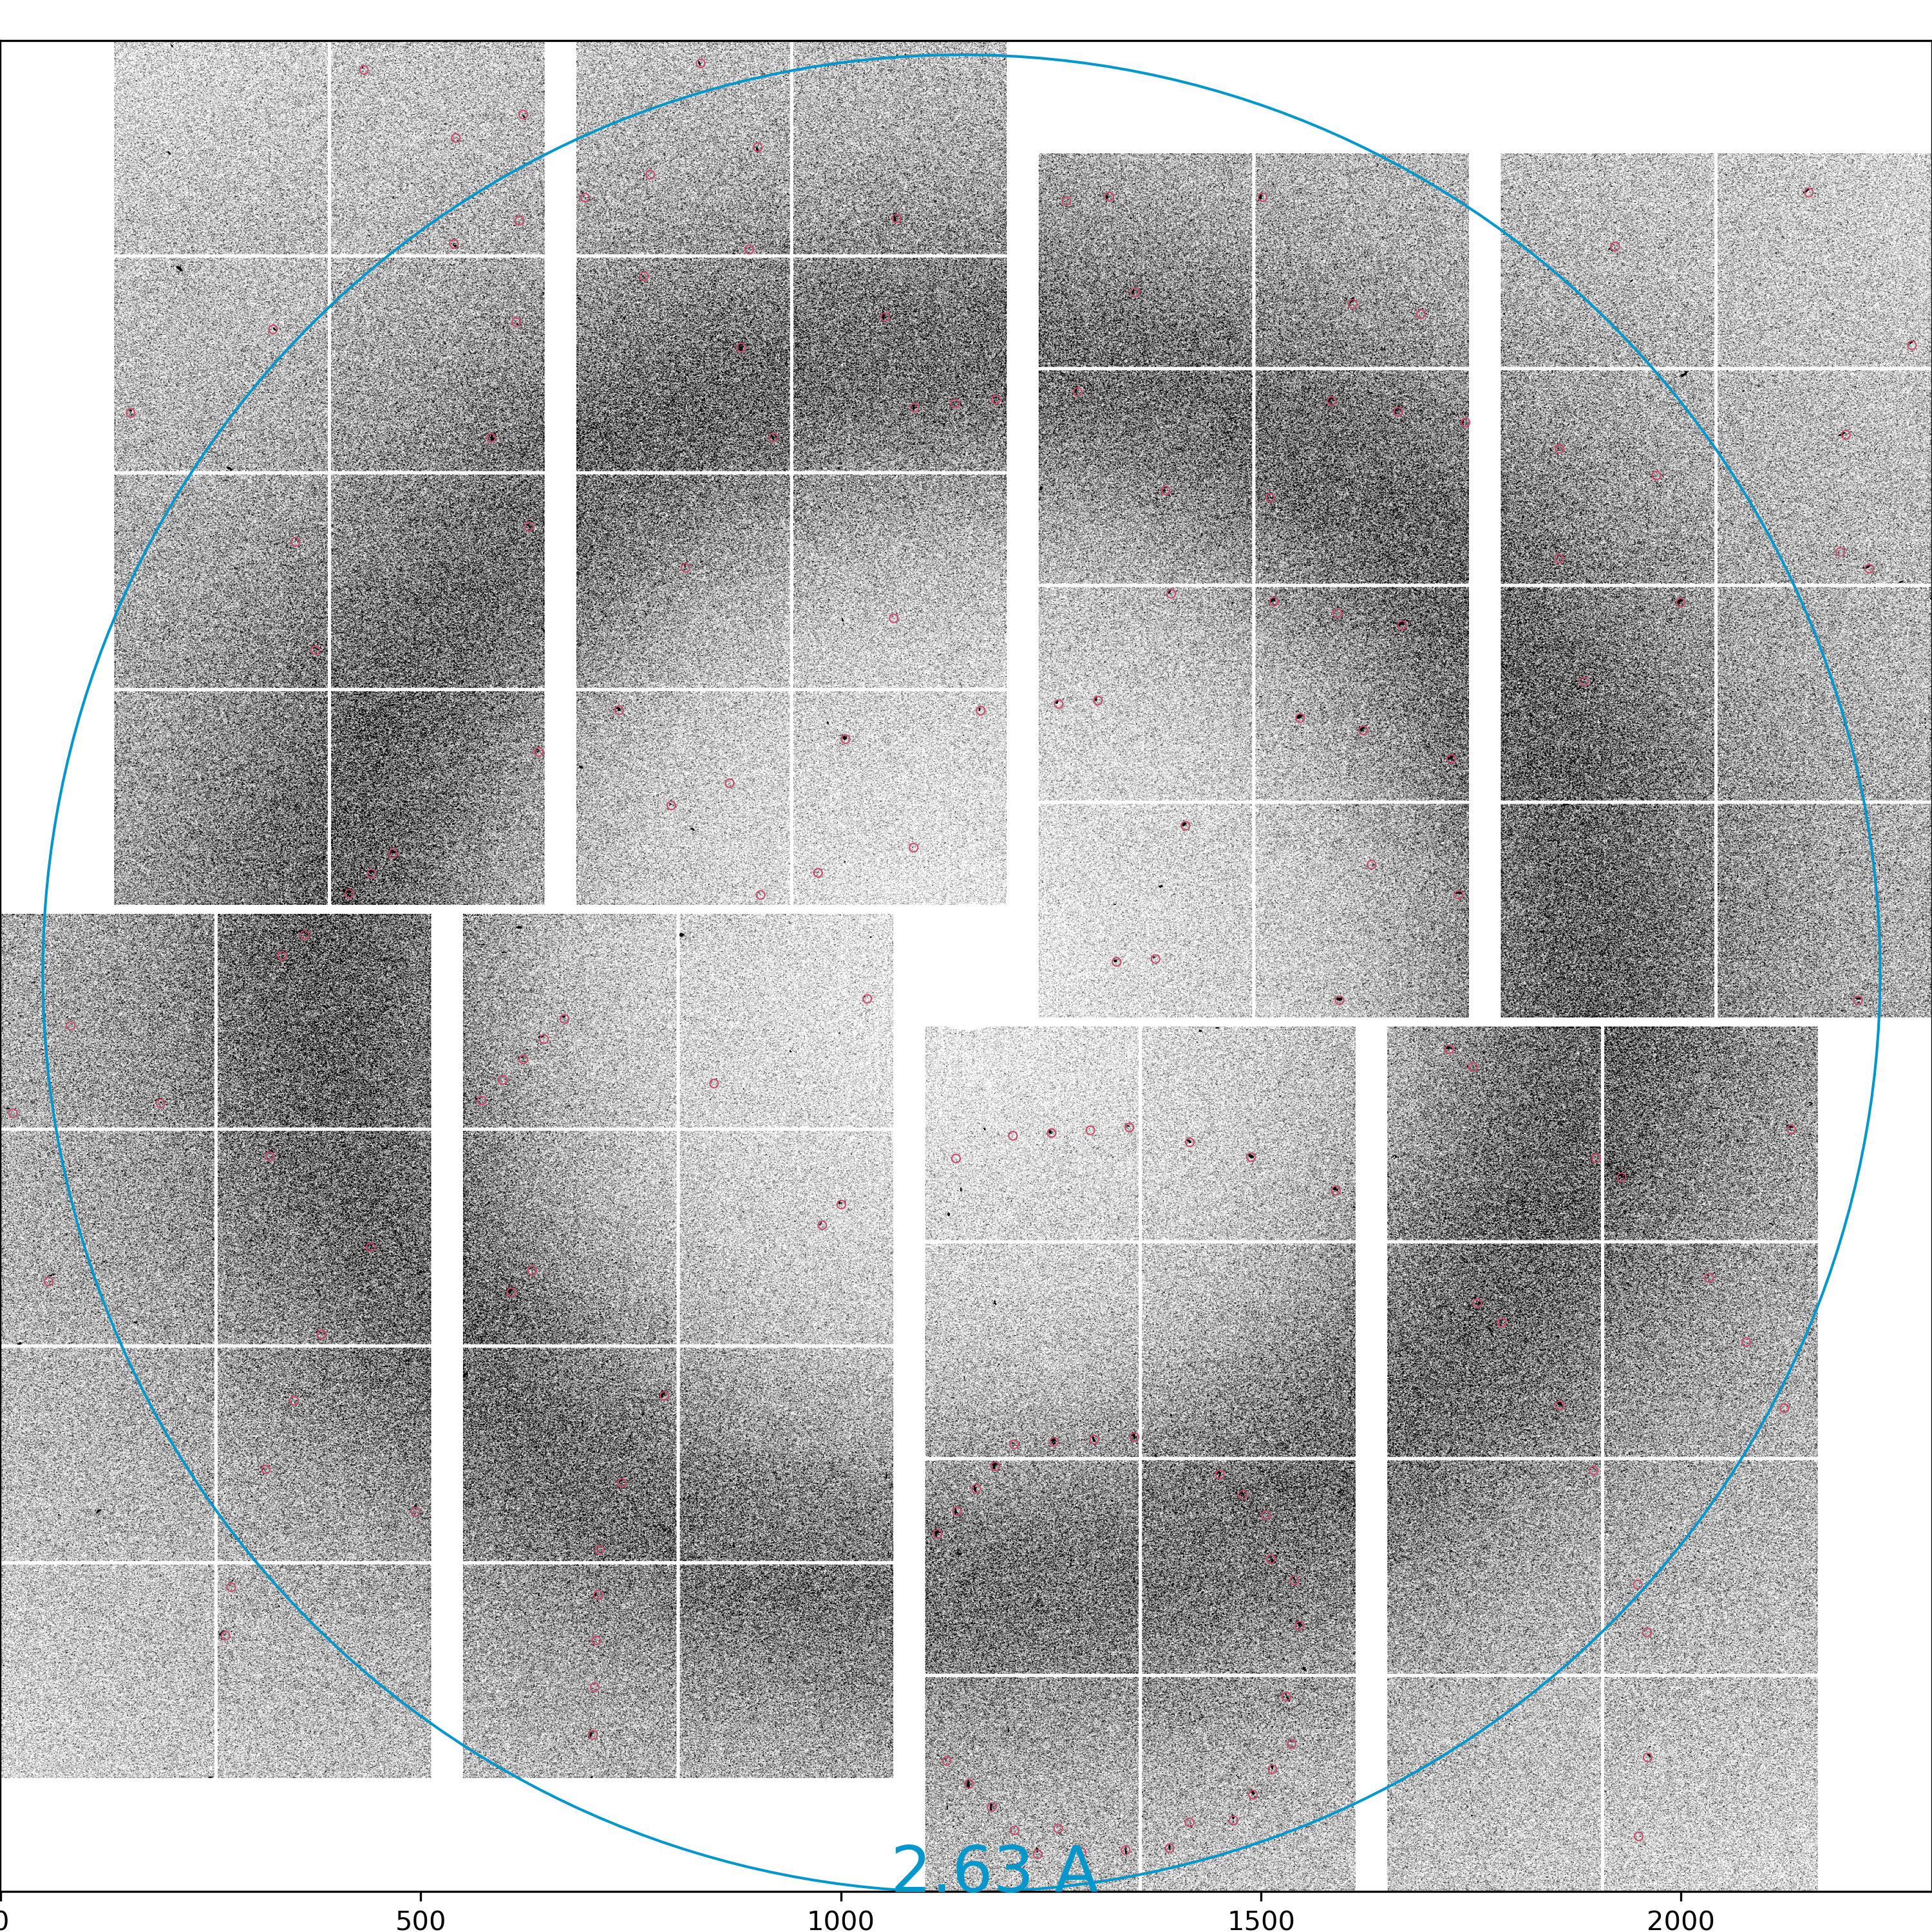
You can save publication quality images by clicking "Save evt" button near the lower bottom right of the GUI.
Image: psocake_cxic00318_124_jungfrau4M_30_1597321015_275824216_83040_img.png
Peaks found: psocake_cxic00318_124_jungfrau4M_30_1597321015_275824216_83040_pks.png
Indexed peaks: psocake_cxic00318_124_jungfrau4M_30_1597321015_275824216_83040_idx.png
Indexing
multiple latticesCrystFEL can index multiple lattices per image. Set "Extra CrystFEL parameters" to --multi,--no-check-peaks. This will enable "subtract and retry" method.
Indexing pump-probe experiments
In a pump probe experiment, it is sometimes desirable to index only certain events, e.g index only the crystals where the optical pump laser was on. This information is recorded in the EVR which psocake saves in the .cxi file (dataset name: "/LCLS/detector_1/evr1").
So if you want to index only the hits with laser on (say EVR1: 182), then type the following in the "Index condition" field:
182 in #evr1#
Psocake will also accept combinations using AND/OR:
182 in #evr1# and 173 in #evr1#
You can attach a tag to the stream filename by using the "Tag" field in the Indexing panel, e.g. evr182 would produce a new stream file cxitut13_0010_evr182.stream.
Detector centering
Let's check whether your detector is well centered with respect to your beam. You want the centre to be as accurate as possible (at least to a pixel accuracy) for optimal indexing rates.
Load the powder rings generated by clicking the "Load image" button in the Image Control panel. Open "cxic00318_0124_maxHits.npy". Adjust the intensity as necessary.
Draw resolution rings by ticking "Resolution rings" in the Diffraction Geometry panel. You can change the ring resolution by typing number in "Resolution (pixels)". Type 165 and see whether your powder rings overlap with the resolution rings. If they do, then the detector is centered. If not, then you can click on the "Deploy automatically centred geometry" to recenter your detector. If you are unhappy with the results, you can use "Deploy manually centred geometry" which will shift the detector centre to the centre of the green ROI circle.
Since we are at run124, the newly deployed geometry file is named 124-end.data. If there already exists a geometry file with the same name, it will be backed up as 124-end.data-<timeModified>
...
