Need to install
Hardware you will need:
- 1 Calibration Pod (Keysight)
- 1 SMA barrel
- 2 SMA cables (provided for)
- 1 NWA instrument (provided for)
- Your PC or Mac
Download Testing Script from Github: https://github.com/slaclab/bpm-python-scripts
Setting up Environments:
Anaconda Environment Setup:
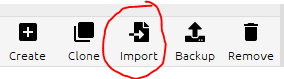
Open Anaconda, and select import environment:
Navigate to the location for the bpm-python-scripts, and upload the environment.yml file:
- ~\bpm-python-scripts\Mechanical_Testing\environment.yml
Create an environment and give it an instance name (i.e. local_env)
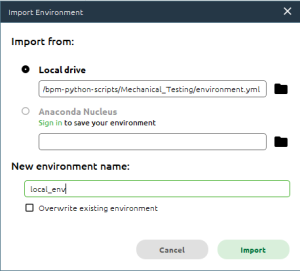
Click import. Environment setup is complete.
Run environment in terminal
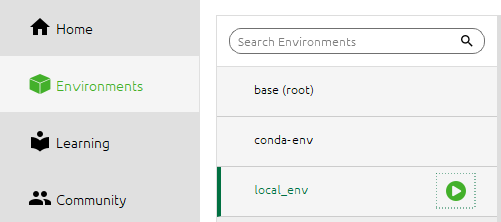
In the anaconda environment list, click on the play button and select "Open Terminal"
Navigate to folder, and run program (Windows 10):
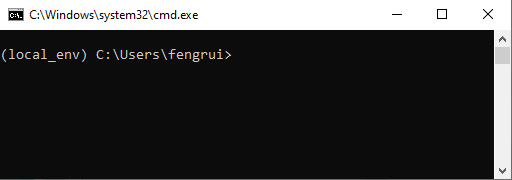
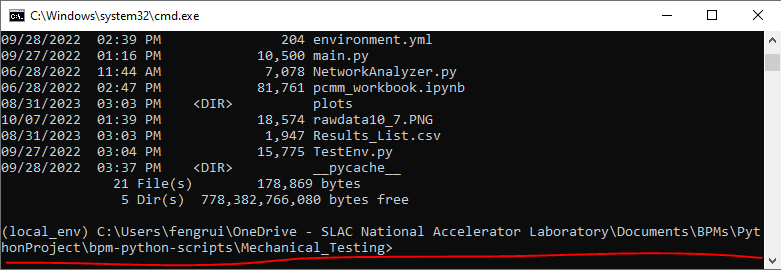
Navigate to the folder where you downloaded the test script named main.py:
Run the Test Procedures (Preparation):
- Establish connection to the back of the network analyzer from PC with USB cable
- Connect 2 foot RF cables to Port 1 and Port 2 of the Network Analyzer
- Run the test script by typing:
- A command-line program will show up:
-
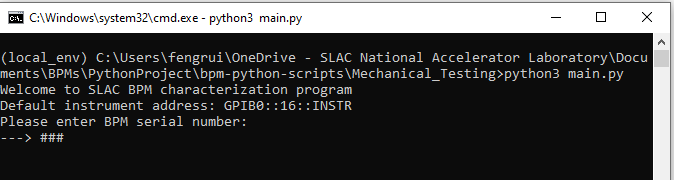
- Enter the BPM number (i.e. 340)
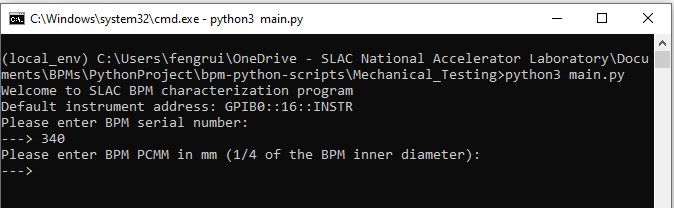
- Enter the PCMM in mm (i.e. 5.325)

- Enter job number
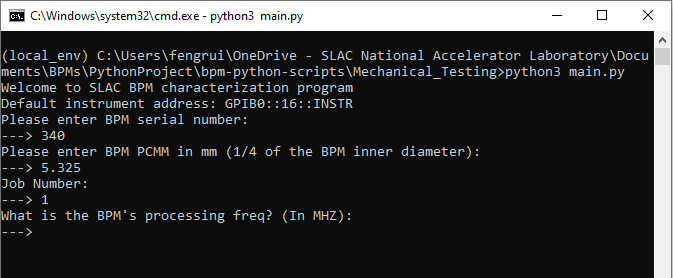
- Enter BPM frequency (i.e. 300, 230)
Run through calibration (initial), and test the BPM
- Upon entering the BPM frequency, the command prompt listing options will pop up containing the following options:
- If this is the initial run for the script (applies to every restart), you MUST calibrate the instrument before running full test, therefore, input "2" and press enter
- Follow through the calibration procedure according to the prompts
- Note: for through measurement, be sure to use a SMA barrel to connect two cables instead of using one
- Note: please use the calibration pod
- After calibration is completed, run a full test, follow the instructions from the prompt
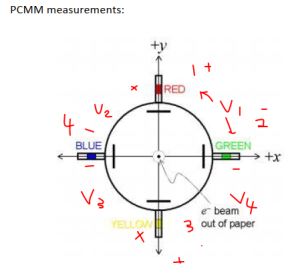
- The BPM port numbering is described below:
- Run through the BPM test script and interchange connections based on prompt in the script, this may take 20-30 minutes in total to run through the test
- Note: Be sure to save the test result by typing "Y" or "y" according to prompt, otherwise, your data would be lost!
- PCMM test is then complete, to confirm the test, navigate to the script folder and locate the added files that are there:
- File 1: txt test result in the name of BPM-###-#-cal-DDMMYYYY-HH-MM-SS.txt
- File 2: in the plots folder a new image in the name of BPM-###-#-cal-DDMMYYYY-HH-MM-SS.png
- If you wish to test another BPM, follow through the script again without having to run through the calibration procedure