Installing X11
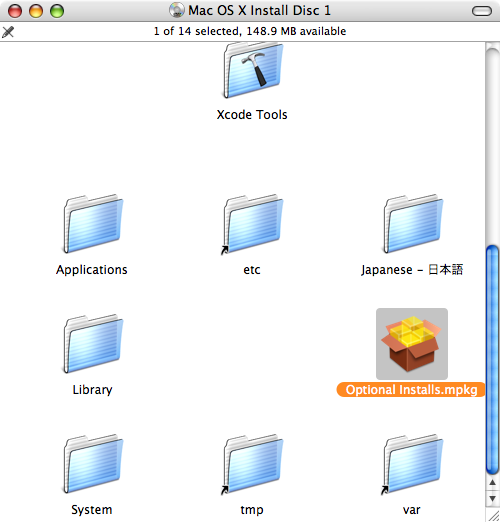
First, insert your Mac OS X Install Disc
Step 2
Double-click "Optional Installs.pkg"
Step 3
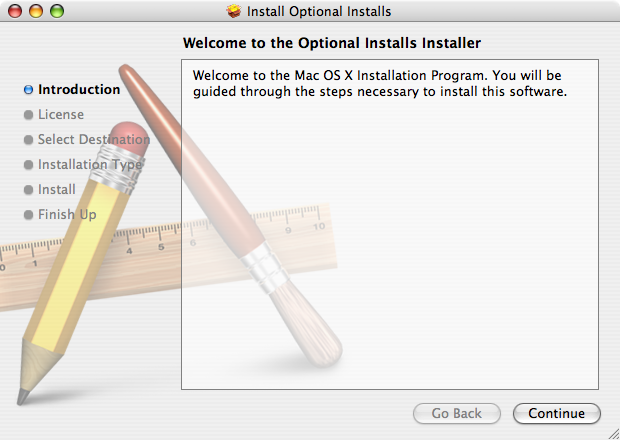
You'll be greeted with the Installer.
Click Continue.
Click Continue.
Click Continue.
Click Agree.
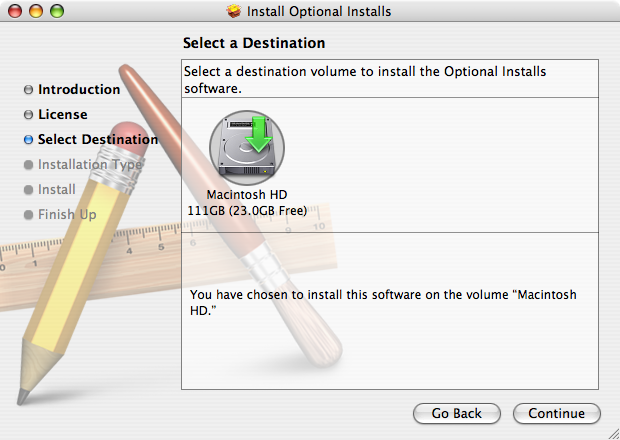
Step 4
Select the disk you'd like to install X11 on and click Continue
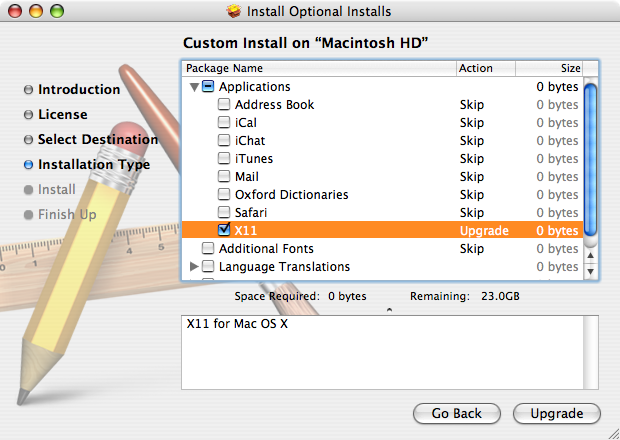
Step 5
Select the checkbox next to X11 within the Applications group and click "Install" or "Upgrade".
Step 6
Type your admin password. When X11 has finished installing, the installer will display "The software was successfully installed".
