YARR DAQ "FELIX" Workstation with 1 Spec PCIe card in Lab C
Introduction
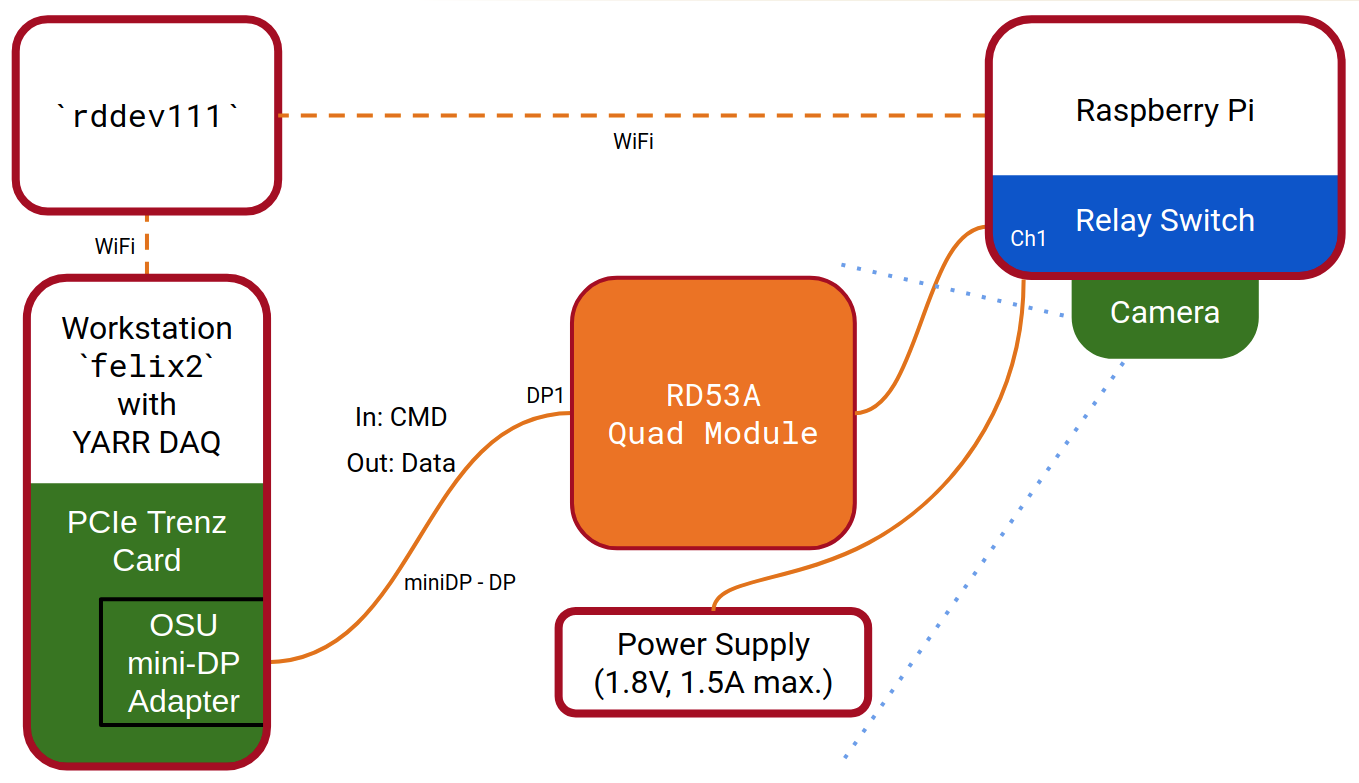
felix2 from rddev111.Overview
Schematic
Photo
Individual Components
| Device | Photos |
|---|---|
Workstation PC ` |
"FELIX" Workstation ` |
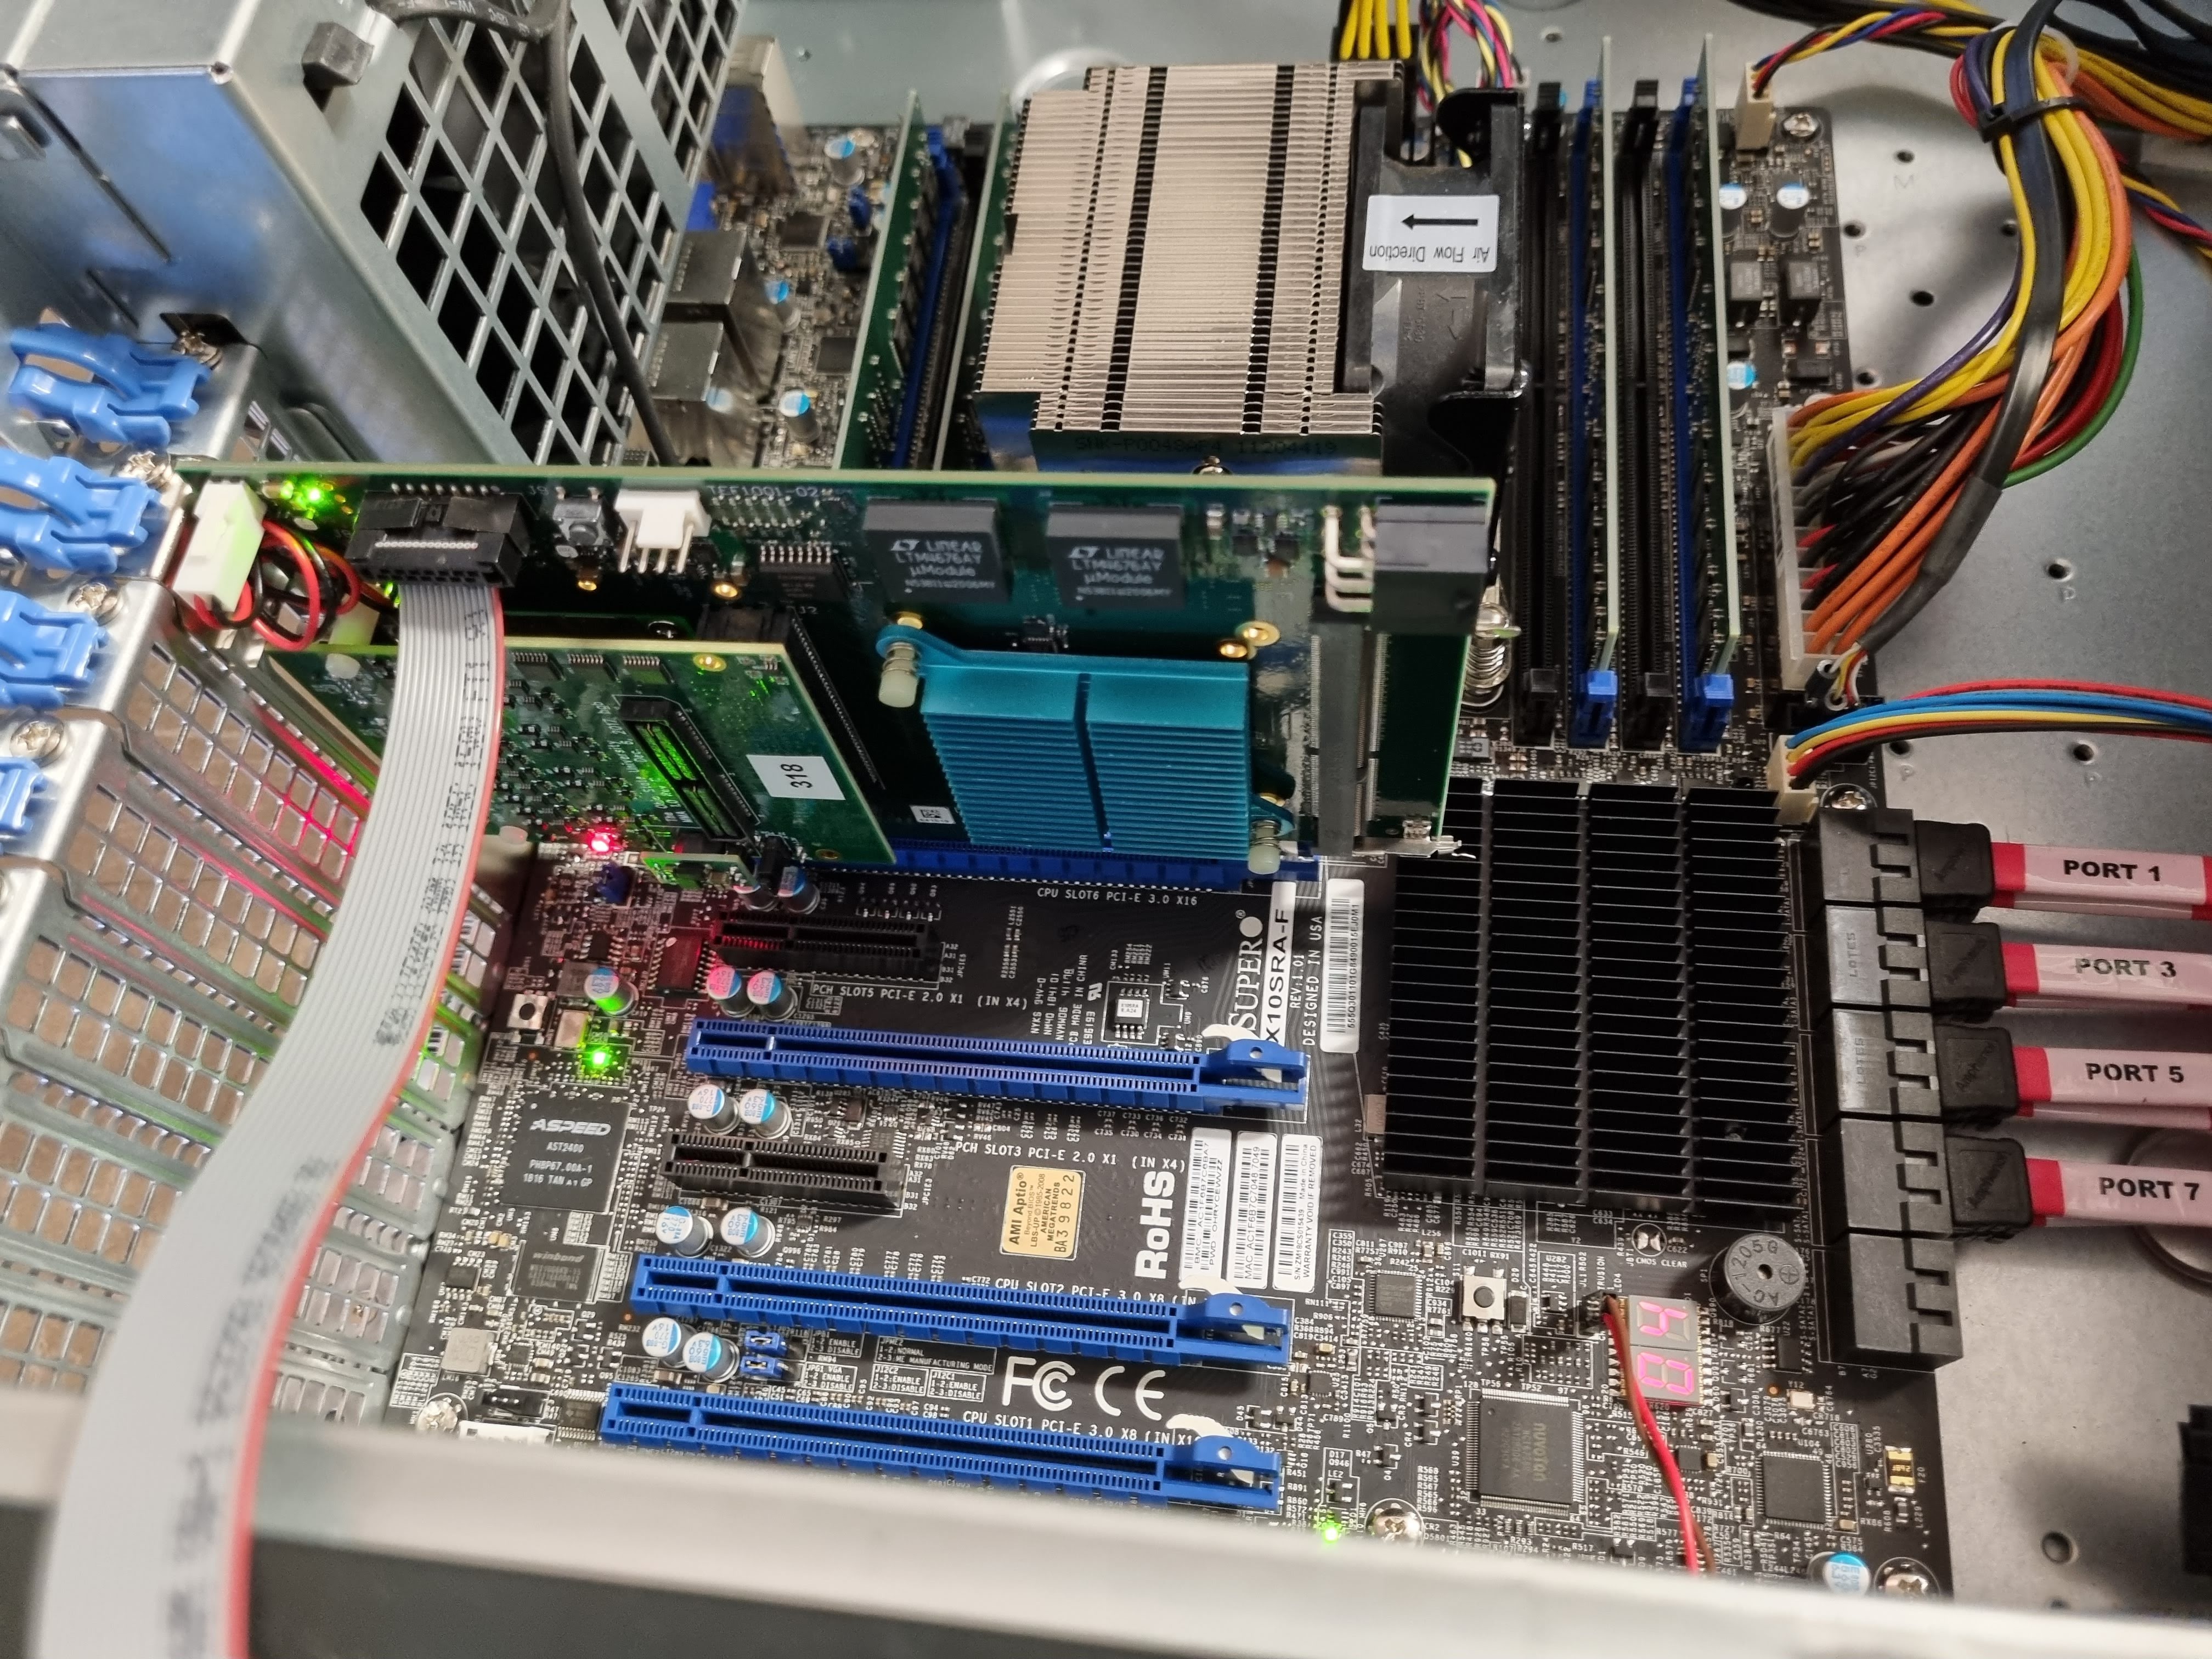
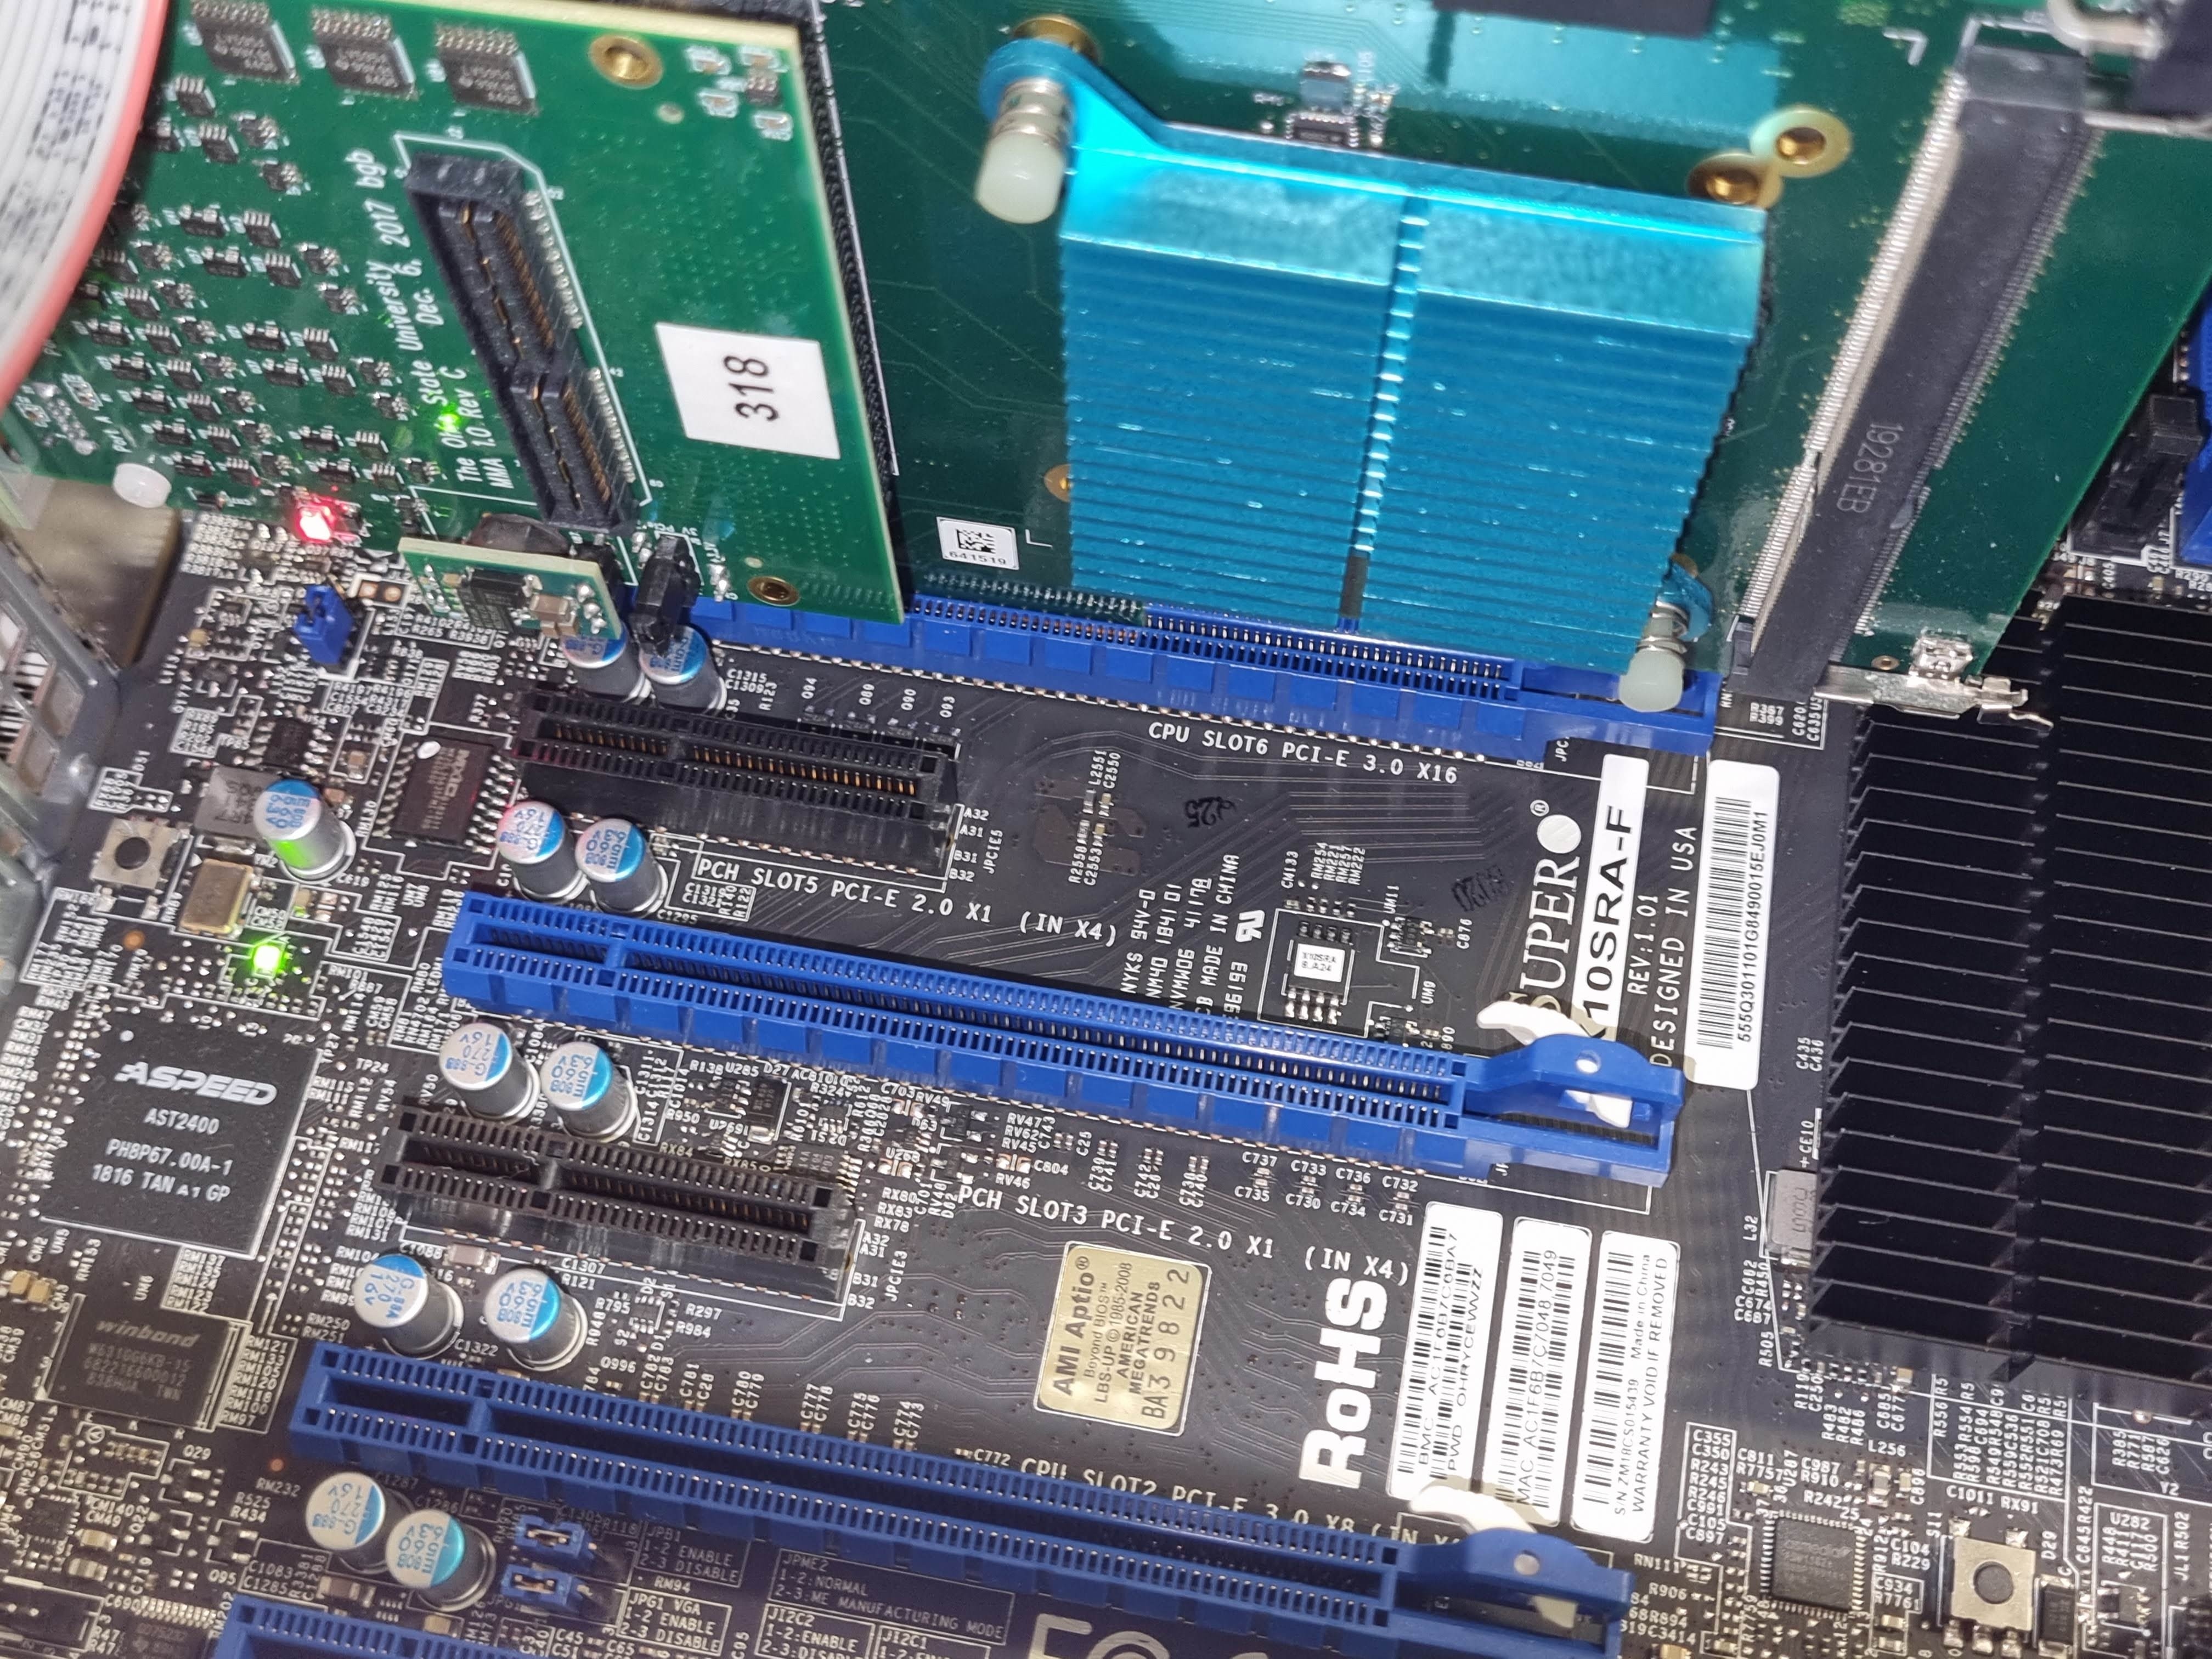
| DAQ Card |
YARR DAQ (Trenz TEF 1001-02) card & Ohio State Adapter card connected to the PC PCIe 3.0 into the PC / Mini-DisplayPort out for the module
The card is connected to the ` |
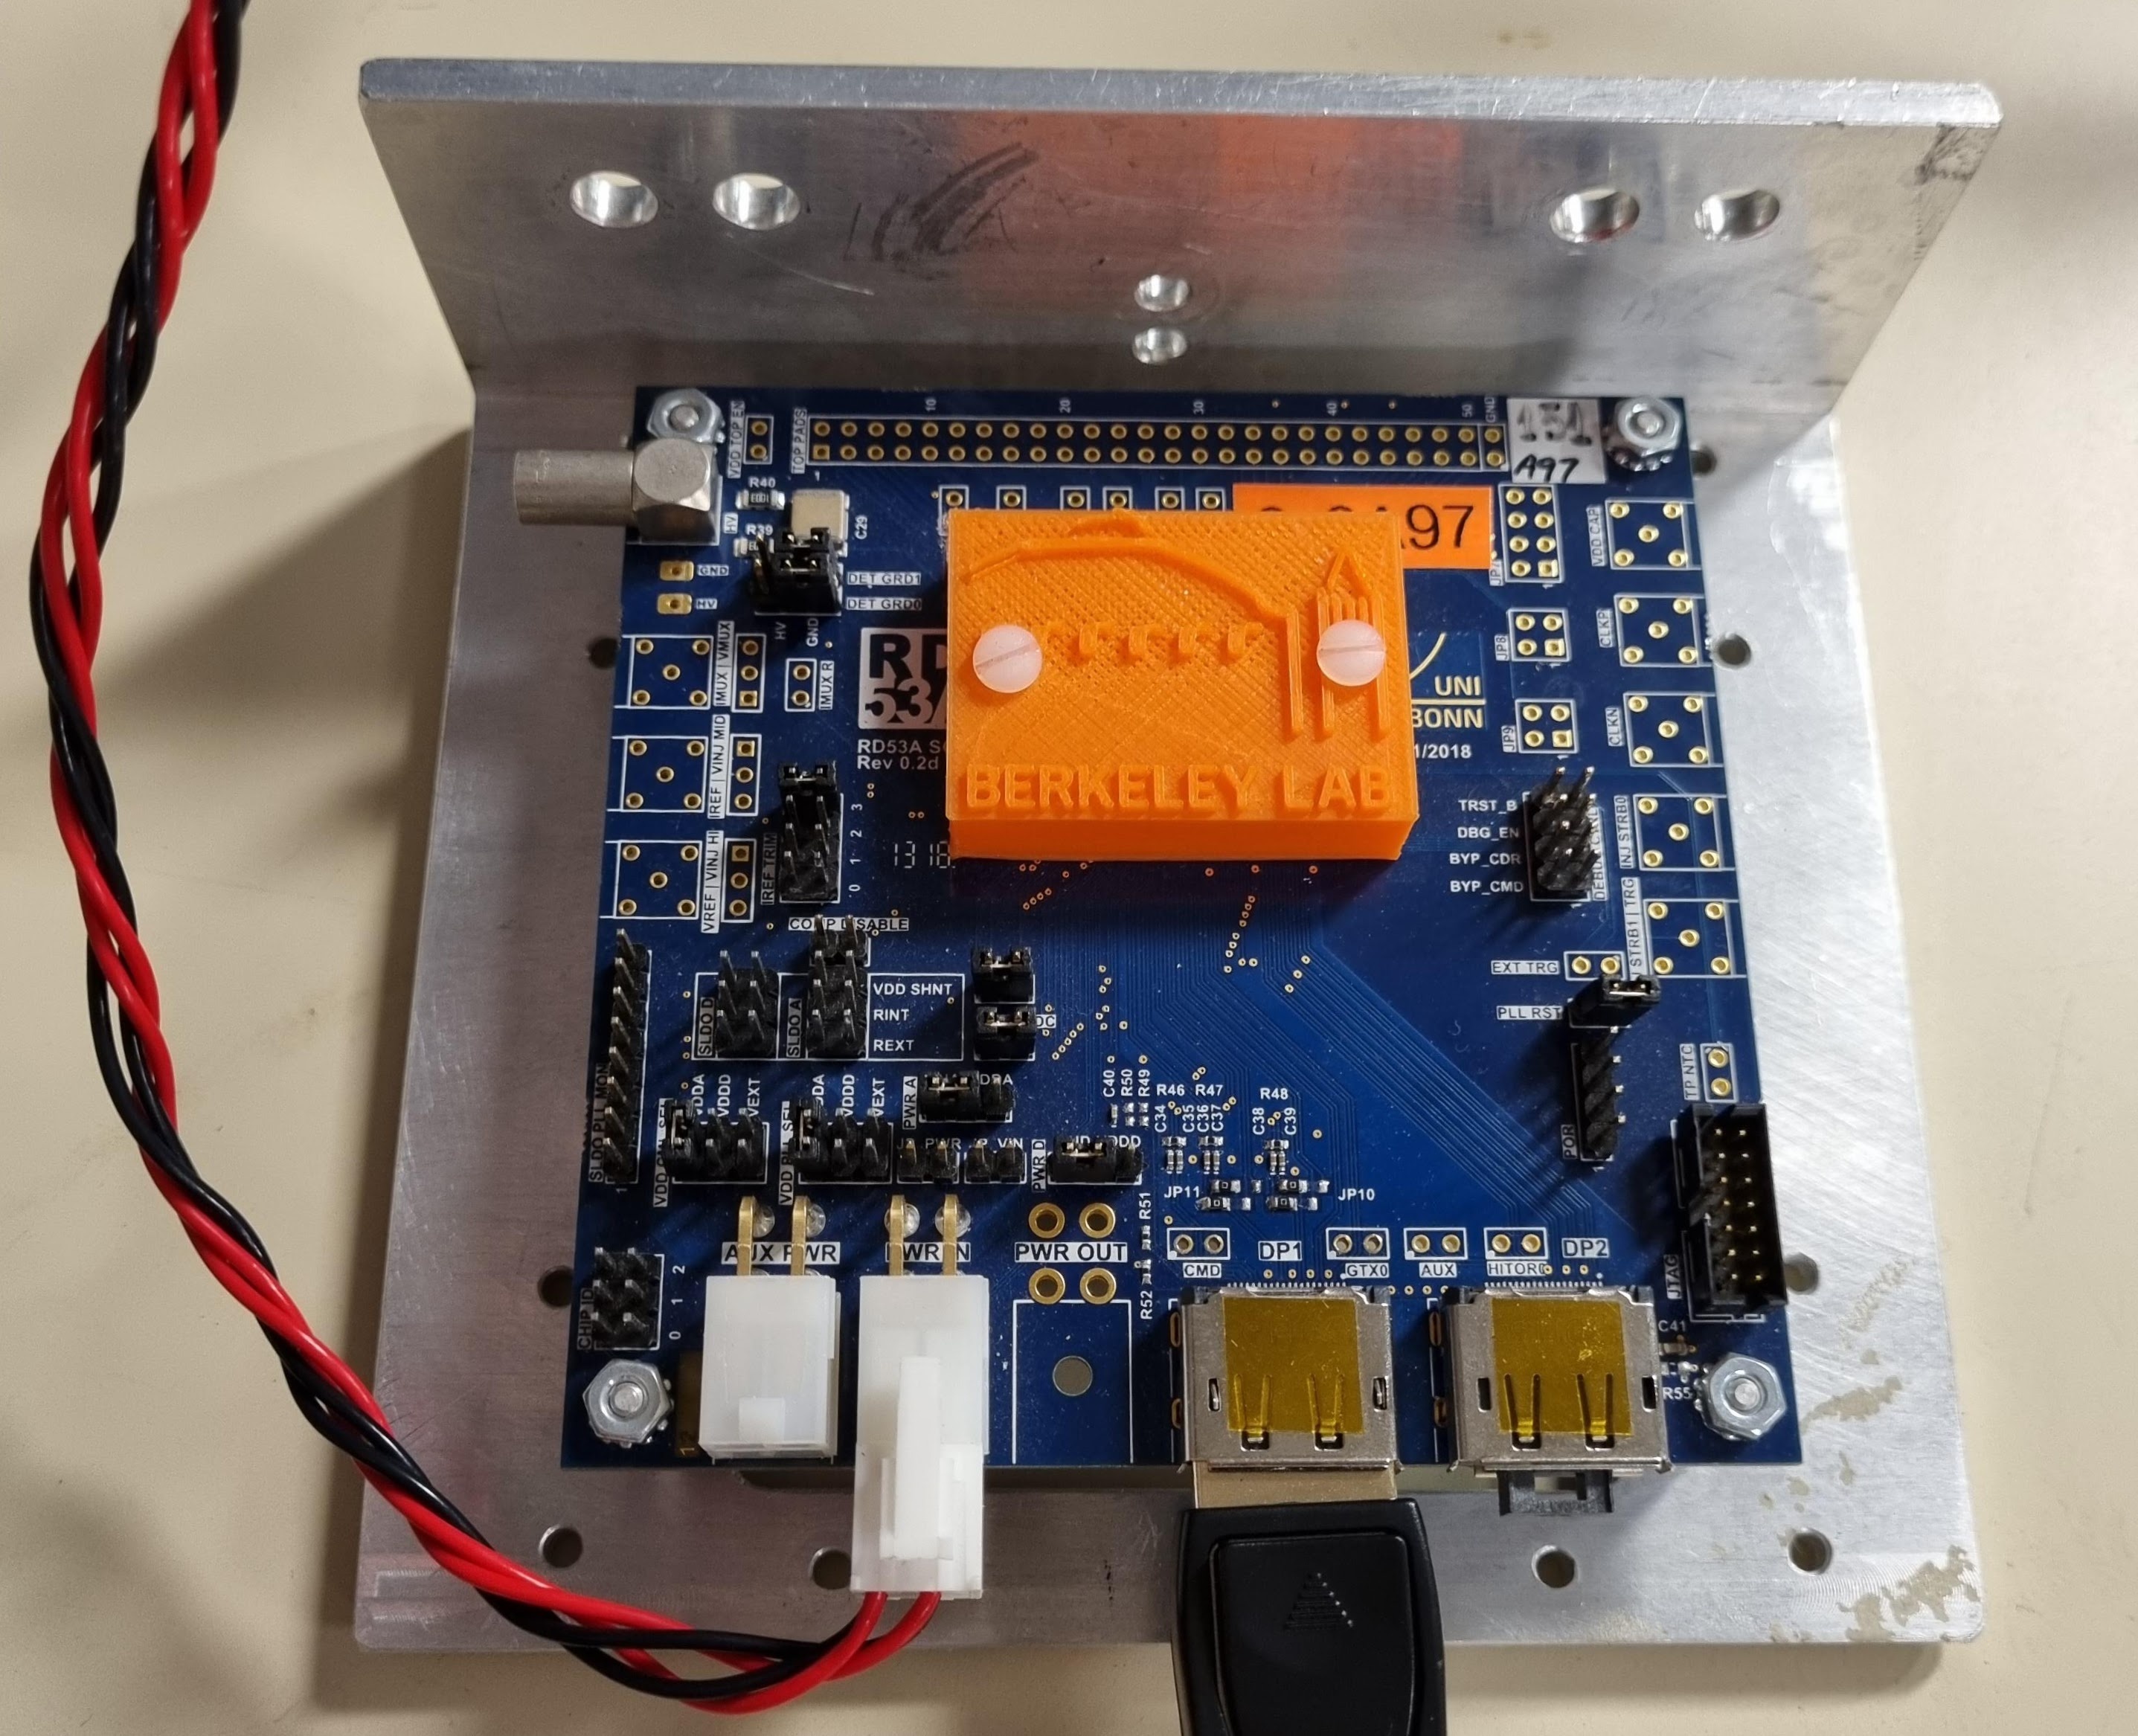
RD53A Module |
RD53A module is connected to the DAQ system for testing & GUI development purposes. (Note that this is the module that Zijun has worked on previously, and there are some non-trivial caveats regarding its data transmission.) |
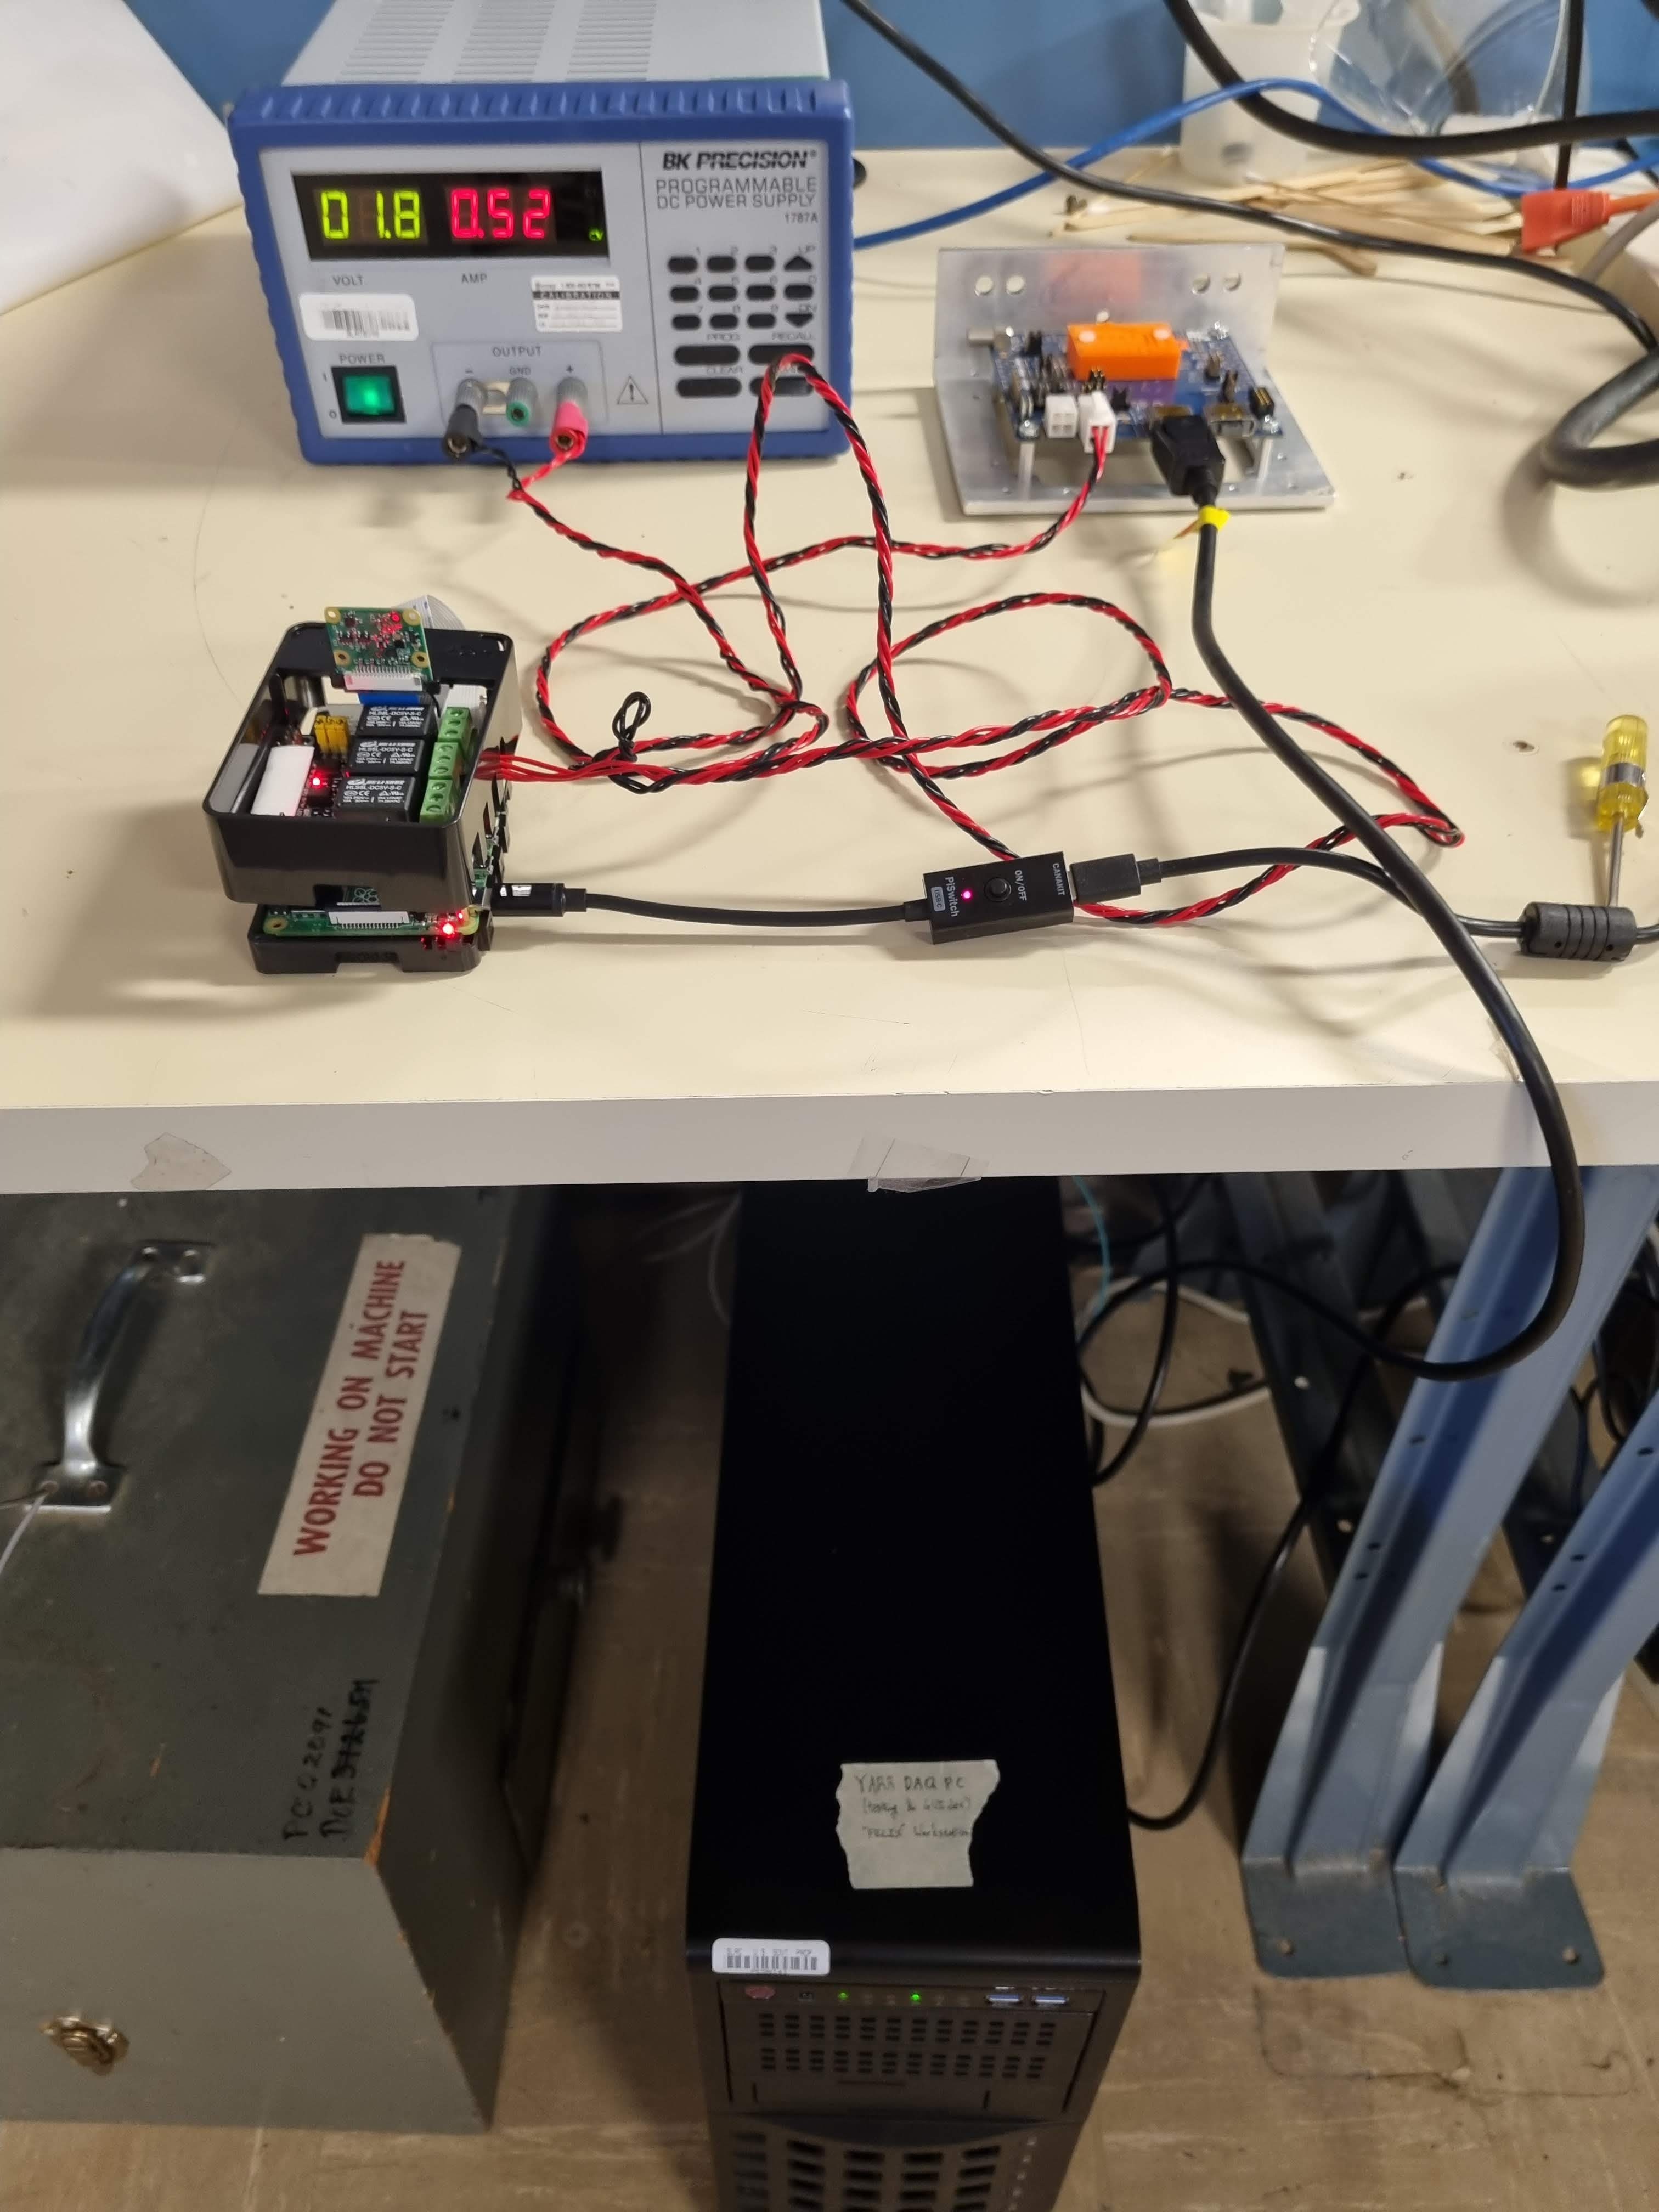
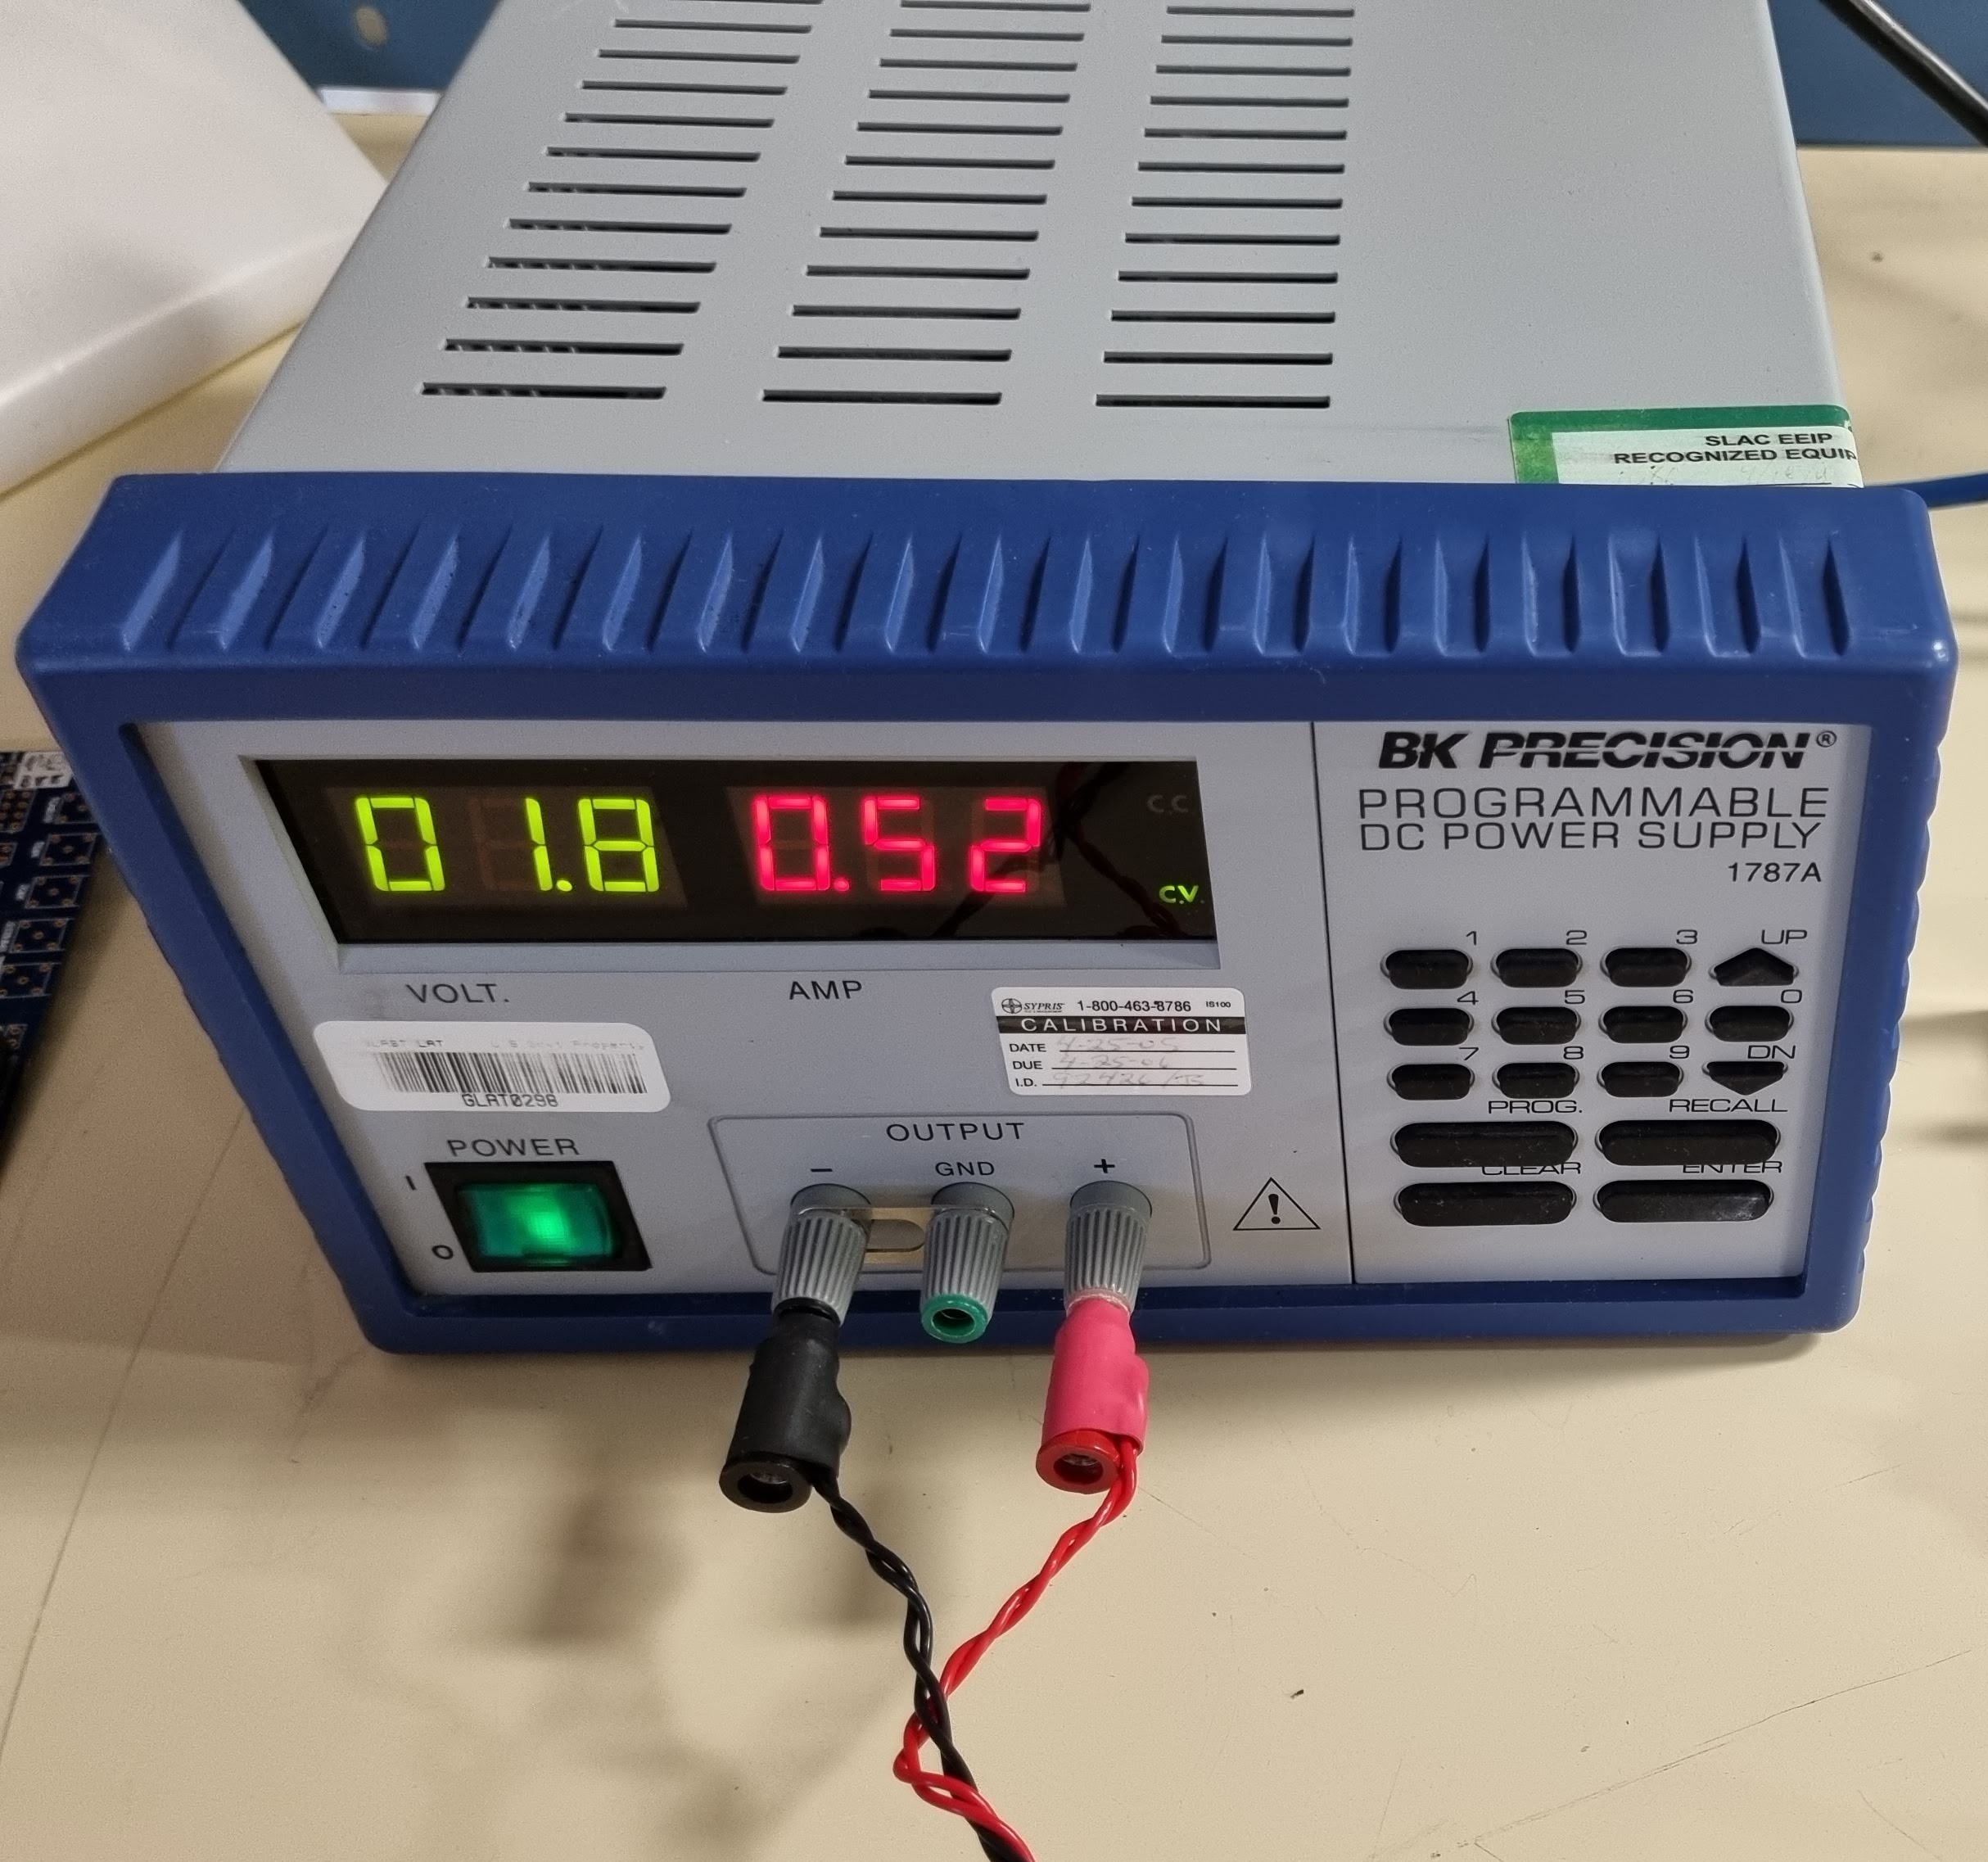
| Power Supply |
BK Precision 1787A DC Power Supply Nominal Setting for RD53A: |
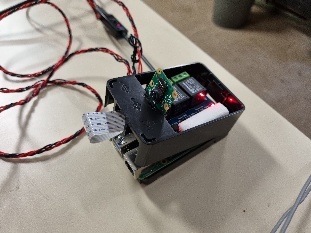
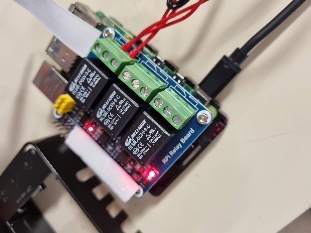
Raspberry Pi (Control System) |
Raspberry Pi is used for the online monitoring camera and the power supply control. The power supply is controlled by ` The python script for relay control is: ` |

Installing & Running YARR
Refer to the YARR documentation page to install YARR.
Some required software set-ups:
- For `
g++` version abvoe 7.0, run the following command: `source /opt/rh/devtoolset-7/enable` - For `
cmake3`, use: `/opt/cmake-3.20.1-linux-x86_64/bin/cmake` - For Vivado Lab Solutions, run the following command: `s
ource /tools/Xilinx/Vivado_Lab/2019.2/settings64.sh`