Table of Contents
Useful links
Technical
- SDF guide and documentation, particularly on using Jupyter notebooks interactively or through web interface (runs on top of nodes managed by SLURM)
- Training dataset dumper (used for producing h5 files from FTAG derivations) documentation and git (Prajita's fork, bjet_regression is the main branch)
- SALT documentation, SALT on SDF, puma git repo (used for plotting), and Umami docs (for postprocessing), also umami-preprocessing (UPP)
- SLAC GitLab group for plotting related code
- FTAG1 derivation definition (FTAG1.py)
Documents and notes
- GN1 June 2022 PUB note, nice slides from A. Duperrin
- Jannicke's thesis (chapter 4 on b-jets)
Presentations and meetings
- See all B-jet calibration meetings on Indico
- Framework experience (Prajita, July 6)
- Plans (Prajita, July 13)
- What needs to be added to JETM2 (August 17)
Planning

SDF preliminaries
Compute resources
SDF has a shared queue for submitting jobs via slurm, but this partition has extremely low priority. Instead, use the usatlas partition or request Michael Kagan to join the atlas partition.
You can use the command sacctmgr list qos name=atlas,usatlas format=GrpTRES%125 to check the resources available for each:
atlas has 2 CPU nodes (2x 128 cores) and 1 GPU node (4x A100); 3 TB memoryusatlas has 4 CPU nodes (4x 128 cores) and 1 GPU node (4x A100, 5x GTX 1080. Ti, 20x RTX 2080 Ti); 1.5 TB memory
Environments
An environment needs to be created to ensure all packages are available. We have explored some options for doing this.
Option 1: stealing instance built for SSI 2023. This installs most useful packages but uses python 3.6, which leads to issues with h5py.
Starting Jupyter sessions via SDF web interface
- SDF web interface > My Interactive Sessions > Services > Jupyter (starts a server via SLURM)
- Jupyter Instance > slac-ml/SSAI
Option 2 (preferred): create your own conda environment. Follow the SDF docs to use ATLAS group installation of conda.
There is also a slight hiccup with permissions in the folder /sdf/group/atlas/sw/conda/pkgs, which one can sidestep by specifying their own folder for saving packages (in GPFS data space).
The TLDR is:
export PATH="/sdf/group/atlas/sw/conda/bin:$PATH"
conda init # the previous will be added to your bashrc file
# Add the following lines to ~/.condarc file (create default file with conda config)
pkgs_dirs:
  - /gpfs/slac/atlas/fs1/d/<user>/conda_envs

conda env create -f bjr_v01.yaml # for example(bjr_v01) conda install jupyter
This env can be activated when starting a kernel in Jupyter by adding the following under Custom Conda Environment:
export CONDA_PREFIX=/sdf/group/atlas/sw/conda
export PATH=${CONDA_PREFIX}/bin/:$PATH
source ${CONDA_PREFIX}/etc/profile.d/conda.sh
conda env list
conda activate bjr_v01
Producing H5 samples
We are using a custom fork of training-dataset-dumper, developed for producing h5 files for NN training based on FTAG derivations.
The custom fork is modified to store the truth jet pT via AntiKt4TruthDressedWZJets container.
The main pieces of code that we are developing for the dumper are:
- Component accumulator: BTagTrainingPreprocessing/bin/ca-dump-jer
- Configuration file: configs/ftag_jer.json
After compilation (note that one must build on Athena rather than AnalysisBase, as per the advanced usage page), you can run a local test with:
ca-dump-jer -c configs/ftag_jer.json <test_FTAG1_file>
Some additional truth information for the tracks will be useful. The addition of fields under the decorate part of the config didn't work with FTAG derivations. Some predefined decorations are in TDD docs.
- Add truthTypeLabel (NoTruth=0, Other=1, Pion=2, Kaon=3, Electron=4, Muon=5, Photon=6)
A set of test mc21 FTAG1 files can be found on:
/gpfs/slac/atlas/fs1/d/pbhattar/BjetRegression/InputDAOD
The current set of available Ntuples is available on:
/gpfs/slac/atlas/fs1/d/pbhattar/BjetRegression/Input_Ftag_Ntuples
├── Rel22_ttbar_AllHadronic
├── Rel22_ttbar_DiLep
└── Rel22_ttbar_SingleLep
Plotting with Umami/Puma
Plotting with umami
Umami (which relies on puma internally) is capable of producing plots based on yaml configuration files.
The best (read: only) way to use umami out of the box is via a docker container. To configure on SDF following the docs, add the following to your .bashrc:
export SDIR=/scratch/${USER}/.singularity
mkdir $SDIR -p
export SINGULARITY_LOCALCACHEDIR=$SDIR
export SINGULARITY_CACHEDIR=$SDIR
export SINGULARITY_TMPDIR=$SDIR
To install umami, clone the repository (which is forked in the slac-bjr project):git clone ssh://git@gitlab.cern.ch:7999/slac-bjr/umami.git
Now setup umami and run the singularity image:
source run_setup.sh
singularity shell /cvmfs/unpacked.cern.ch/gitlab-registry.cern.ch/atlas-flavor-tagging-tools/algorithms/umami:0-19
Plotting exercises can be followed in the umami tutorial.
Plotting with puma standalone
Puma can be used to produce plots in a more manual way. To install, there was some difficulty following the nominal instructions in the docs. What I (Brendon) found to work was to do:
conda create -n puma python=3.11
pip install puma-hep
pip install atlas-ftag-tools
This took quite some time to run, so (again) save yourself the effort and use the precompiled environments.
Preprocessing
SALT likes to take preprocesses data file formats from Umami (though in principle the format is the same as what's produced by the training dataset dumper).
An alternative (and supposedly better way to go) than using umami for preprocessing is to use the standalone umami-preprocessing (UPP).
Follow the installation instructions on git. This is unfortunately hosted on GitHub, so we cannot add it to the bjr-slac GitLab group ![]() A working fork
A working fork
is available under Brendon's account (master branch).
You can cut to the chase by doing conda activate upp, or follow the docs for straightforward installation.
To do the preprocessing to make the training, validation, and test sets, do:
preprocess --config configs/bjr.yaml --split all
Notes on logic of the preprocessing config files
There are several aspects of the preprocessing config that are not documented (yet). Most things are self explanatory, but note that:
- within the FTag software, there exist flavor classifications (for example lquarkjets, bjets, cjets, taujets, etc). These can be used to define different sample components. Further selections
based on kinematic cuts can be made through theregionkey. - It appears only 2 features can be specified for the resampling (nominally pt and eta).
- The binning also appears not to be respected for the variables used in resampling.
Model development with SALT
The slac-bjr git project contains a fork of SALT. One can follow the SALT documentation for general installation/usage. Some specific notes can be found below:
Creating conda environment
One can use the environment salt that has been setup in /gpfs/slac/atlas/fs1/d/bbullard/conda_envs,
otherwise you may need to use conda install -c conda-forge jsonnet h5utils. Note that this was built using the latest master on Aug 28, 2023.
SALT also uses comet for logging, which has been installed into the salt environment (conda install -c anaconda -c conda-forge -c comet_ml comet_ml).
Follow additional instructions for configuration on the SALT documentation. Note that the following error may appear if following the normal installation:
ImportError: cannot import name 'COMMON_SAFE_ASCII_CHARACTERS' from 'charset_normalizer.constant'
To solve it, you can do the following (again, this is already available in the common salt environment):
conda install chardet
conda install --force-reinstall -c conda-forge charset-normalizer=3.2.0
Interactive testing: it is suggested not to use interactive nodes to do training, but instead to open a terminal on an SDF node by starting a Jupyter notebook and going to New > Terminal. From here, you can test your training configuration.
Be aware that running a terminal on an SDF node will reduce your priority when submitting jobs to slurm.
Note that you must be careful about the number of workers you select (in the PyTorch trainer object) which should be <= the number of CPU cores you're using (using more CPU cores parallelizes the data loading,
which can be the primary bottleneck in training). The number of requested GPUs should match the number of devices used in the training.
For training on slurm
Change the submit_slurm.sh script as follows
#SBATCH --output="<your_output_path>/out/slurm-%j.%x.out"
#SBATCH --error="<your_output_path>/out/slurm-%j.%x.err

export COMET_API_KEY=<your_commet_key>
export COMET_WORKSPACE=<your_commet_workspace>
export COMET_PROJECT_NAME=<your_project_name>

cd <your_path_to_salt_directory>
Submitting a job to slurm
from top level salt directory can use following command to launch a slurm training job in sdf
sbatch salt/submit_slurm_bjr.sh
Both slurm-%j.%x.err andslurm-%j.%x.out files will start to fill up
You can use standard sbatch commands from SDF documentation to understand the state of your job.
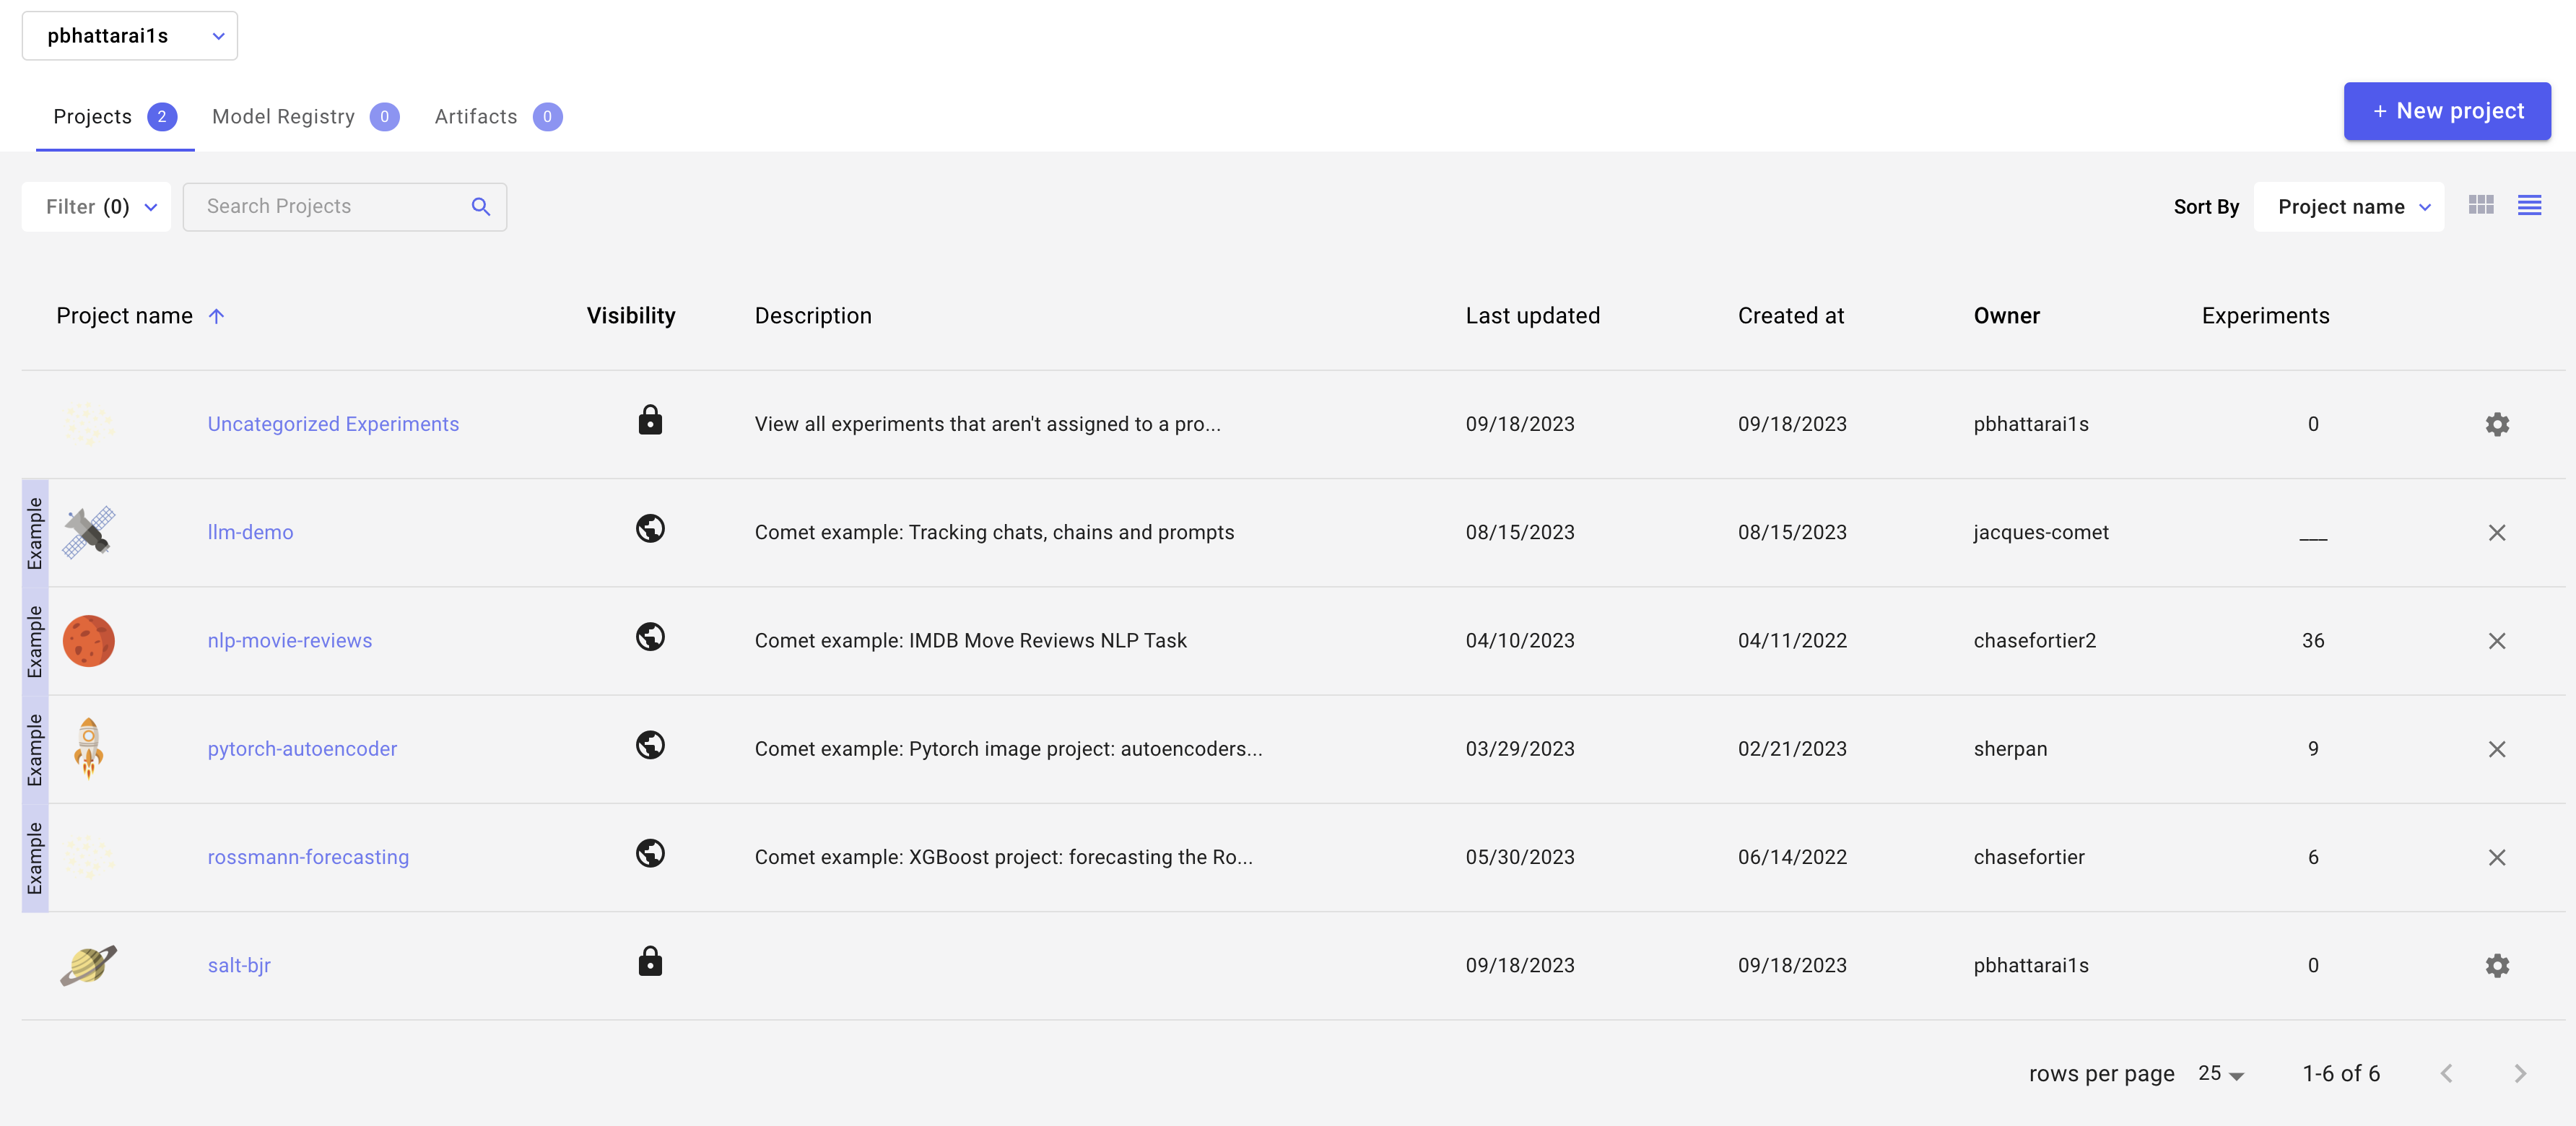
Comet Training Visualization
In your comet profile, you should start seeing the live update for the training which looks as follows. The project name you have specified in the submit script appears under your workspace which you can click to get the graphs of live training updates.
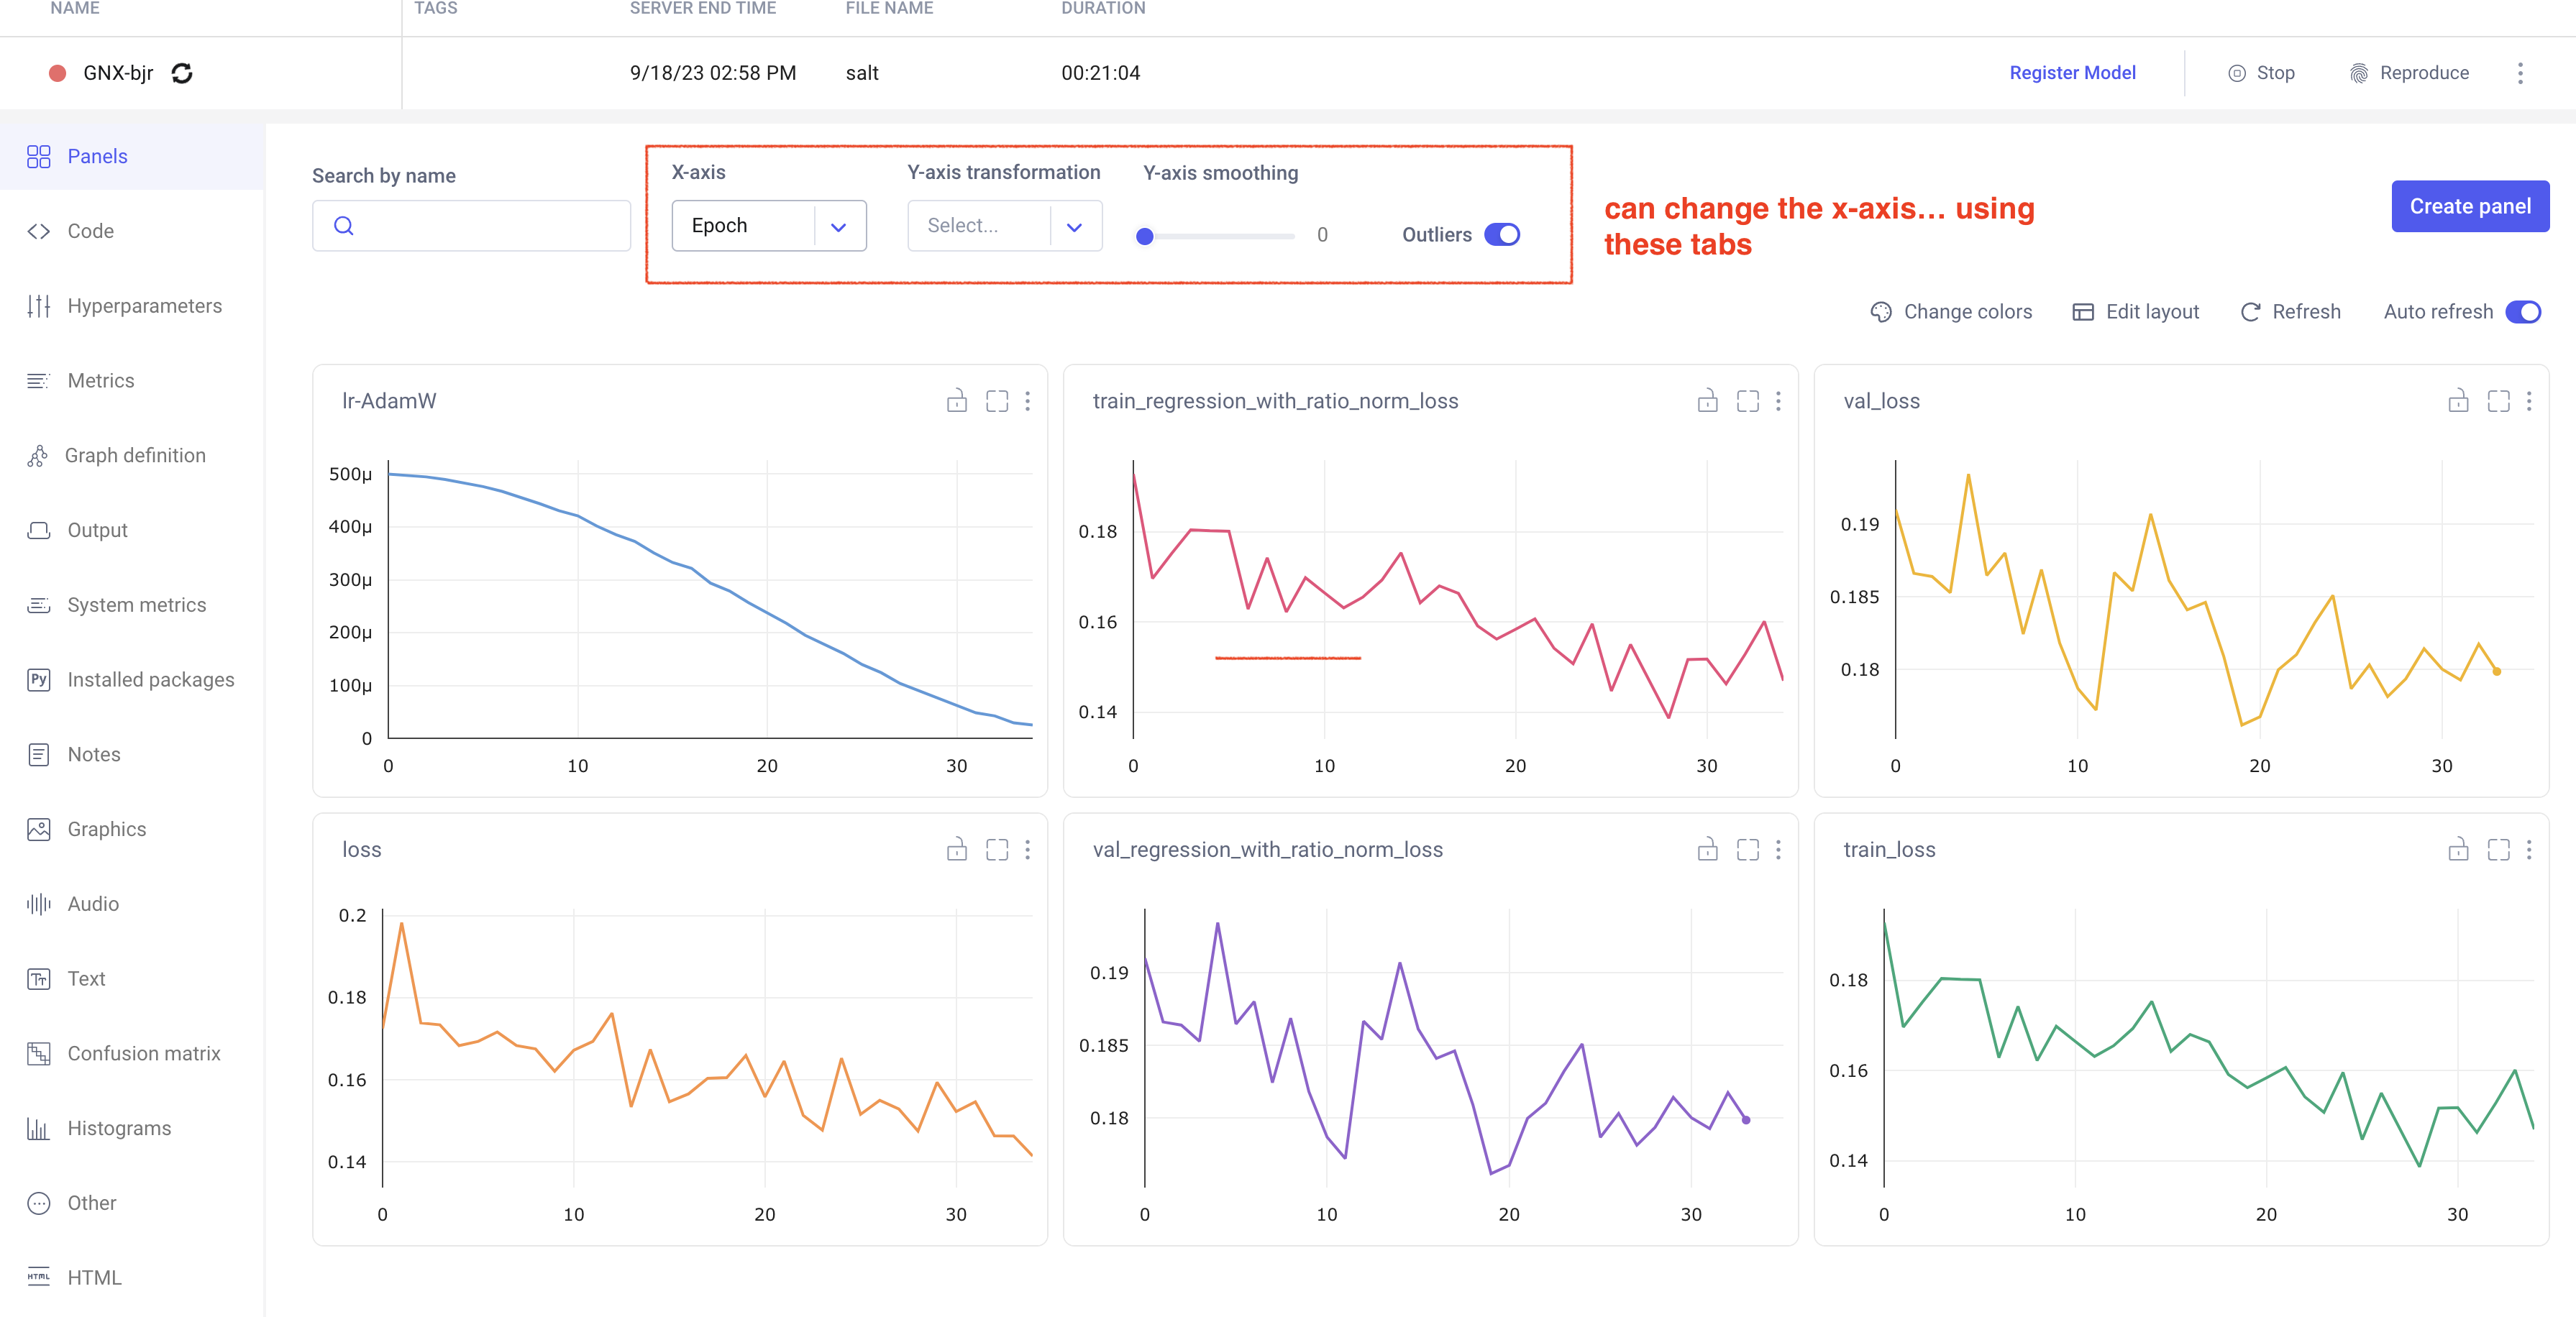
Training Evaluation
Follow salt documentation to run the evaluation of the trained model in the test dataset. This can also be done using a batch system. I (Prajita) personally have a separate bash script similar to the training script, for evaluating the training. The script looks like the following.
#!/bin/bash

# Job name
#SBATCH --job-name=salt-bjr

# choose the GPU queue
#SBATCH -p usatlas
# #SBATCH -p shared

# requesting one node
#SBATCH --nodes=1
#SBATCH --exclusive

# keep environment variables
#SBATCH --export=ALL

# requesting 4 V100 GPU
# (remove the "v100:" if you don't care what GPU)
# #SBATCH --gres=gpu:v100:4
#SBATCH --gpus=1

# note! this needs to match --trainer.devices!
#SBATCH --ntasks-per-node=1

# number of cpus per task
# useful if you don't have exclusive access to the node
#SBATCH --cpus-per-task=22

# request enough memory
#SBATCH --mem=200G

#CHANGE HERE log names; %j gives job id, %x gives job name
#SBATCH --output=<path_to_where_you_want_to_store_evaluate_output>slurm-%j.%x.out
#SBATCH --error=<path_to_where_you_want_to_store_evaluate_output>slurm-%j.%x.err


# speedup
export OMP_NUM_THREADS=1

echo "CPU count: $(cat /proc/cpuinfo | awk '/^processor/{print $3}' | tail -1)"

echo "Current node: ${SLURMD_NODENAME}"

# CHANGE THIS :: move to workdir
cd <path_to_your_salt_dir>
echo "Moved dir, now in: ${PWD}"

# activate environment
source /sdf/group/atlas/sw/conda/etc/profile.d/conda.sh
#setup_conda
conda activate salt
echo "Activated environment ${CONDA_DEFAULT_ENV}"
echo "CUDA_VISIBLE_DEVICES: $CUDA_VISIBLE_DEVICES"

# evaluate the training
echo "Evaluating the trained model on test sample..."
srun salt test --config <your_path_to>/logs/GNX-bjr_20230918-T120112/config.yaml --data.test_file <your_path_to_test_file> --data.num_workers 20
This produces a log in the same directory as all the log files, which can be read/compared using h5.
To do: add a link to a simple notebook that analyzes the evaluation file.
Training Optimization
Miscellaneous tips
You can grant read/write access for GPFS data folder directories to ATLAS group members via the following (note that this does not work for SDF home folder)
groups <username> # To check user groups
cd <your_directory>
find . -type d|xargs chmod g+rx # Need to make all subdirectories readable *and* executable to the group