GUI intended to create mask of the bad pixels and save it as 2-d image and 3-d data like array.
Content
Main window GUI
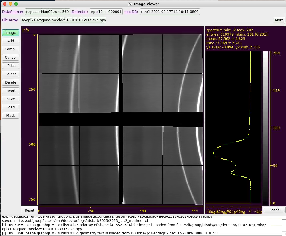
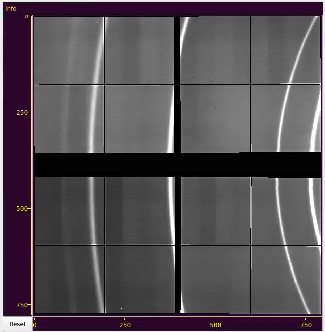
Image with axes
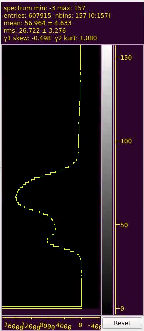
Spectrum with statistical data
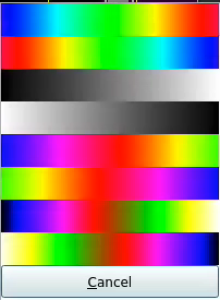
Color bar selection
Logger

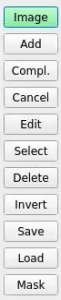
Control fields and buttons

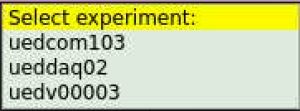
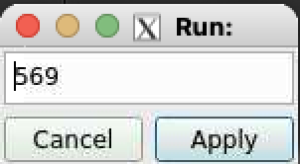
Select DB parameters
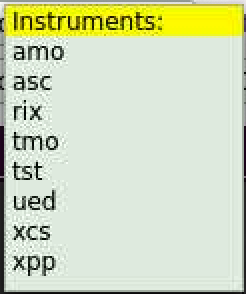
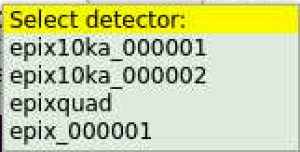
Select detector
ROI control buttons
Translate and zoom image
Click on Image mode button, then click and drag or scroll mouse for translation or zomming image, respectively.
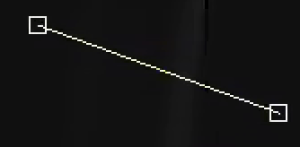
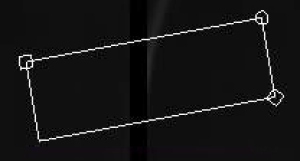
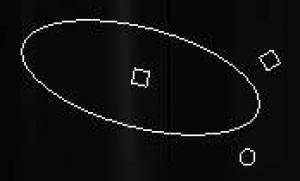
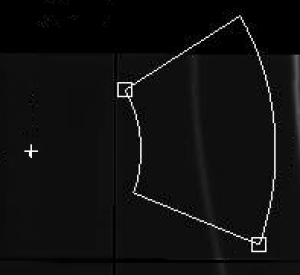
Add ROI
Click on Add button and select ROI type from pop-up menu:
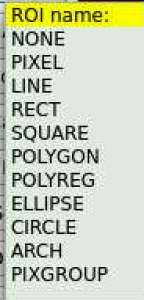
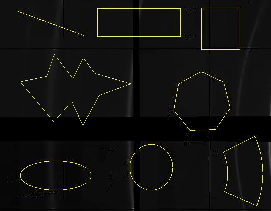
Adding ROI
Right after selected ROI type click on image to mark ROI control point locations as manyy times as it is necessary to define particular ROI shape.
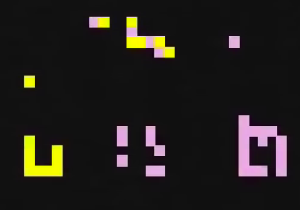
Add/Select PIXEL and PIXGROUP
Right after click on Add button and selection of PIXEL or PIXGROUP ROI, start clickiing on desired pixels or click-hold and pan. Added pixels will be marked by color. Double click remove appropriate pixel. Input of the PIXGROUP is compleated
Edit mode


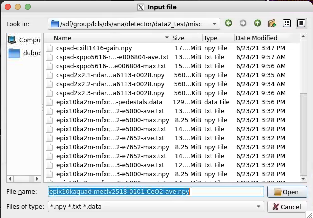
Select file GUI
Use standard dialog to select I/O files


References
Overview
Content Tools