Table of Contents
- Introduction
- Requirements
- Connecting to the SLAC VPN Using Linux
- Connecting to the SLAC VPN Using Mac OS X
- Connecting to the SLAC VPN Using Windows
- Frequently Asked Questions (FAQs)
- Troubleshooting
Introduction
Virtual Private Network (VPN) provides a secure connection between your computer and the resources available at your home institution. In the case of SLAC, we offer a VPN service that permits authorized users to gain visibility of SLAC network resources from outside of SLAC. This includes the SLAC Visitor Wireless network.
This page documents the use of the SLAC VPN service.
Requirements
- You must have a SLAC Windows account
- You must have a SLAC VPN account, and agree to the usage policies outlined
- The following operating systems are currently supported:
- Windows XP SP3
- Windows Vista
- Windows 7 SP1
- Mac OSX Snow Leopard
- Linux
Connecting to the SLAC VPN Using Linux
These instructions are hosted on a separate page. Please visit:
Connecting to SLAC's VPN Using Linux
Connecting to the SLAC VPN Using Mac OS X
These instructions are hosted on a separate page. Please visit:
Connecting to SLAC's VPN Using Mac OS X
Connecting to the SLAC VPN Using Windows
Open a Web Browser to our VPN Gateway
In order to connect to SLAV's VPN, you must have the AnyConnect software installed. By going to the following webpage, we can check to make sure you have the correct software installed and configured (and up to date), and provide an automated install if it is not.
- Goto:
https://vpn.slac.stanford.edu - Please note the http*s*
Your web browser should come up with the following series of screens
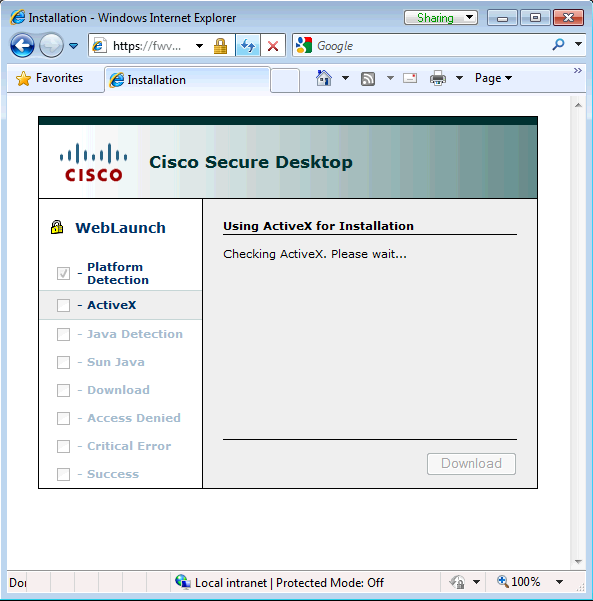
Allow Cisco Secure Desktop to Check Your System
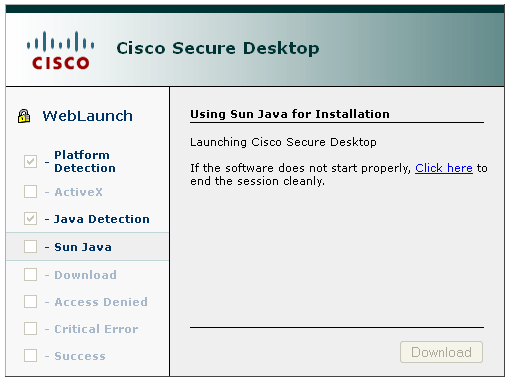
The web page will instantiate a java applet so that it may check your system for the presence of the AnyConnect software.
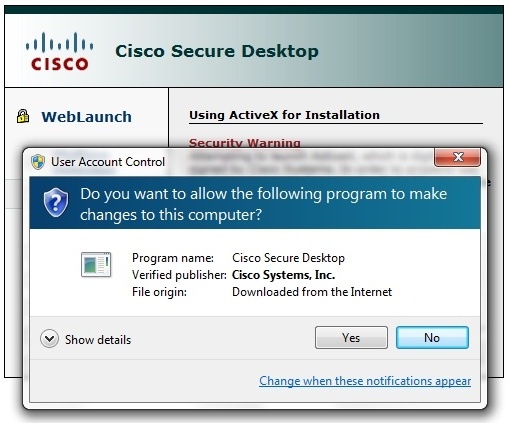
This may bring up a dialog box which will prompt you to run the application or not.
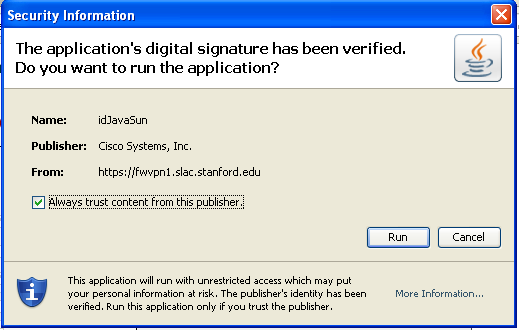
- If you do not wish to see this dialog again in the future, select 'Always trust content from this publisher'
- Click on 'Run' to allow the applet to scan your system
Log In
The following web page will be presented upon the initial system scan:
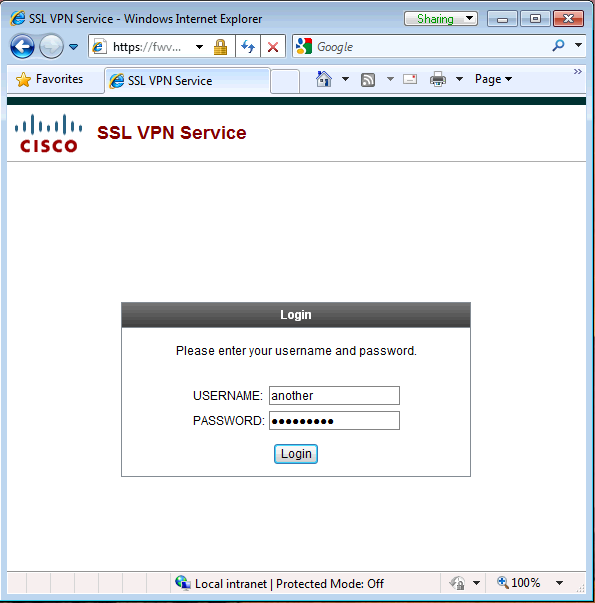
- Enter your provided VPN credentials.
- For an account, goto SLAC VPN Accounts
Agree to the Banner
Upon successful login, a banner will be shown on the webpage.
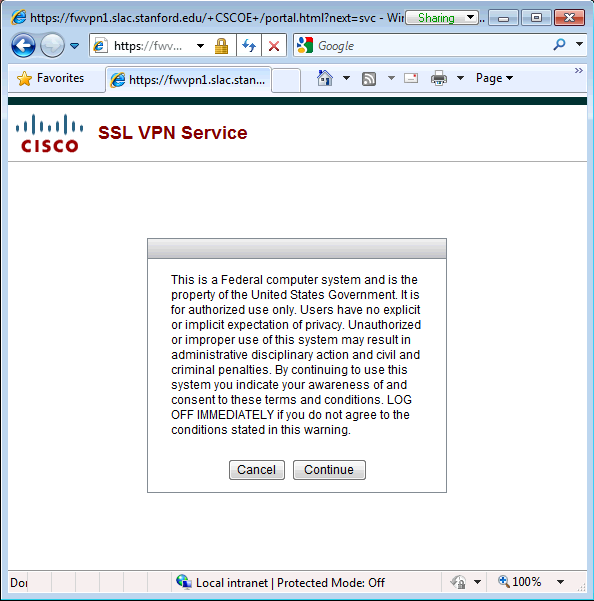
- Click Continue
Initiate the AnyConnect Client
A webpage that offers various methods to access the SLAC VPN services will be presented.
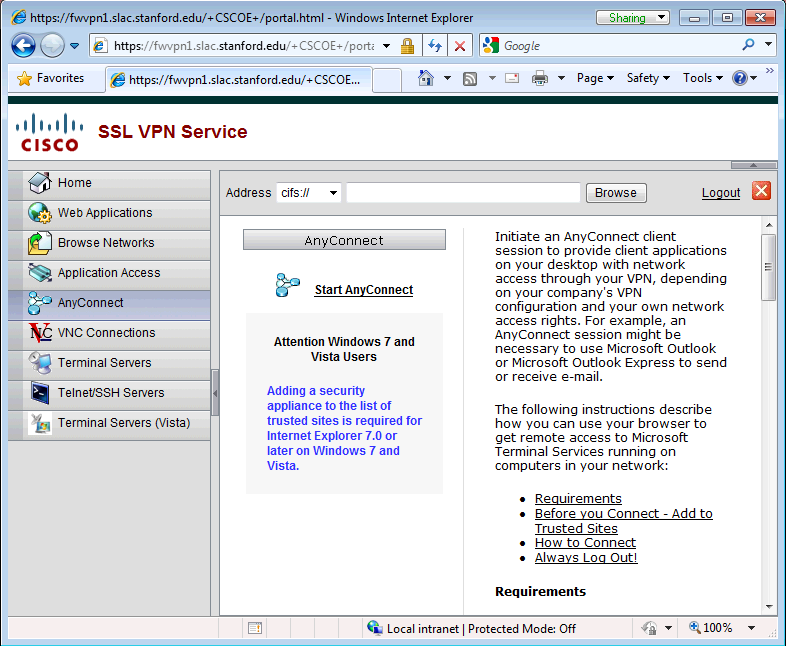
- Click on 'Start AnyConnect'
Install the AnyConnect Software (if required)
If you have problems installing the AnyConnect Client, please refer to the Troubleshooting section of this document.
If necessary (either because it is your first time accessing SLAC's VPN, or if there is a new version of the AnyConnect client), the web page will present that the AnyConnect software needs to be installed.
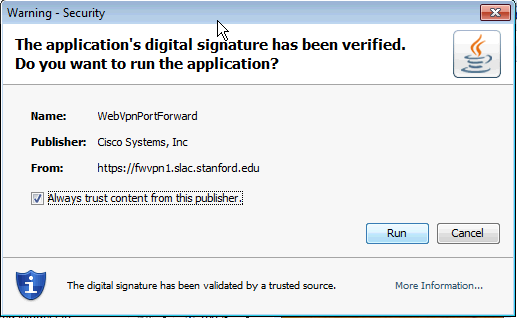
- If you do not wish to see this dialog again in the future, select 'Always trust content from this publish'
- Click on 'Run' to install the AnyConnect Client onto your system.
Editing the hostname within the VPN client.
- Manual installation does not automatically fill in the server list. If the hostname does not appear in the VPN client, i.e. it appears as:

then you can manually enter one of the following hostnames and successfully connect to update the list: Number
Hostname
Description
1
fwvpn1.slac.stanford.edu
load-balanced main hostname
2
fwvpn2.slac.stanford.edu
load-balanced secondary hostname
You have connected to SLAC's VPN Service
Upon successful VPN negotiation, you should get the following popup from AnyConnect showing that you have connected to SLAC's VPN service
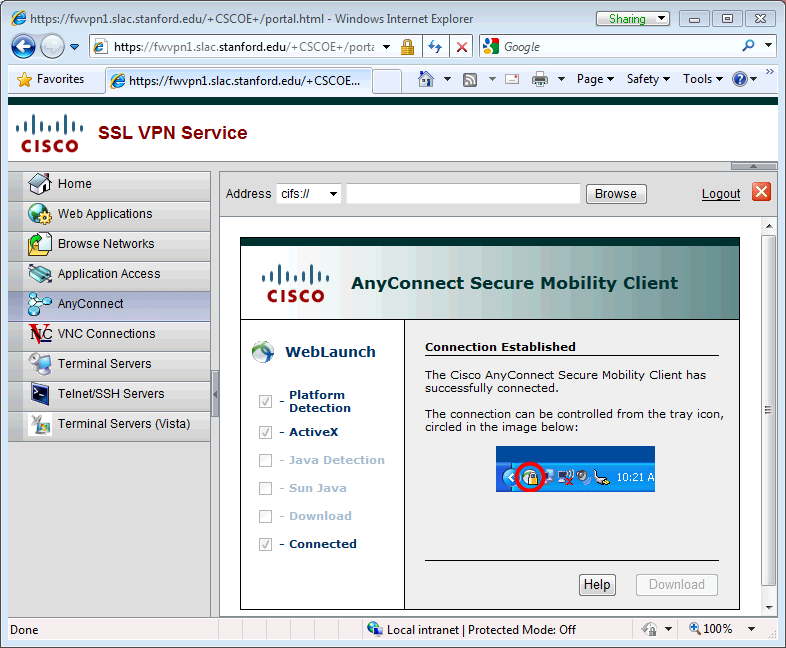
- you may close this webpage.
Disconnecting from the SLAC VPN
The AnyConnect client exists as a tray icon; you can get to it from the System tray next to the clock in the bottom right of your screen.
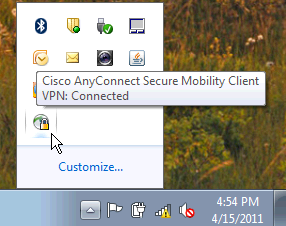

- To disconnect click on 'Disconnect'