Page History
...
2) To mask out jet streak near the centre of the detector, click on "Use streak mask". This will mask out strong intensities originating from the liquid jet. The streak mask is dynamic, i.e. recalculated for each image.
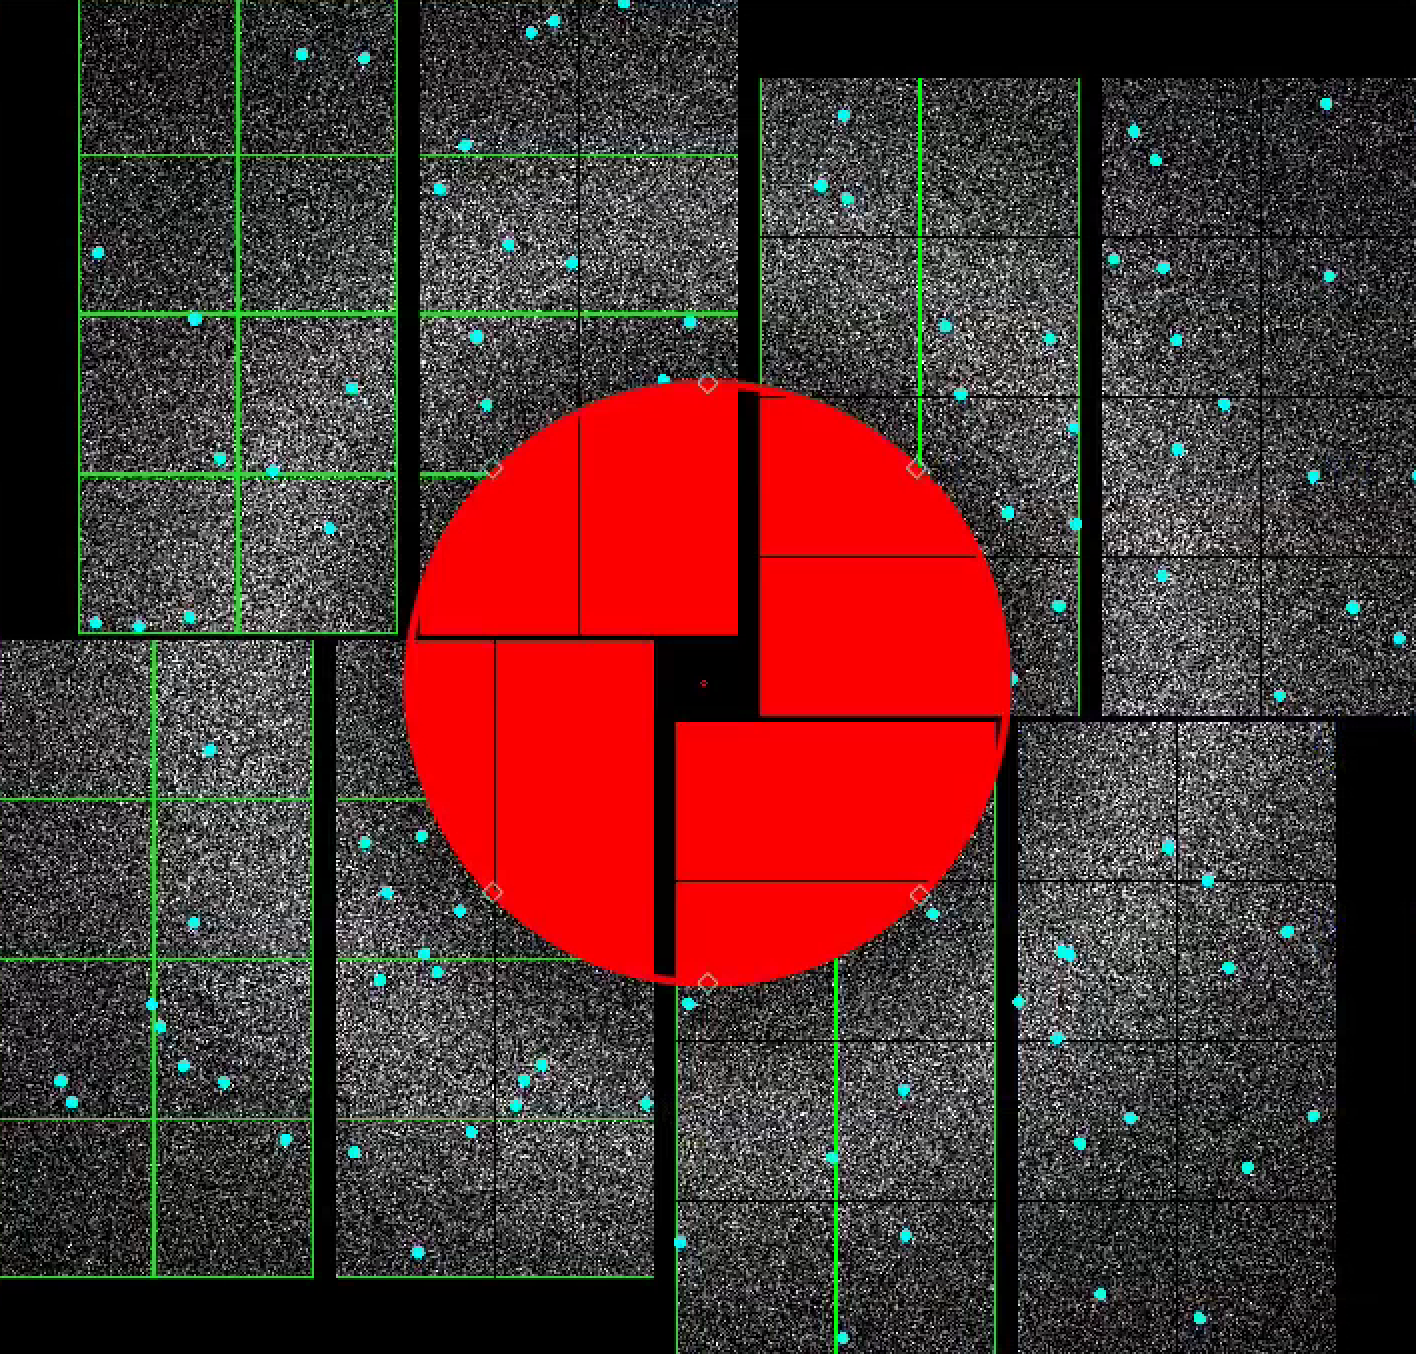
3) To make a donut mask over the water ring, click Let's look at using the mask widgets. In the Mask Panel, turn on "Use user-defined mask". Select "ToggleMask" in Masking mode. This will bring up a red circle, polygon and square mask widgets .Move the red circle widget to the centre on the left of the detector by dragging it. Resize it by dragging the diamond handle on the perimeter. Once you are happy with the area to be masked out, click "Stamp circular mask" button on the mask panel.
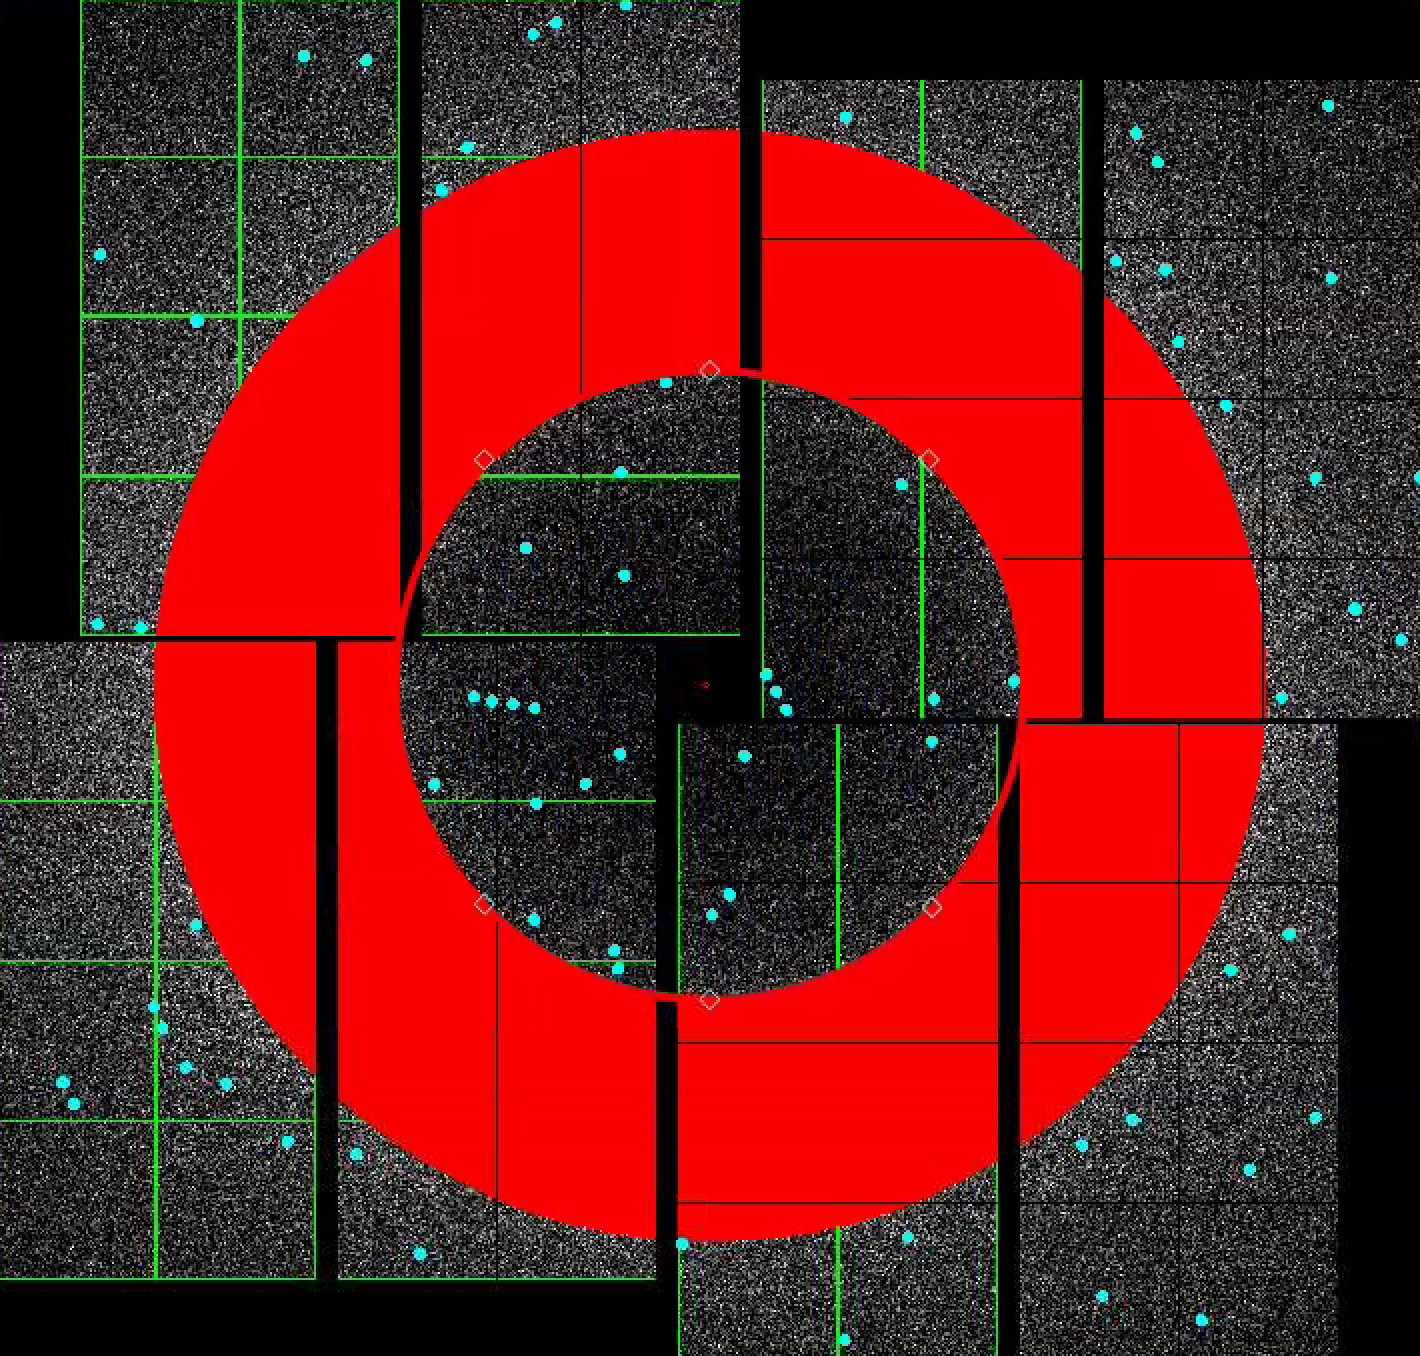
Increase the size of the red circle widget again by dragging the diamond handle on the perimeter. Click "Stamp circular mask" button on the mask panel. Because we are in the "toggle" mode, previously mask pixels inside our widget is unmasked, i.e. gets toggled. The area that does not overlap with the previous mask get masked out.
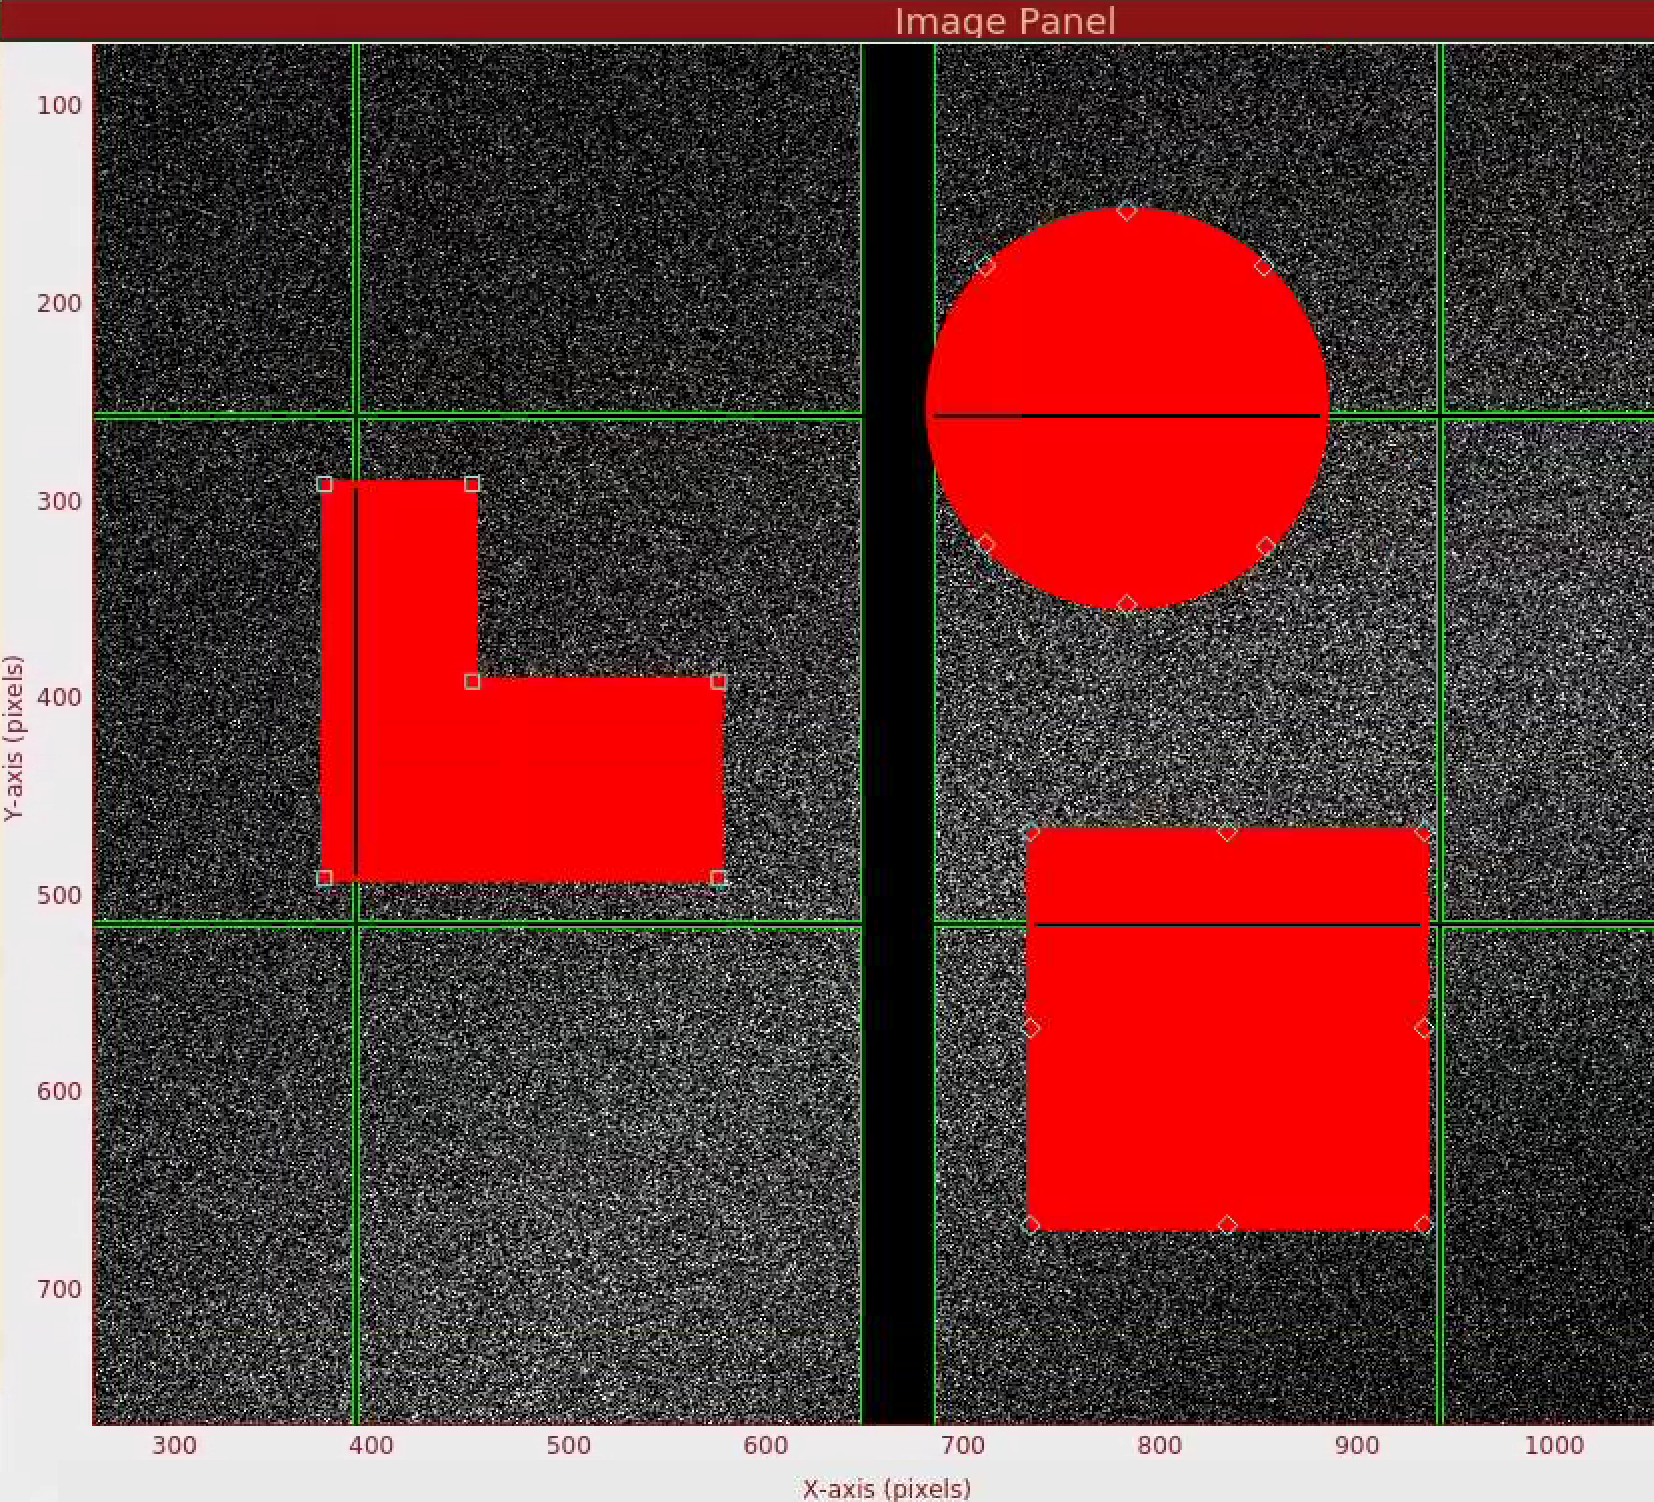
image. You can drag a mask widget onto the detector by clicking and holding the mouse button inside a widget. There are diamond handles on these widgets which you can drag to resize. For the polygon widget, you can create additional handles (or corners) by a single click on the edge of the widget. Once positioned, use the "Stamp rectangular mask", "Stamp circular mask", and "Stamp polygon mask" buttons to create the mask. In this "Mask" mode, you can click on single pixels on the detector to make out single pixels. "Mask outside histogram" button will mask out pixels that are below the histogram low threshold and above the histogram high threshold.
To save the user-defined mask, click on "Save static mask" button on the mask panel which will save the mask in your designated psocake run folder. This will combine user-defined mask (red) and the psana mask (green) into a single mask. You should see the following message in the terminal:
...
To delete the mask on the screen, select "Unmask" under Masking mode. Drag one of the red mask widgets over the detector and click "Stamp circular mask".
4) To make a donut mask over the water ring, turn on "Use user-defined mask". Select "Toggle" in Masking mode.
Move the red circle widget to the centre of the detector by dragging it. Resize it by dragging the diamond handle on the perimeter. Once you are happy with the area to be masked out, click "Stamp circular mask" button on the mask panel.
Increase the size of the red circle widget again by dragging the diamond handle on the perimeter. Click "Stamp circular mask" button on the mask panel. Because we are in the "toggle" mode, previously mask pixels inside our widget is unmasked, i.e. gets toggled. The area that does not overlap with the previous mask get masked out.
Peak finding
In this section, we will find peaks on the detector image.
...
Overview
Content Tools