Page History
...
To support remote operations a dedicated NoMachine Terminal Server has been deployed: psnxopr.slac.stanford.edu.
Then, NoMachine Enterprise Desktop will be installed on all DAQ workstations.
The following link provides guidelines to configure NoMachine Client: Remote Visualization.
To access the DAQ workstation, use the following steps:
- Access or create a new desktop session.
- Select the NoMachine icon on the upper right to get a drop down menu, then select the control room workstation:
- A new window requesting login access will appear
- After login, the operator will have to grant authorization for view-only mode on a selected or default monitor.
- As the remote user, any display can be accessed
- After access has been confirmed by the operator, select the menu option
- On the menu screen, select change monitor icon
- Then select the monitor to visualize its displayed content or All to see all monitors. (This setup has only 3 monitors)
- After access has been confirmed by the operator, select the menu option
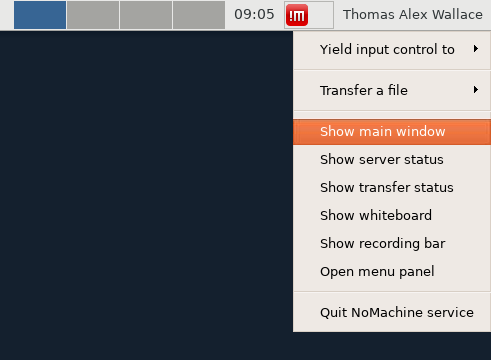
Select the NoMachine icon on the upper right to get a drop down menu, then select the control room workstation:- and select "Show main window"
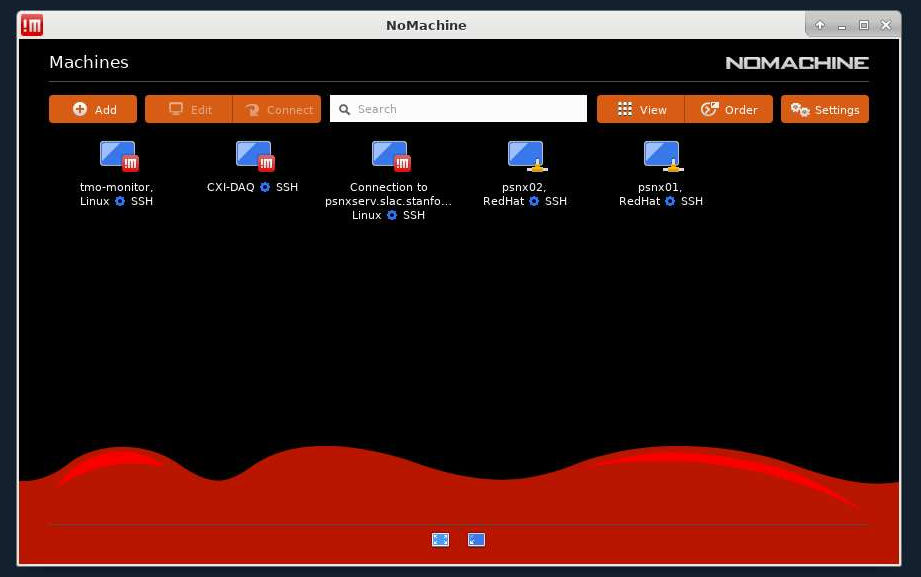
- This will open the main window where you can create connections to other Nomachine enabled machines
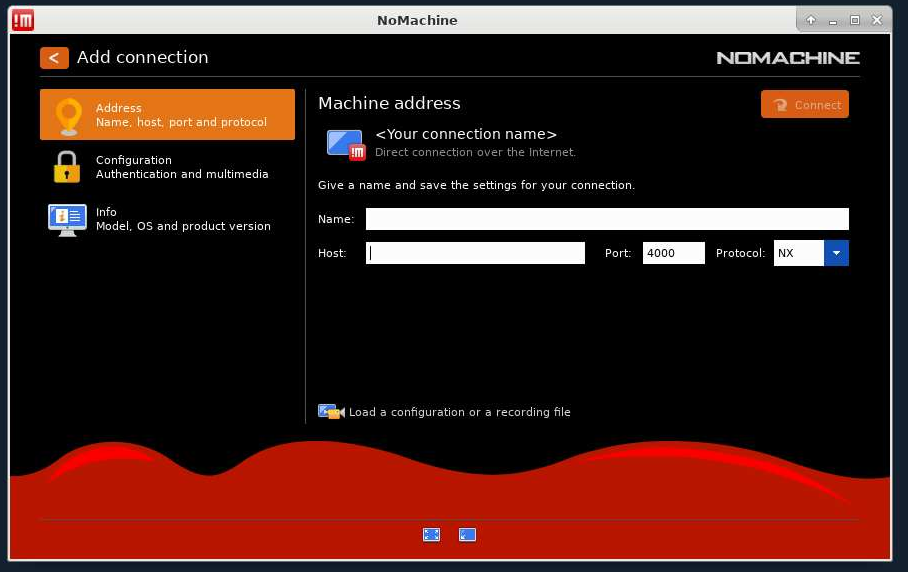
- To create a new connection click the Add button
- Enter the network hostname in the host field, give it a legible name you will remember in the name field, and select SSH (NOT NX) in the protocol field
- Now click connect
- A new window requesting login access will appear
- After login, someone physically at the
- machine will have to grant authorization for view-only mode on a selected or default monitor.
- As the remote user, any display can be accessed
- After access has been confirmed by the operator, select the menu option
- On the menu screen, select change monitor icon
- Then select the monitor to visualize its displayed content or All to see all monitors. (This setup has only 3 monitors)
- After access has been confirmed by the operator, select the menu option
- Access or create a new desktop session.
Overview
Content Tools


