Page History
...
A single 4k (3840 x 2160) display requires ~20 Mbps of download speed to support a 1Hz refresh rate. This may vary depending on the number of high-definition or rapidly changing UI elements being displayed. The upload requirements are minimal for control, but may limit speed of file transfers from the client to the host.Physical Desktop connections are available for the following hosts:
Availability
xpp-daq | xpp-control |
| xcs-daq |
| mfx-daq | mfx-monitor |
| cxi-daq |
| mec-daq | mec-monitor |
| tmo-daq |
| tmo-monitor |
Installation and Use:
...
To support remote operations a dedicated NoMachine Terminal Server has been deployed: psnxopr.slac.stanford.edu.
...
To support remote operations a dedicated NoMachine Terminal Server has been deployed: psnxopr.slac.stanford.edu.
Then, NoMachine Enterprise Desktop will be installed on all DAQ workstations.
The following link provides guidelines to configure NoMachine Client: Remote Visualization.
To access the DAQ workstation, use the following steps:
- Access or create a new desktop session.
- Select the NoMachine icon on the upper right to get a drop down menu, then select the control room workstation:
- A new window requesting login access will appear
- After login, the operator will have to grant authorization for view-only mode on a selected or default monitor.
- As the remote user, any display can be accessed
- After access has been confirmed by the operator, select the menu option
- On the menu screen, select change monitor icon
- Then select the monitor to visualize its displayed content or All to see all monitors. (This setup has only 3 monitors)
- After access has been confirmed by the operator, select the menu option
Access or create a new desktop session.- and select "Show main window"
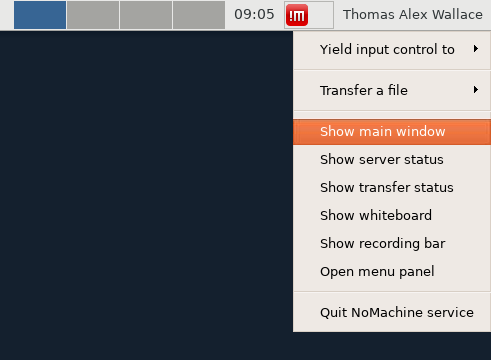
- This will open the main window where you can create connections to other Nomachine enabled machines
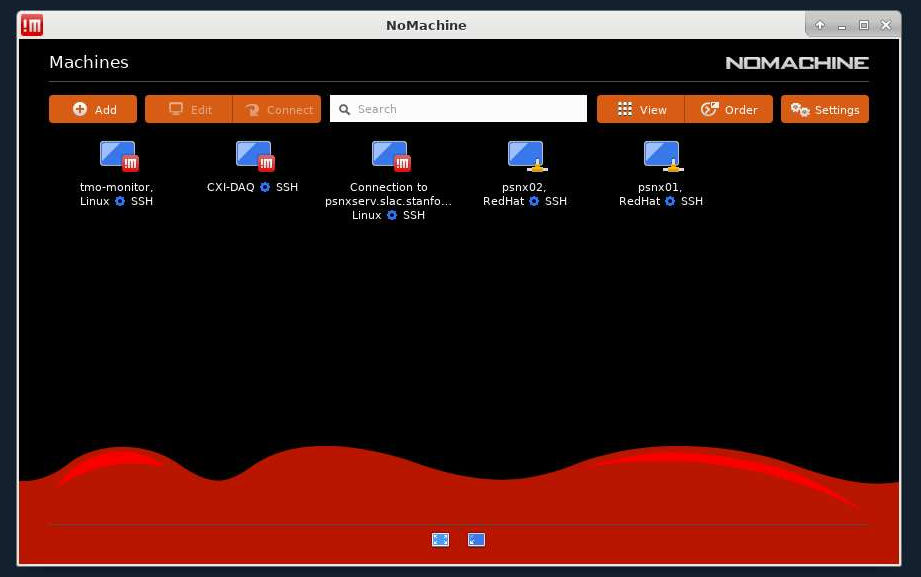
- To create a new connection click the Add button
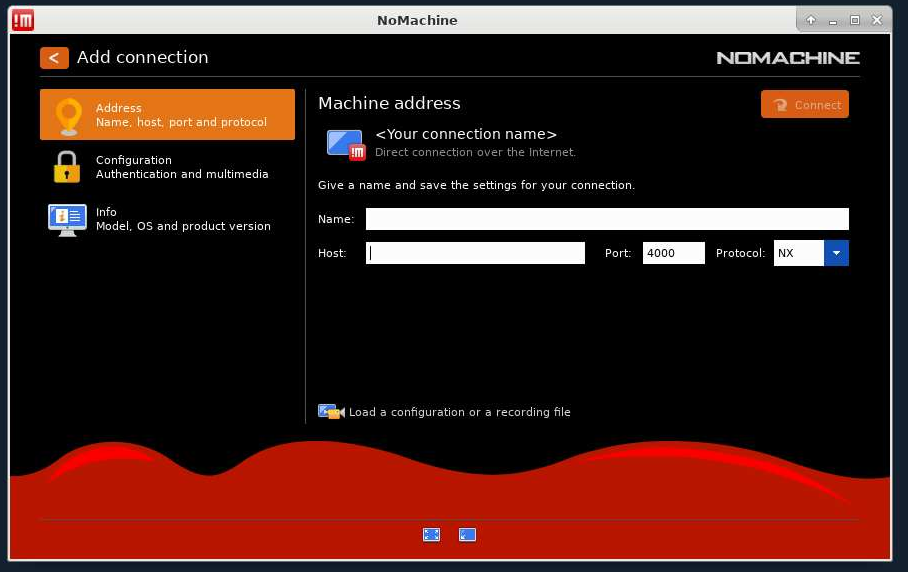
- Enter the network hostname in the host field, give it a legible name you will remember in the name field, and select SSH (NOT NX) in the protocol field
- Now click connect
- A new window requesting login access will appear
- After login, someone physically at the
- machine will have to grant authorization for view-only mode on a selected or default monitor.
- As the remote user, any display can be accessed
- After access has been confirmed by the operator, select the menu option
- On the menu screen, select change monitor icon
- Then select the monitor to visualize its displayed content or All to see all monitors. (This setup has only 3 monitors)
- After access has been confirmed by the operator, select the menu option
- Access or create a new desktop session.
...
Overview
Content Tools