...
Open your web browser, go to the following URL, authenticate using your SLAC Unix username and password, select either 'Desktop' or 'Terminal'.
https://fastx3.slac.stanford.edu:34433443
Introduction
FastX is a modern solution for displaying high resolution Linux GUI applications securely over LAN or WAN connections.
Additional information can be found on the StarNet web page: https://www.starnet.com/fastx/ .
...
| Reasons to use the built-in web browser | Reasons to use the optional desktop client |
|---|---|
| No need to download and install an additional application | More seamless integration with your desktop or laptop |
| No need to routinely check for upgraded versions of the desktop client | A remote terminal acts like any other local desktop application |
| Easier re-connections to existing or dropped sessions | A remote SLAC Linux Desktop can be view in full-screen mode |
| If the fonts or display using the desktop client are not adequate | If the fonts or display using the web browser are not adequate |
| Built-in web browser access to FastX is available here: https://fastx3.slac.stanford.edu:33003443 | The optional desktop client (version 3 required) can be downloaded here: https://www.starnet.com/download/fastx-client |
...
- Open any web broswer (firefox, chrome, etc.)
- Enter this URL: https://fastx3.slac.stanford.edu:33003443
- The first time you log in, you will see the standard login banner:
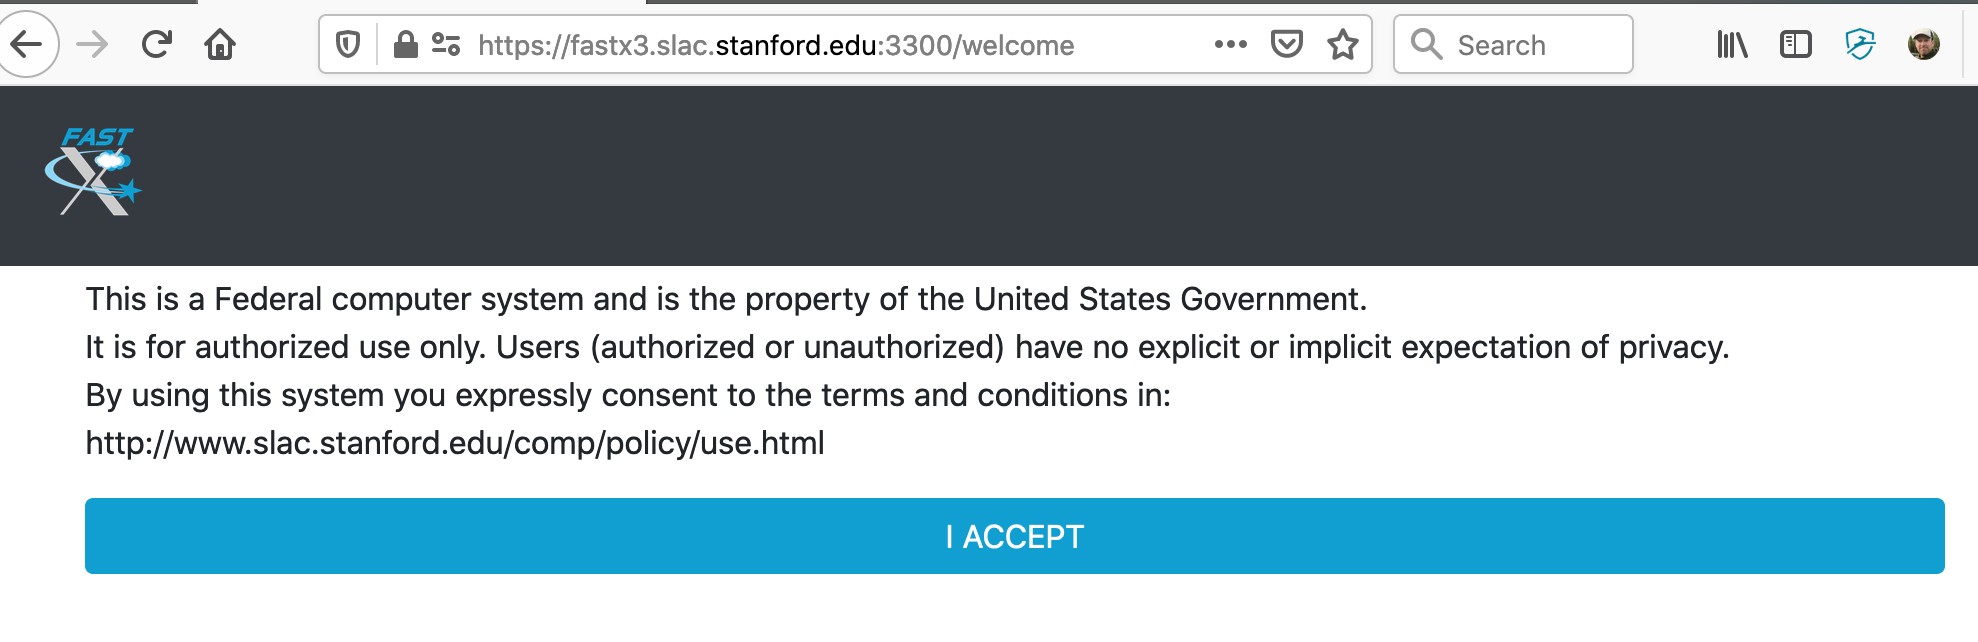
- After you click "Accept", you will see a login screen that looks like this:
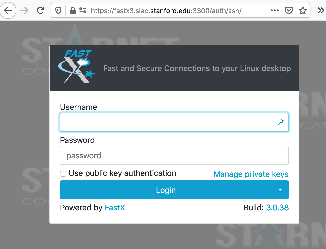
- Enter your SLAC Unix username and password.
- If this is the first time you are logging in, you won't have any sessions running yet. You'll see a screen that looks like this:
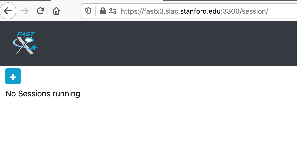
- Click on the blue + (plus) icon you see above. You'll have the choice to choose between two default bookmarks:
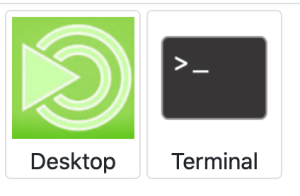
- If you click on "Desktop", you will get a full Linux Desktop. If you click on "Terminal", you will get a single Linux gnome terminal. In both cases, these will be running on the fastx3 server. Feel free to run any applications you want on fastx3, but you will likely want to ssh to another SLAC machine to run programs. Your home directory on the fastx3 server is local and empty on purpose – so you have a new, clean environment which allows the desktop and gnome-terminal applications to work properly (using old dot files from your AFS home directory can use display issues with newer versions of gnome applications).
- When you are running the "Desktop" application in your web browser, there is one useful setting to be aware of. See this screenshot:
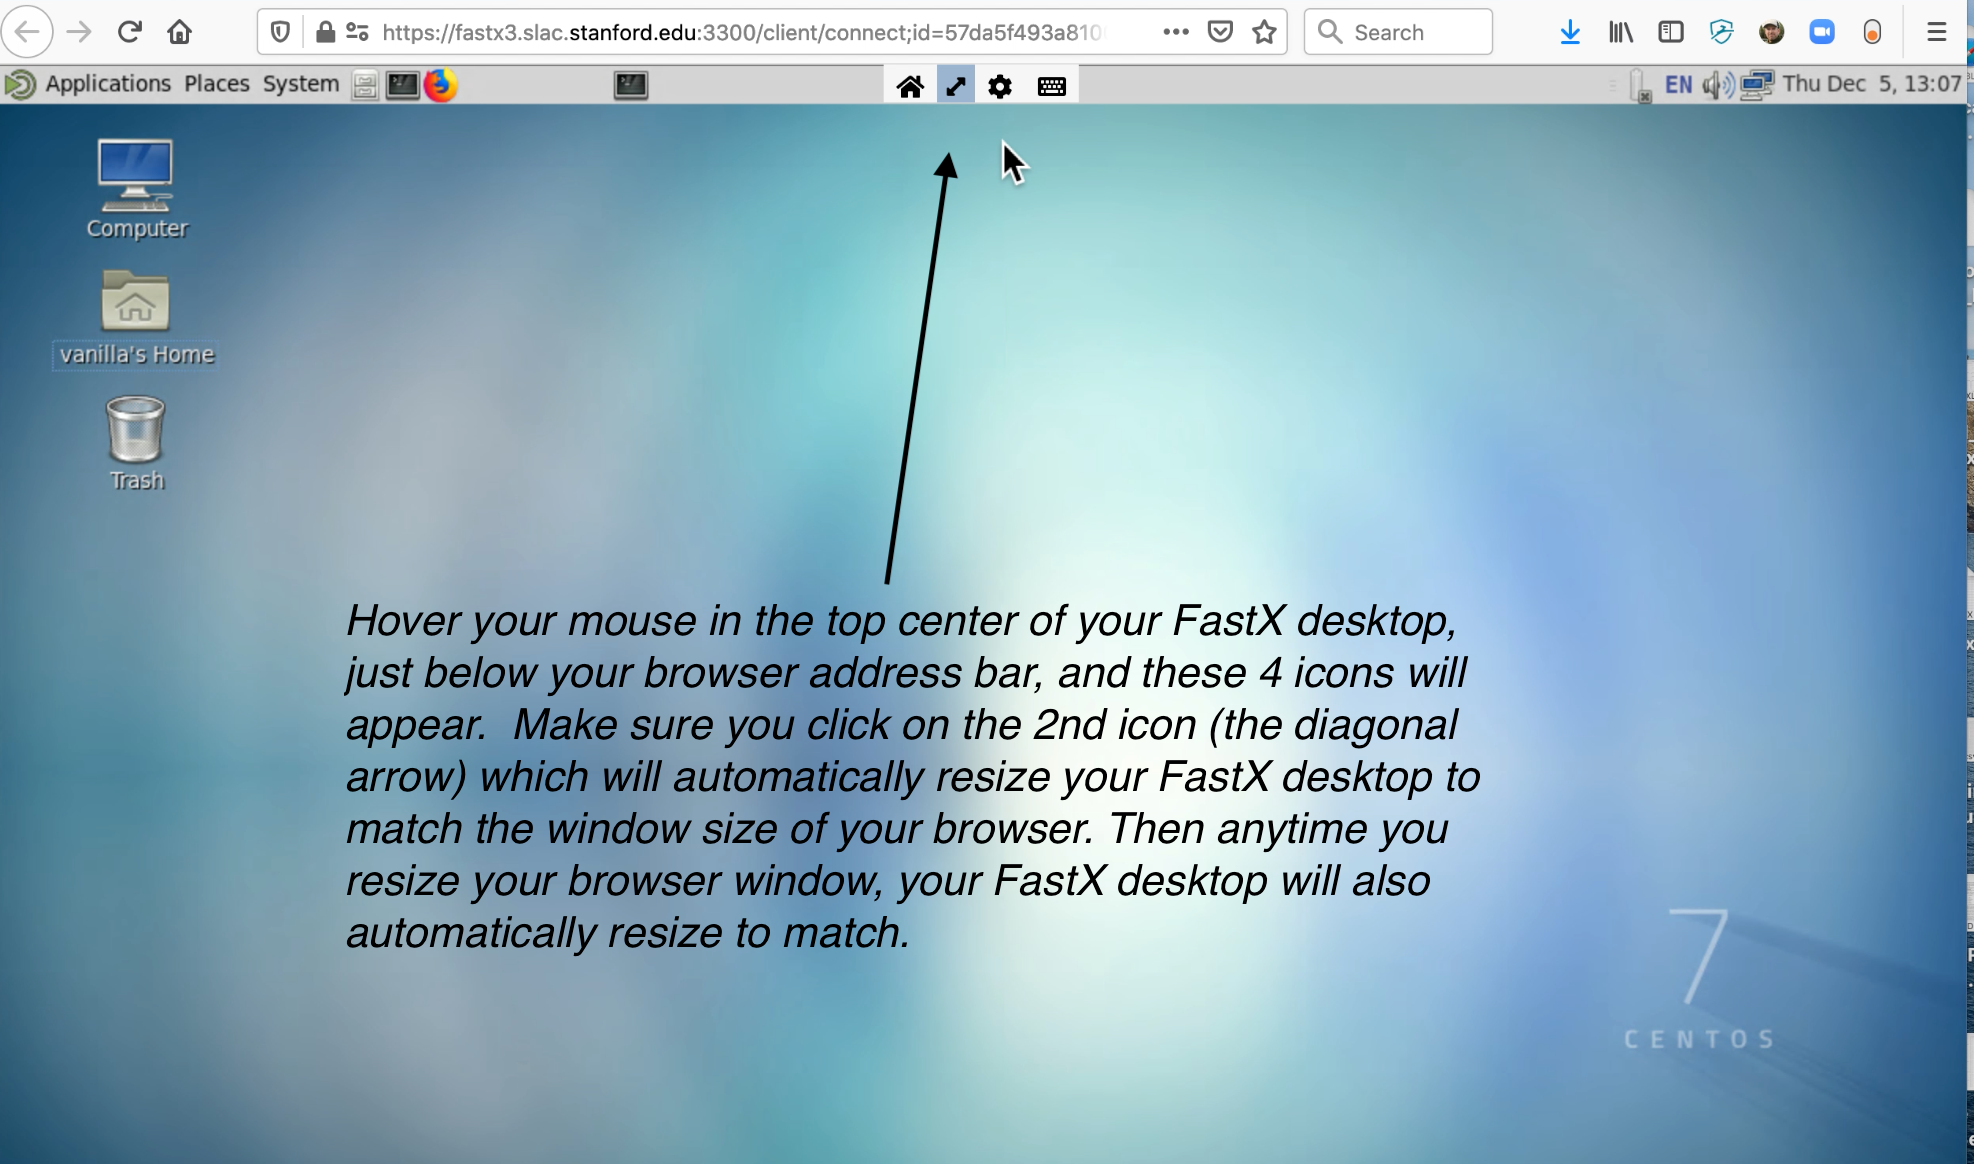
The text in this screenshot says: "Hover your mouse in the top center of your FastX desktop, just below your browser address bar, and these 4 icons will appear. Make sure you click on the 2nd icon (the diagonal arrow) which will automatically resize your FastX desktop to match the window size of your browser. Then anytime you resize your browser window, your FastX desktop will also automatically resize to match.
...
- Download the latest version 3 of the desktop client here:
https://www.starnet.com/download/fastx-client- As of 2020-Nov-2, the latest version for MacOS and Windows is Build 3.1.22 released on Sep 22, 2020.
- Click on "About FastX" from the menu bar in your FastX desktop client to view your version.
- Check back every so often to see if there is an updated version of the desktop client (eg, for bug fixes). The release notes are here:
https://www.starnet.com/xwin32kb/fastx-3-desktop-client-release-notes/ - When you start the desktop client for the first time, there will not be any connections configured yet. The first step is to configure a new connection.
- click on the + (plus) icon to add a new connection
- you can choose "Web" or "SSH". either should work fine, you can try both to see which one works better for you.
- one consideration is if your home network (or remote network wherever you are located) has a firewall which prevents any outgoing connections.
- "SSH" will connect to port 22 on fastx3.slac.stanford.edu.
- "Web" will connect to port 3300 3443 on fastx3.slac.stanford.edu.
- one consideration is if your home network (or remote network wherever you are located) has a firewall which prevents any outgoing connections.
- For a Web connection:
- in the "Name" box, enter: SLAC FastX3 Web (this is a just description and you can enter anything here)
- in the "Url" box, enter: https://fastx3.slac.stanford.edu:33003443
- in the "User" box, you can enter your SLAC Unix username, or leave it blank and you will be prompted each time
- you can leave the other boxes unchecked
- click on the "Save" button
- For an SSH connection:
- in the "Name" box, enter: SLAC FastX3 SSH (this is a just description and you can enter anything here)
- in the "Host" box, enter: fastx3.slac.stanford.edu
- leave "Port" alone (the default 22 is already filled in)
- in the "User" box, you can enter your SLAC Unix username, or leave it blank and you will be prompted each time
- leave the "Path" box alone (the default of fastx-protocol is correct)
- click on the "Save" button
- Now you have a connection saved. You will use this connection to connect to FastX3, and after you connect you can see your existing running FastX sessions, or create new sessions if you don't have any running yet.
- Enter your SLAC Unix username and password when prompted. If you are not automatically prompted, double click on the connection you just created.
- If you have any existing running FastX sessions, they will be listed. You can double click on them to connect.
- To start a new session, click on the + (plus) icon
- You will be presented with two default system bookmarks. One is named "Desktop", and the other is named "Terminal".
- Double click on the Desktop icon if you want a full Linux Desktop environment, or double click on Terminal if you just want a gnome-terminal. You can launch other GUI applications from either one. And you can ssh to other SLAC machines from either one. From a fastx3 gnome-terminal, type 'ssh centos7' to log into the central centos7 login pool, or type 'ssh rhel6-64' to log into the central rhel6-64 login pool. After you ssh into centos7 or rhel6-64, you can run any X11 GUI programs as usual.
...