Page History
| Table of Contents | ||
|---|---|---|
|
Overview
When users are off-site or have slow internet connections, displaying graphics can be cumbersome. PCDS has explored two solutions for this problem. The :
- The first ("NX technology") gives the user a special remote desktop that is specifically designed to improve the performance of X11 graphics
...
- over slow connection speeds
...
- (compared to ssh).
- The second ("Virtual Box") allows the user to directly install the psana analysis environment on their Windows, Linux or
...
- Mac machine, so that LCLS data analysis (including graphics) can be done with no network connection (click here for information on the virtual box approach).
Access and support of LCLS's Nomachine service is intended for users involved with This page is about the usage of NoMachine for providing NX technology to users involved in LCLS experiments or LCLS operationoperations.
NX Technology
...
/NoMachine NX is supported on Windows, MAC and Linux computers.
...
Use the following steps to setup the nomachine client:
Minimum System Requirements
A single 4k (3840 x 2160) display requires ~20 Mbps of download speed to support a 1Hz refresh rate. This may vary depending on the number of high-definition or rapidly changing UI elements being displayed. The upload requirements are minimal for control, but may limit speed of file transfers from the client to the host.
Note: MAC Clients must install XCode and XQuartz.You can download XQuartz from https://www.xquartz.org
Installation
You can download the latest version of the enterprise client from https://www.nomachine.com/download-enterprise#NoMachine-Enterprise-Client. Ubuntu/Mint users should download the Debian version of the NoMachine client.
Configuration
LCLS is currently making two servers available for remote connections:
- psnxserv.slac.stanford.edu (aka psnxserv01, aka psnx01): for general purpose connections
- psnxana.slac.stanford.edu (aka psnxserv02, aka psnx02): for interactive data analysis
- psnxopr.slac.stanford.edu (aka psnxserv03, aka psnx03): for remote operation support.
1. Go here and download the appropriate client for your machine: https://drive.google.com/folderview?id=0B6-dVV3sxagXRWRQUGJHQ0ZLemc&usp=sharing_eid&invite=CJyJpdQI#list. The current tested version of Nomachine client 4.5.0.
- MAC OS X: nomachine_4.5.x.dmg
- RedHat Linux: nomachine_4.5.x.rpm (64bit: x86_64.rpm, 32bit: i686.rpm)
- Windows: nomachine_4.5.x.exe
* You could also download the latest version from www.nomachine.com and click on the 'Download now' button to download and install NoMachine client. However, there could be issue connecting to the server with the latest client. Ubuntu user should download the Debian version of the Nomachine client.
2. You will be prompted to setup a login profile when launching the NoMachine for the first time. Select the following options:
...
Protocol: |
...
SSH |
...
Host: |
...
...
Port: |
...
22 |
...
Authentication: |
...
Use |
...
the System Login (not |
...
the "NoMachine Login"). |
...
Do |
...
not |
...
select 'Use |
...
an |
...
alternate |
...
server |
...
key' |
...
. Use Password authenticationProxy: |
...
Don't |
...
use |
...
a |
...
proxy |
...
Save |
...
as: |
...
Choose |
...
a |
...
name |
...
such |
...
as |
...
PSNXSERV. |
...
You |
...
could |
...
select 'Create |
...
a |
...
link |
...
on |
...
the |
...
desktop' |
...
Select |
...
Done |
...
to |
...
finish |
...
the |
...
setup |
...
You can hit Connect to start the connection
...
.
You may be asked to verify host authenticity. Hit Continue.
You will be
...
asked to type Username and Password. Use your SLAC UNIX account and password and hit OK
...
.
...
The allocation of theses servers to the various activities is just to provide a low-tech load balancing and is not enforced.
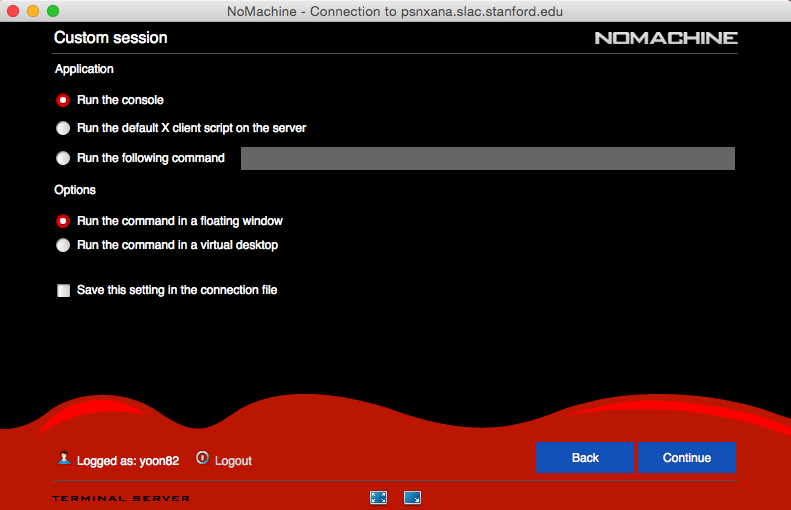
Accept the default options if no graphical display is required (Application - Run the console, Options - Run the command in a floating window) by clicking Continue.
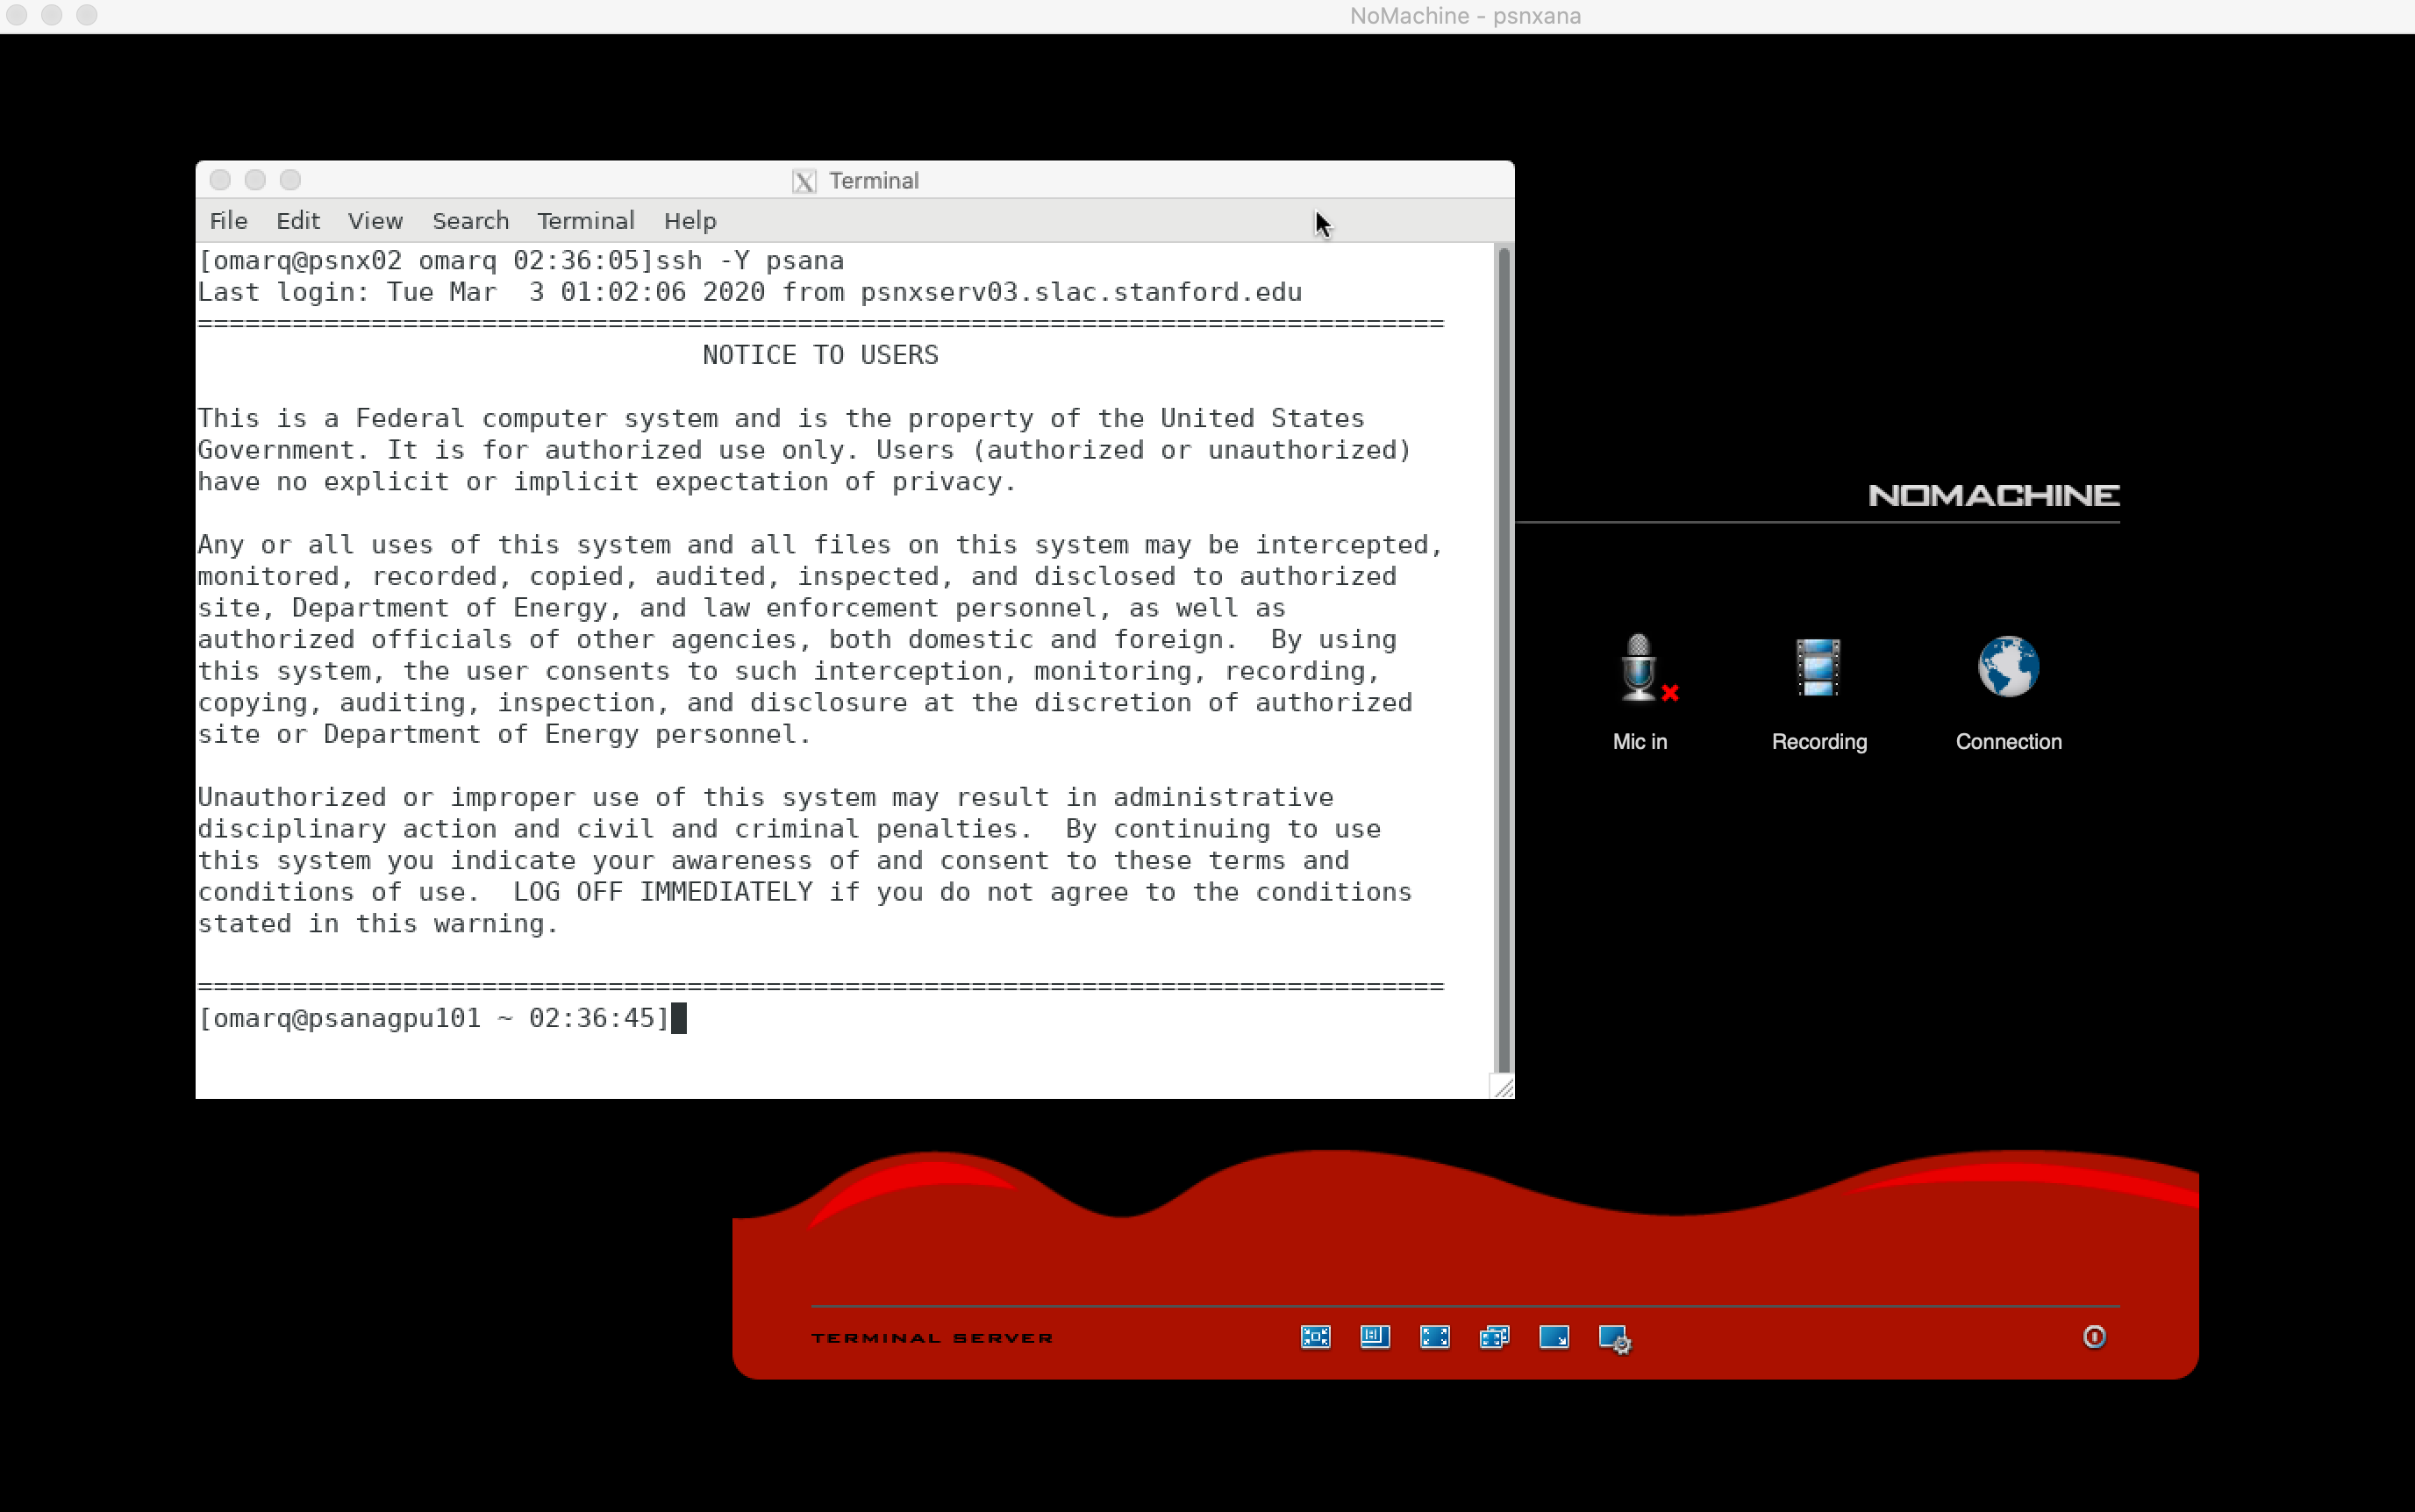
This will open a remote terminal on your local desktop from which you can type the name of the application you want to launch. For example, you can type "xterm&" or "gnome-terminal" to open additional terminals or "emacs&" to open the emacs editor.
If your session window appears briefly and then NoMachine windows close, you may need to apply this fix from
| Code Block | ||
|---|---|---|
| ||
	- Edit the player.cfg on the Windows computer and change the value of this key:
	  <option key="Switch to software decoding on Windows if resolution is bigger than 1920x1080" value="false" />
	  to:
<option key="Switch to software decoding on Windows if resolution is bigger than 1920x1080" value="true" /> |
Type "ssh -Y psana" to connect to the interactive pool to do data analysis.
When you disconnect and reconnect to NoMachine, these terminals and applications will remain in the state you left them in. If you would like to log out completely from your session, you can select the option "terminate".
If you require a very basic display manger you can select "Run the command in a virtual desktop"
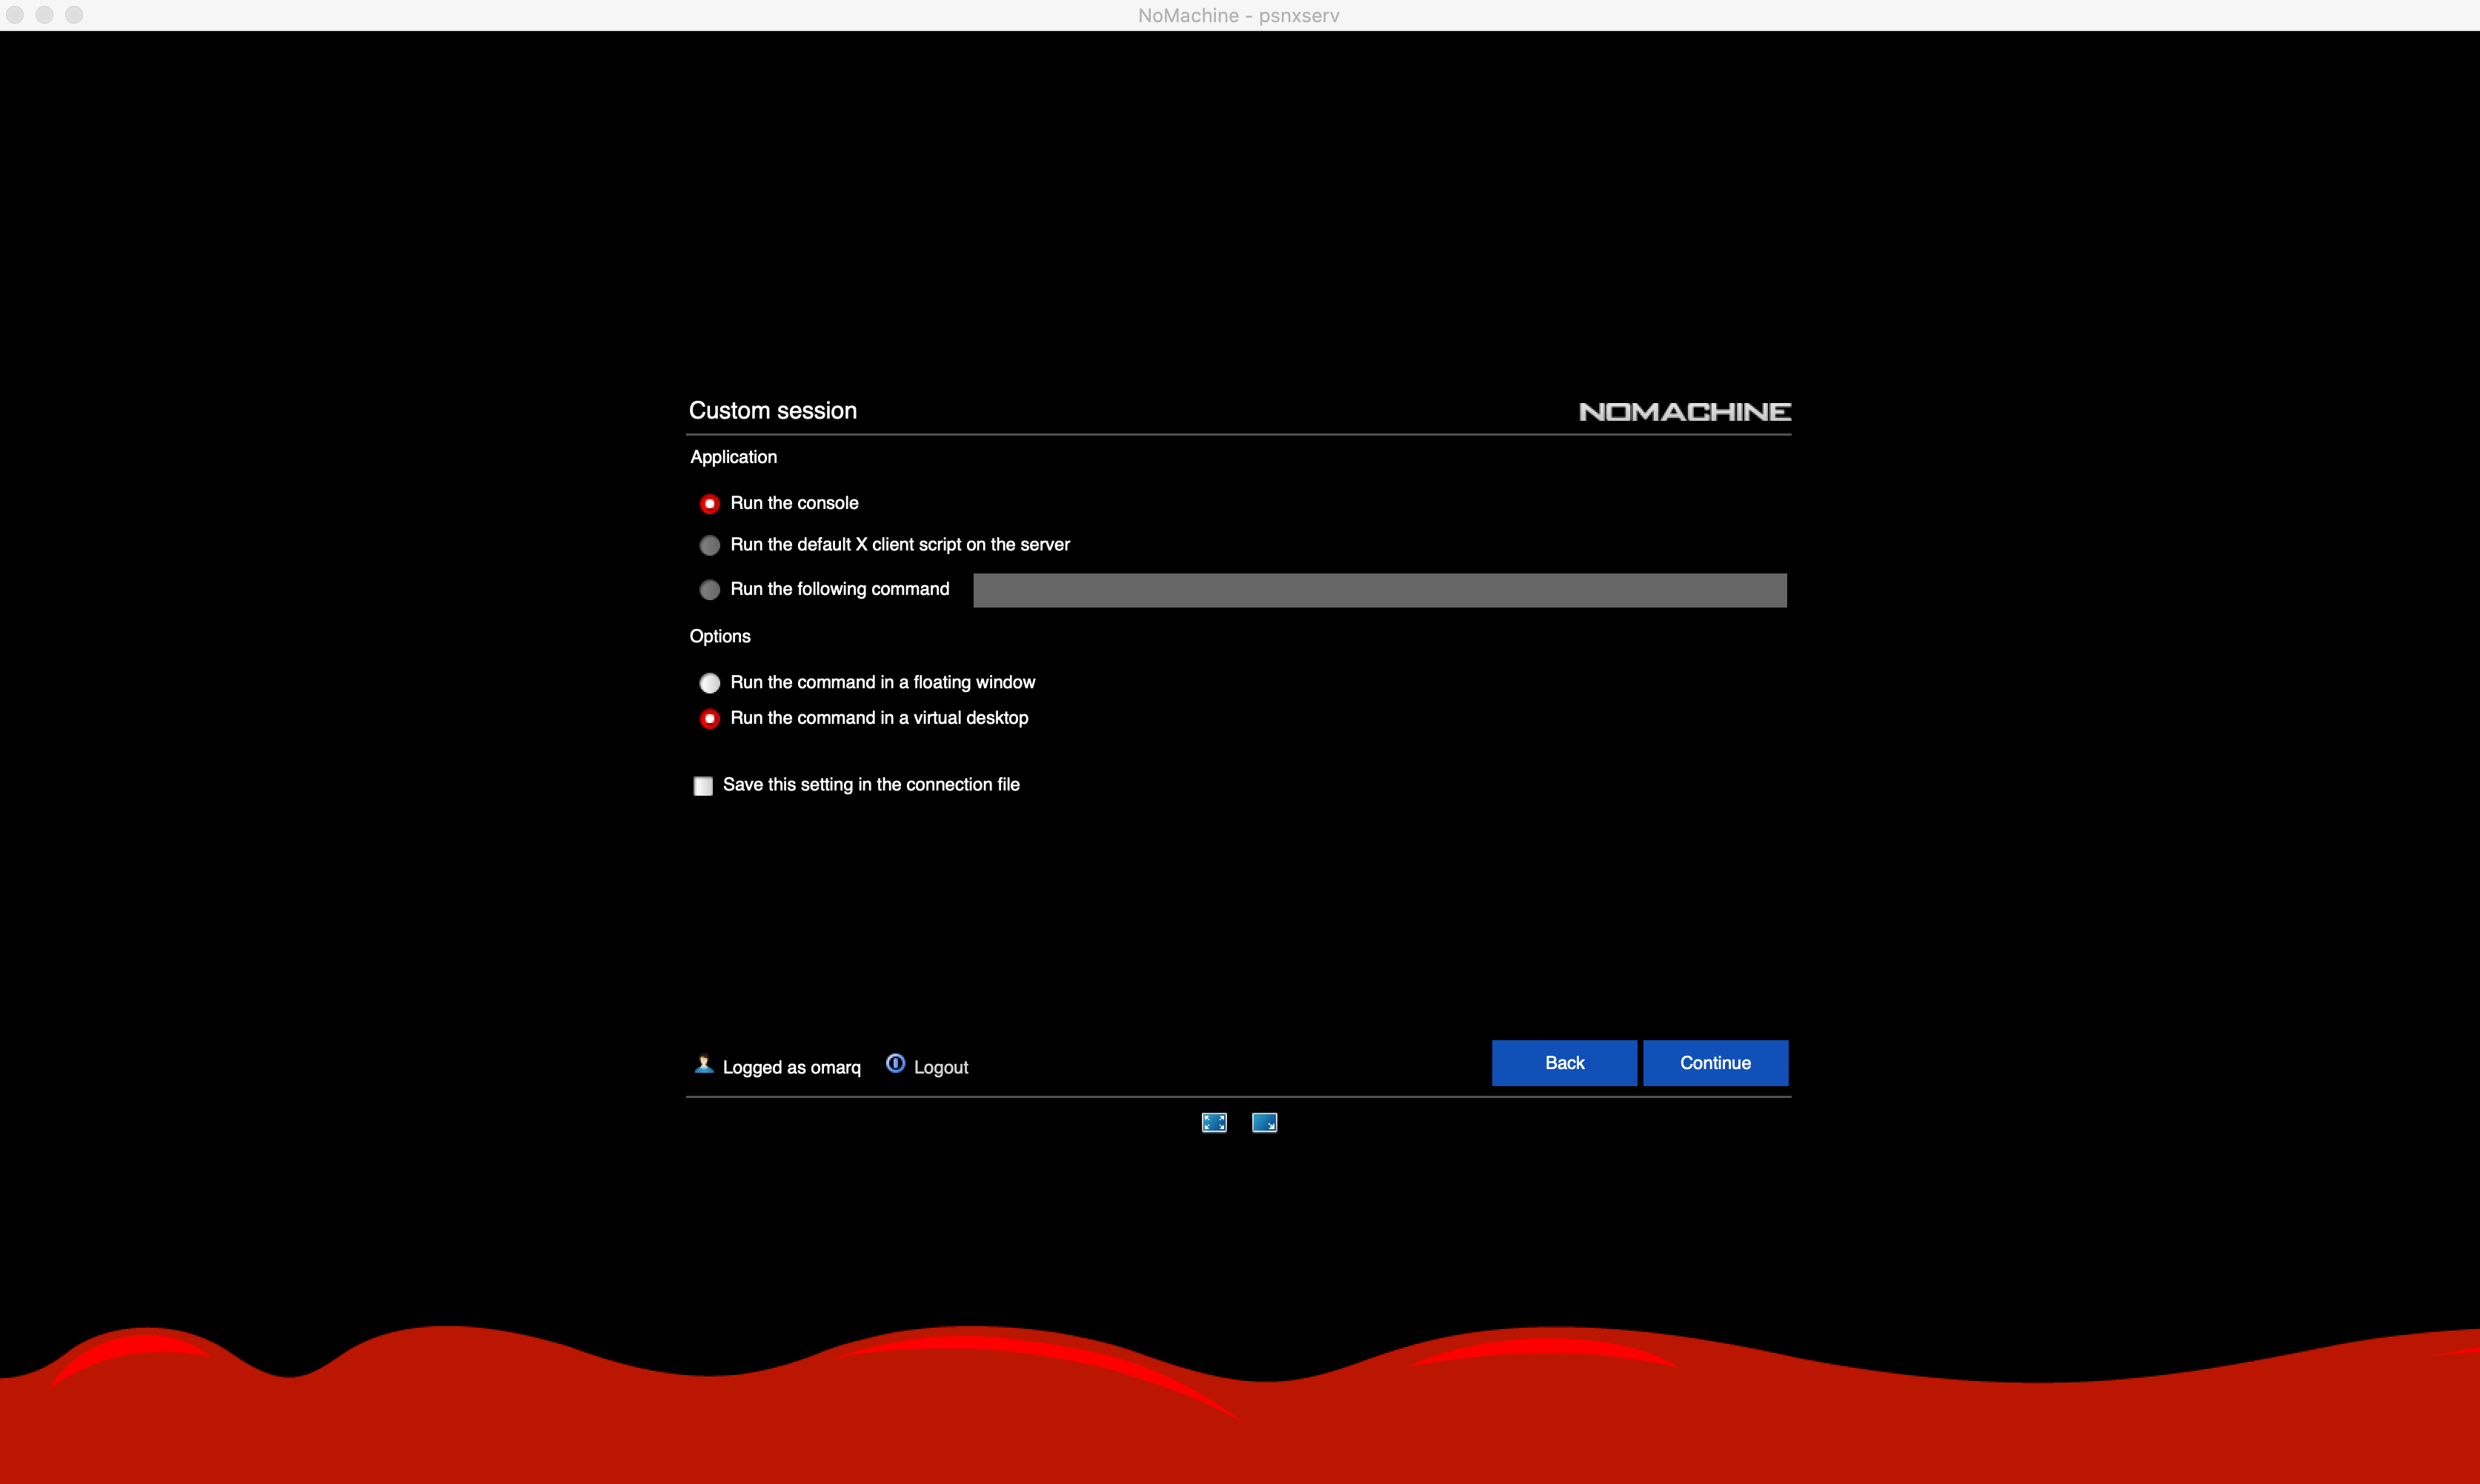
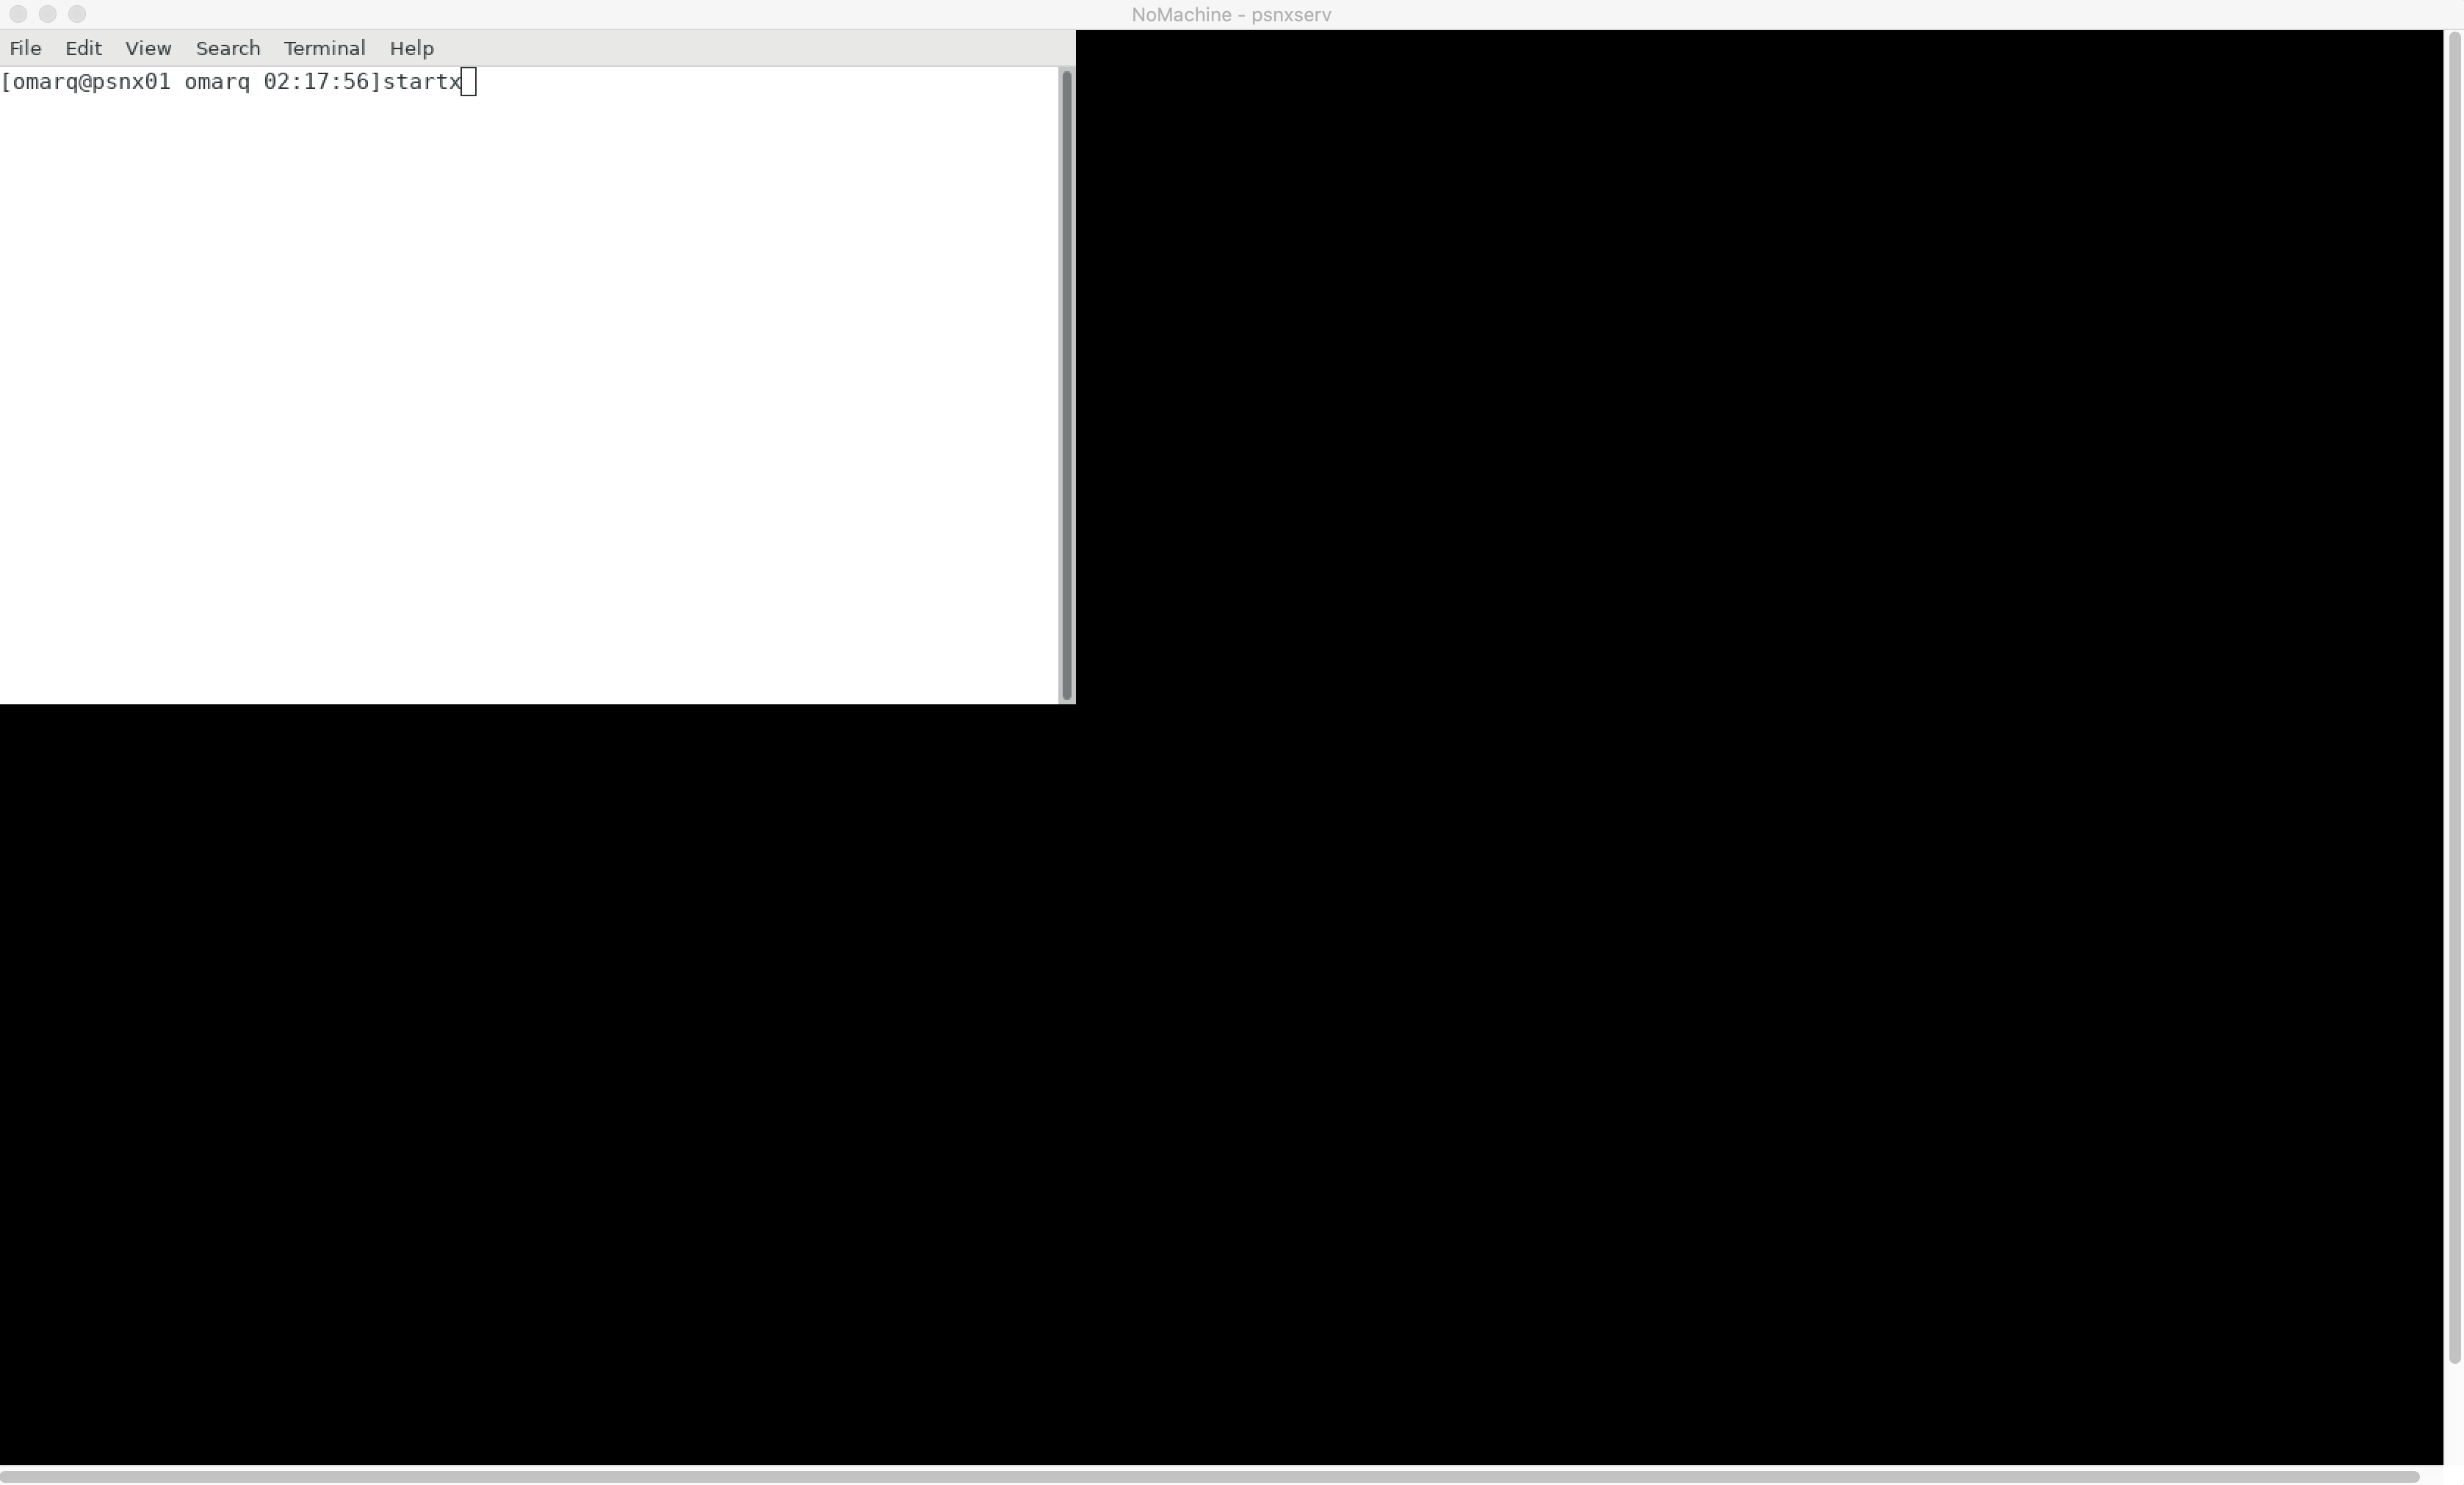
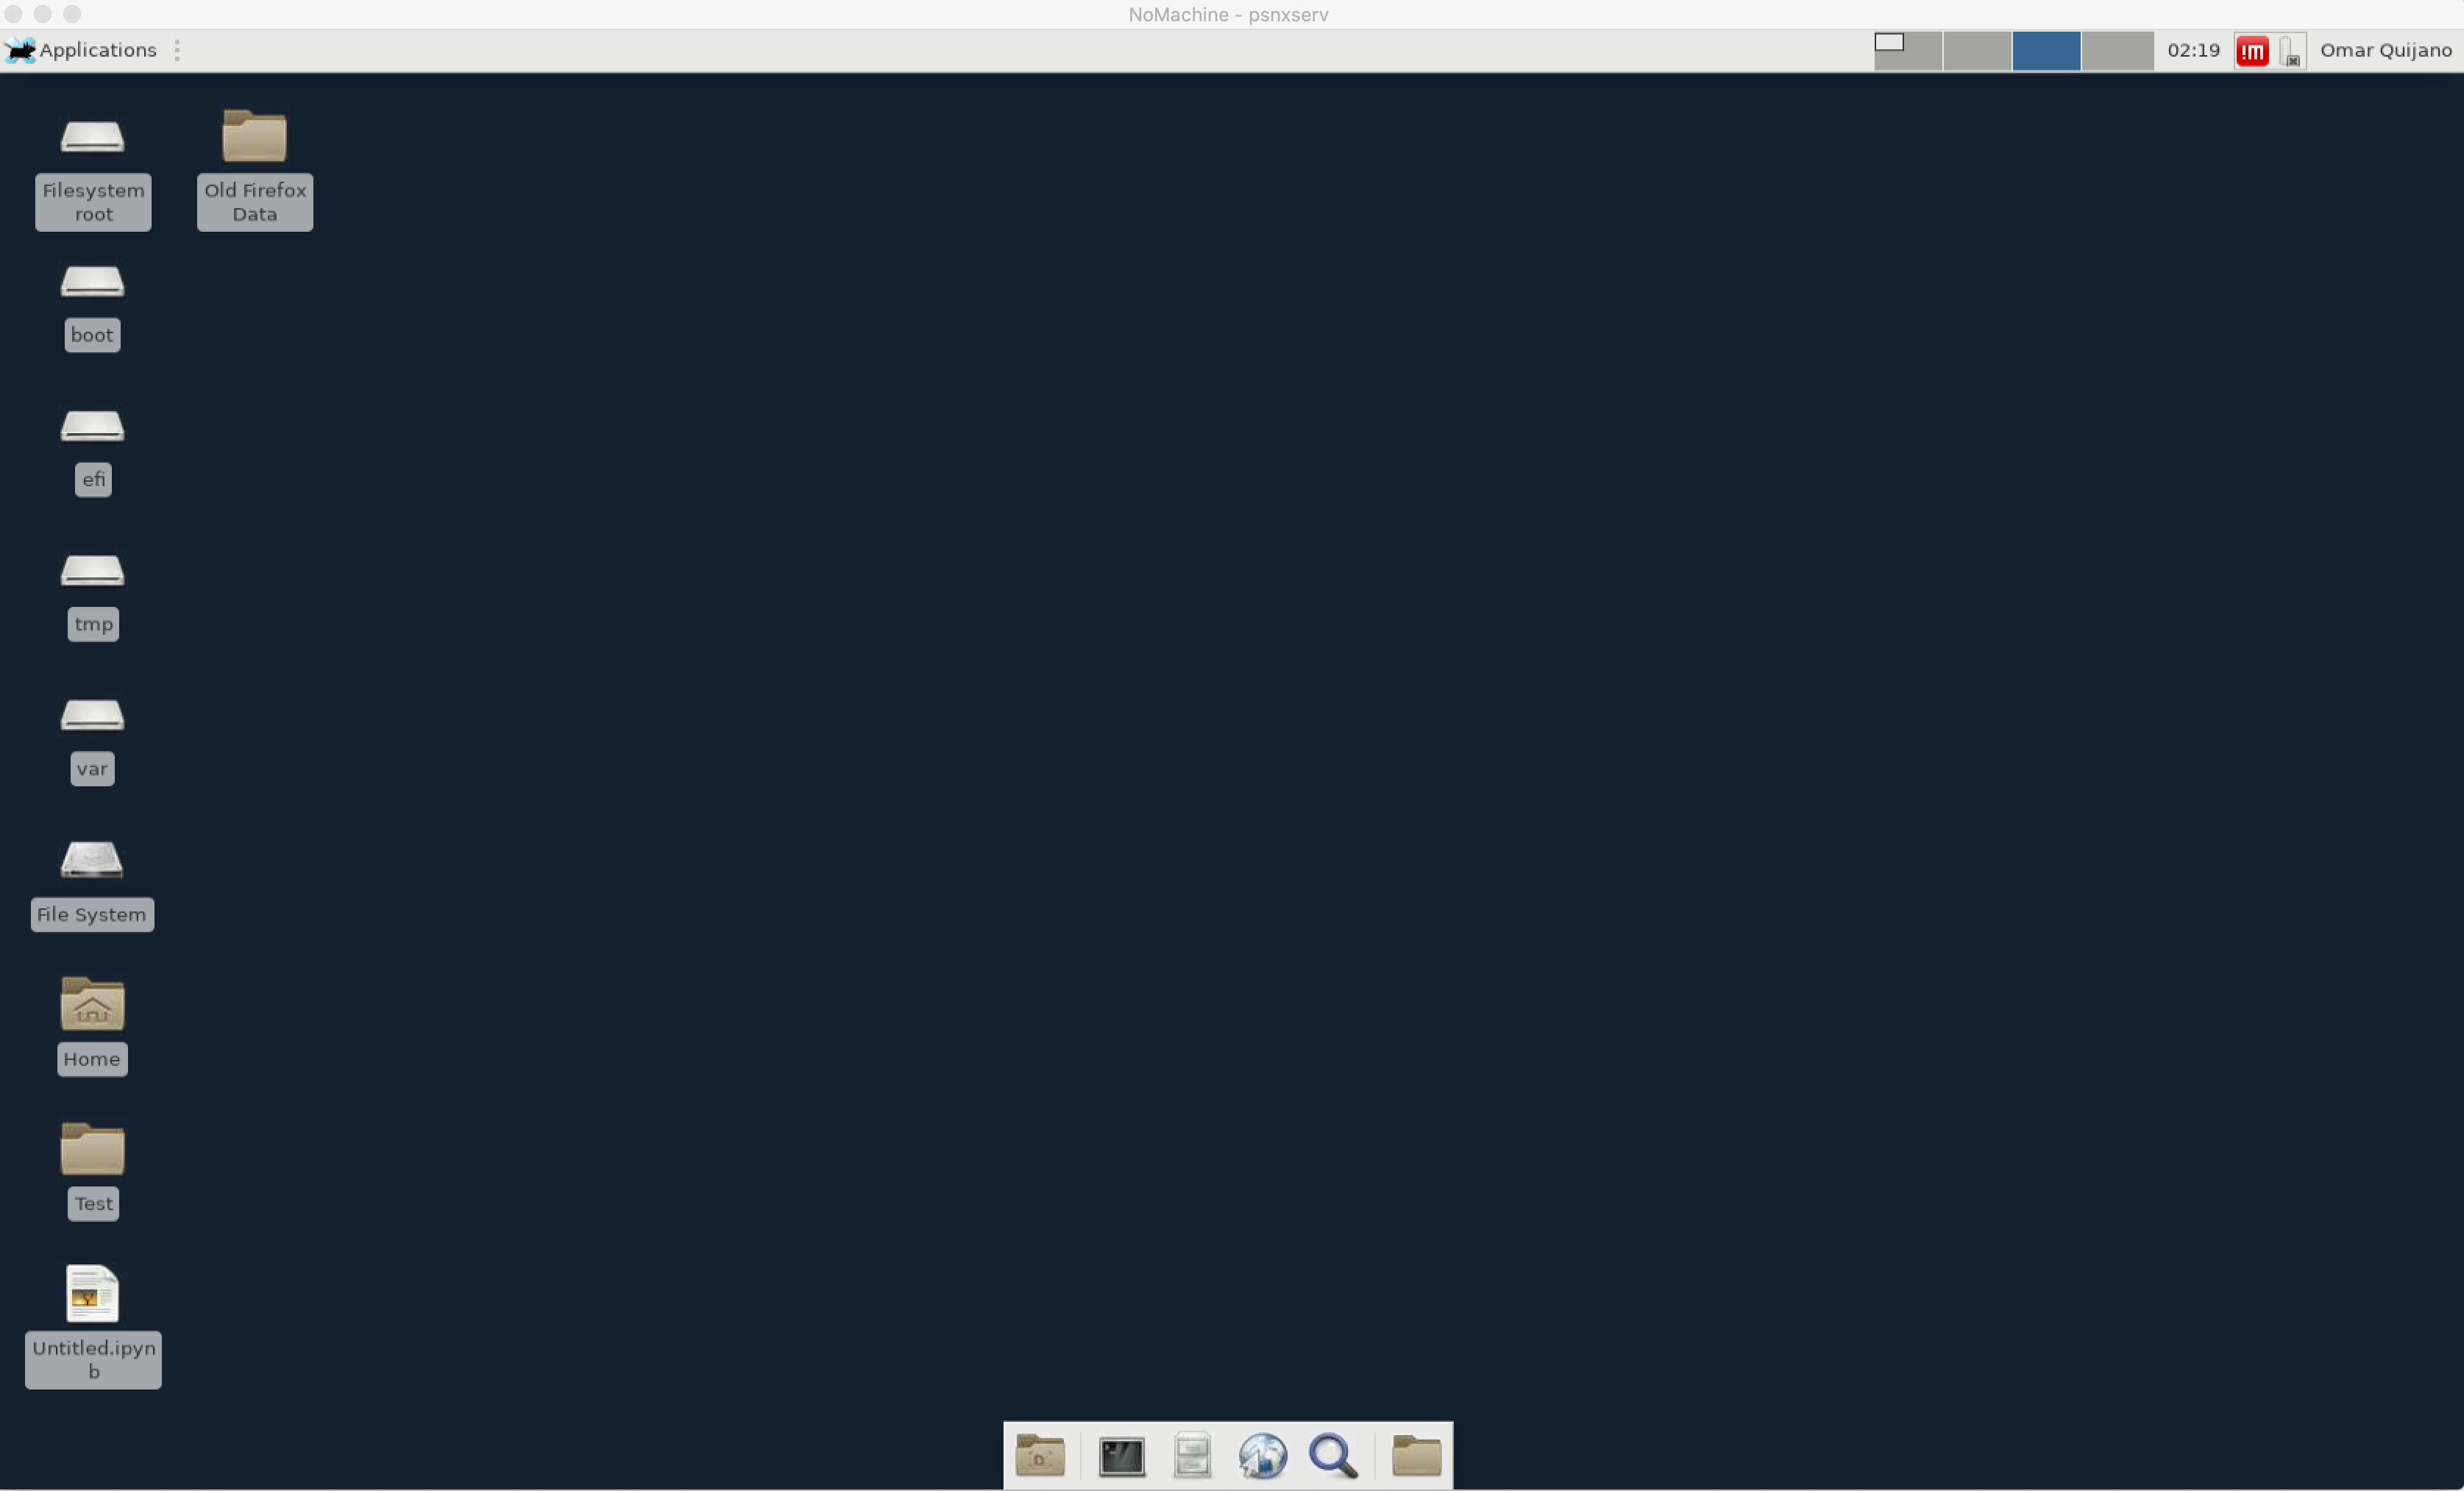
At the login prompt type the command "startx"
If you get a dialog box, select the "default configuration panel" to obtain a similar image to the one below:
To get a nice working display, you can either resize the virtual desktop to fit the size of a defined window or full-screen (Ctrl+Alt+F)
When done, you can disconnect your session (keep state) or terminate (remove session).
Please contact pcds-it-l@slac
6. Click 'Create a new GNOME virtual desktop'. You will be logged in after that
7. A useful feature: to get the the Access Menu: Ctrl-Alt-0 (windows) or Ctrl-Option-0 (mac) or click on upper right corner of the nomachine desktop screen to bring up the nomachine setting screen

To auto-resize windows resolution automatically (so you don't have to do the manual sizing below) go to the Access Menu in the previous line, and click Display -> ResizeRemoteScreen, then click "Done" and "Done" again to close the menu.
To resize the window manually: Click on System->Preferences->Display, select 'Resize remote screen'. When you change the screen resolution you may not see enough of the window to click "Apply". On MAC: To do this on the keyboard: hit "option-A". On Windows: use "alt-A".
You can open a terminal with Applications->SystemTools->Terminal (or right-click on the desktop and select "Open in Terminal"
You can also disable nomachine service if you will not share out the desktop by disabling Nomachine service
Please contact pcds-help@slac.stanford.edu if you need more information or additional assistance with NoMachine.
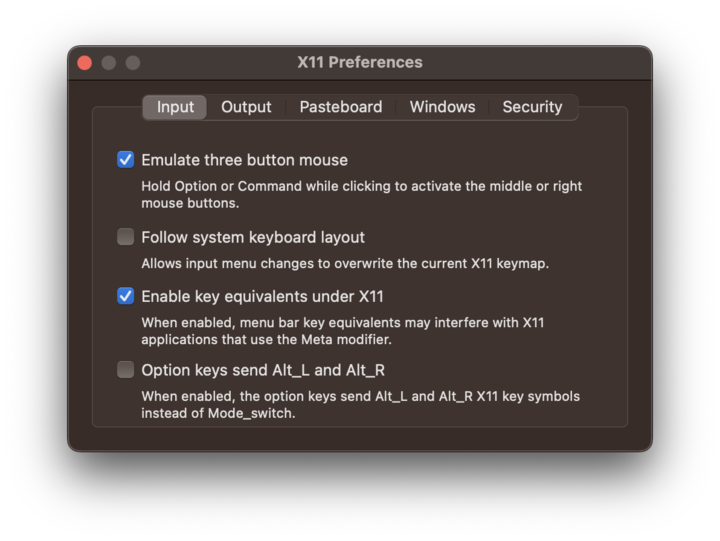
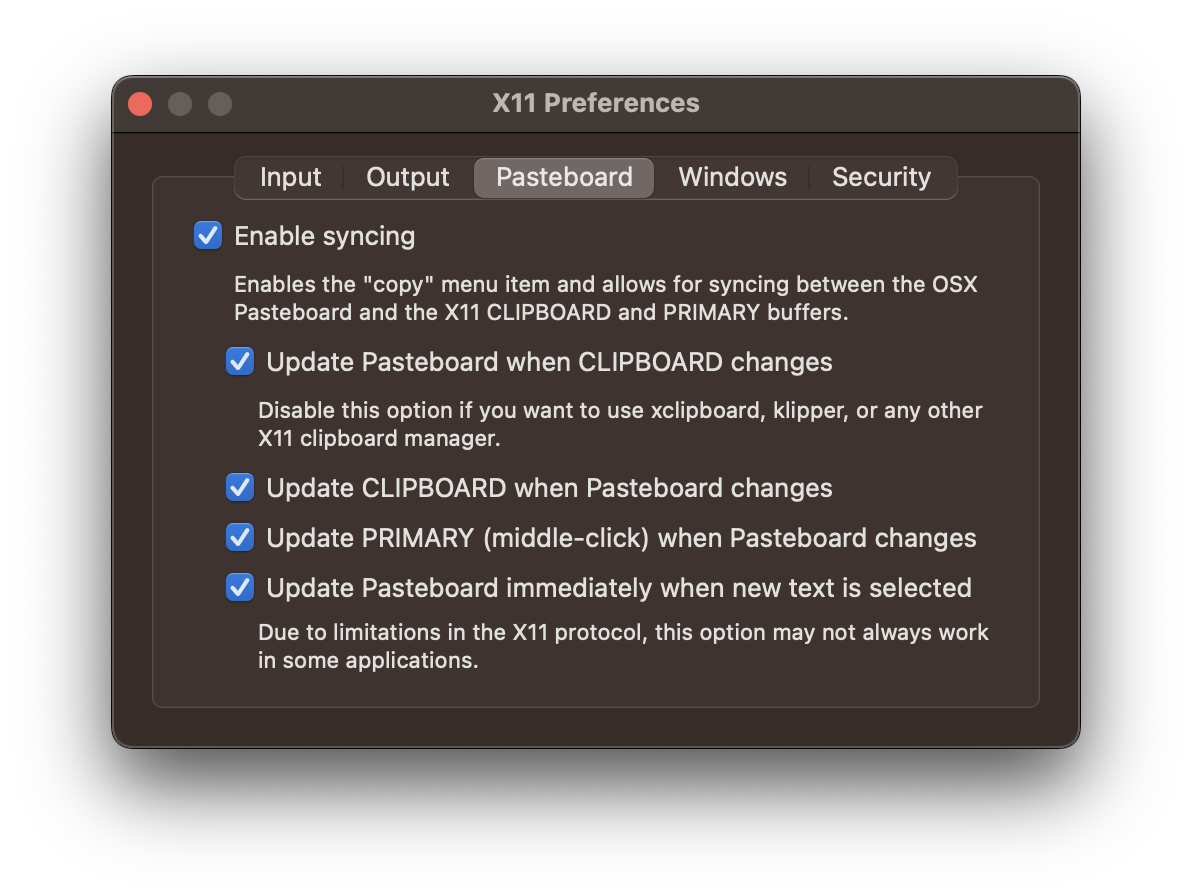
Middle mouse button emulation for Mac users
MacOs users may wish to have middle mouse button functionality enabled in their NoMachine sessions.
Here are the required settings within the XQuartz Preferences section (access via XQuartz→Preferences):
Use in EPICS EDM Displays
One of the common uses of this feature is to display the EPICS process variable (PV) names associated with NoMachine NX.
widgets on EDM-based operator screens. Once these preferences are set then Option-Click displays the PV name upon release of the click (it is not displayed when still depressed) - and puts it into the cut-and-paste buffer.
Troubleshooting
bashrc
Avoid sourcing the psconda environment when accessing the NoMachine servers. To add the conda environment to your profile edit $HOME/.bashrc with the following content:
- Set an alias to source it manually:
| Code Block | ||
|---|---|---|
| ||
alias psconda='source /reg/g/psdm/etc/psconda.sh' |
- Only source the environment on the ana nodes :
| Code Block | ||
|---|---|---|
| ||
export MN=$(uname -n)
if [[ "$MN" =~ ^psana ]]; then
    source /reg/g/psdm/etc/psconda.sh
fi |
Connection Issues
...
If you are not able to connect to nomachineNoMachine, check the followings:
- For an offending ssh key error, please remove the old key by typing the following command: ssh-keygen -R "hostname" (e.g. ssh-keygen -R psnxserv01)
- MAC Clients must install XCode and XQuartz.You can download XQuartz from https://www.xquartz.org. Otherwise, you will get the following error:
- The server is setup to limit to
...
- 4
...
- connection
...
- attempts per minute, this is to discourage
...
- brute force
...
- attempts for security purpose. If
...
- it seems to take a long time to connect after you made multiple connection attempts quickly, you can just cancel out and try to log back
...
- in after a couple of minutes.
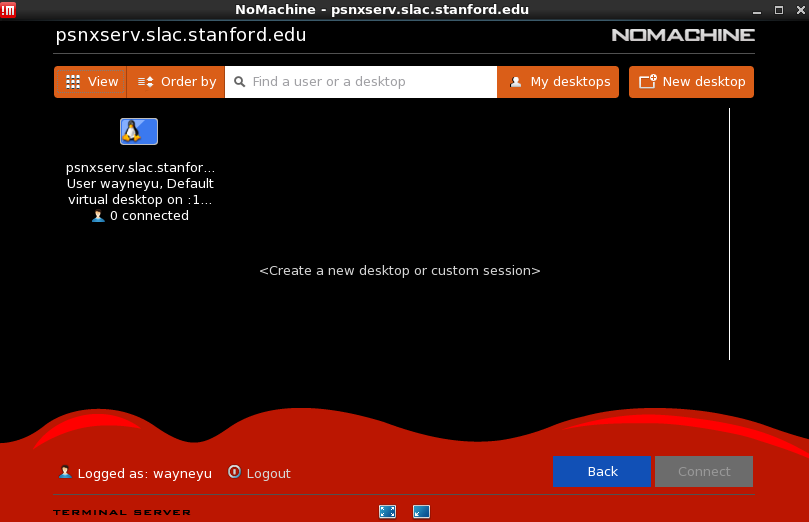
- If you have disconnected your session without logging out and try to reconnect, once you hit the connect button, you will see the following dialog box. You can create a new session by selecting 'Create a new desktop or custom session' or you can reconnect to your existing session. If the existing session failed to reconnect, you can right-lick on the icon representing your previous session and select Terminate session. And then click on 'Create a new desktop or custom session' and select 'Create a new virtual desktop' to click on continue.
Fix for NoMachine 4.3 on Windows/OSX
If you find that you cannot start a desktop session even after successfully authenticating from a Windows/OSX NoMachine client version 4.3+, try the following workaround:
In the file $USER/.nx/config/player.cfg, find the line:
| Code Block |
|---|
<option key="SSH client mode" value="library" /> |
Change it to read:
| Code Block |
|---|
<option key="SSH client mode" value="native" /> |
NOTE: You will be unable to resume any sessions from NX client 4.2 and earlier.
It is not yet known when this workaround could be undone (e.g. by upgrading the server software).
Reconnect "Black Screen"
...
Issues
Sometimes users will find that they are unable to reconnect to an existing session, and are shown only a blank screen. We do not yet understand this issue, so our solution is to terminate the user's existing sessions, and kill all the user's running processes on the Nomachine NoMachine server. Easy The easiest way for the users to fix deal with this is to send a note to pcdsto pcds-it-l@slacl@slac.stanford.edu and we will remove all old sessions and process.
It's also possible for users to fix with this Or, users can do this for themselves by ssh'ing to psnxserv.slac.stanford.edu and killing their own process. Potentially useful commands follow:
Show all running user processes:
| Code Block | ||
|---|---|---|
| ||
Show all running user processes: ps -f -u $USERNAME |
Kill
...
a
...
specific
...
process
...
using
...
its
...
process
...
ID
...
(found in the PID column of the "ps" command output):
| Code Block | ||
|---|---|---|
| ||
kill <PID> |
Kill
...
a
...
specific
...
process
...
that
...
doesn't
...
want
...
to
...
die
...
(i.e. was not killed by "kill <PID>"):
| Code Block | ||
|---|---|---|
| ||
kill -9 <PID> |
Kill
...
all user owned processes running on the server, including current ssh session, shell and the pkill command itself. This is a quick way to remove the majority of user owned processes:
| Code Block | ||
|---|---|---|
| ||
pkill -u $USERNAME |
Note that the user will
Note that you may have to reconnect after running "pkill" and and may have to try a number of times (possibly using the -9 option, as shown with the "kill" command).
X11 fonts issues
*** Since we have upgraded to commercial version of Nomachine NX, installing x11 fonts is no longer needed. But the information could still be useful if we run our Nomachine backup server with Free NX.If you are receiving 'Font init failed' or there is certain fonts on the screen that you don't see when running EPICS (EDM) or LCLS home screen, you will need to install the appropriate font package for the OS that you are running:
Windows: https://www.nomachine.com/download/download&id=16
MAC: http://xquartz.macosforge.org/landing/
RHEL6:
| Code Block |
|---|
yum install xorg-x11-fonts-"*"
ln -s /usr/share/X11/fonts/75dpi /etc/X11/fontpath.d/xorg-x11-fonts-75dpi |
Ubuntu: You will need to install these packages: xfonts-base, xfonts-100dpi, xfonts-75dpi, xfonts-cyrillic
kill command).
Resuming a NoMachine Connection
...
If you are not able to resume a NX Connection and you typically connect from multiple computers, be sure to use similar version of NoMachine client where you initiate the connection from. To check for Nomachine NoMachine version, after you have launch Nomachine NoMachine client, go to Preferences on top, then click on Updates, it will show you the version that you are running Nomachine on.NoMachine on.
Broken display with "Green Screen" Issues
If your display is broken with mainly a green screen, it could be a hardware decoding issue. Click on "Display" button on NoMachine (shown below). Then click "Change settings" and turn on "Disable client side hardware decoding".

Other issues
If Ctrl-C (Ctrl-break) does not work on the Linux client, hit the Alt-Ctrl-C (Use it in proper sequence so hold down the key one at a time). WindowsKey-Ctrl-C, or turn on Caps Lock and hit Ctrl-C will also work.
Also see our how-to guide for Diagnosing Network/Connection Problems
Overview
Content Tools