This tutorial describes how you can use Netbeans to edit and compille drivers, and then load them into JAS3 to run them. The advantage of using Netbeans to do this, as opposed to the editor built-in to JAS3, is that you can get code completion, syntax highlighting etc.
Prerequisites
Before proceeding with this tutorial you must have already installed Netbeans and mevenide, and must have already checked out and built GeomConverter and org.lscim.
Checking out the example project
You can check out the ExampleProject from CVS in the same way you checked out GeomConverter and org.lcsim. The module name is ExampleProject.
Opening the example project in Netbeans
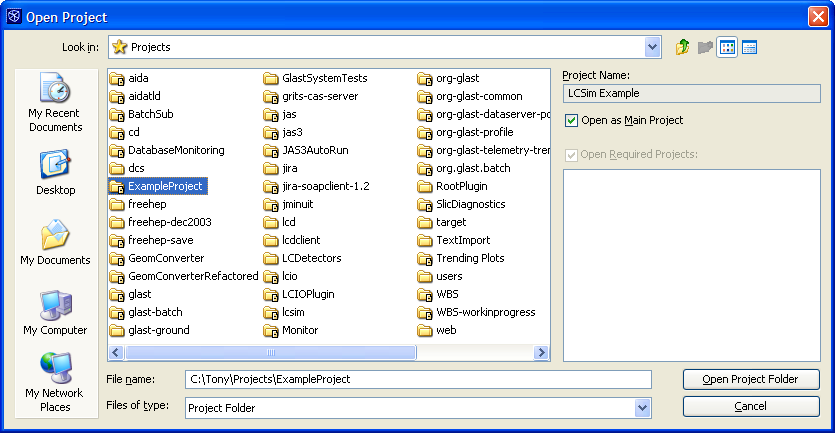
You can open the project in the same way that you opened GeomConverter and org.lcsim, i.e. choose Open Project, select the folder where you checked out ExampleProject and select "Open Project Folder".
Building the project in Netbeans
Select "Build" from the popup menu on the LCSim Example project. This should build a jar file called ExampleProject-0.0.jar in the target directory created in the ExampleProject folder.
Running the driver in JAS3
From JAS you need to add the newly created ExampleProject-0.0.jar file to your "JAS ClassPath". From the JAS View menu choose Preferences, then from the tree select Java ClassPath. Press the little button with the + on it, and add the jar file to the classpath.
