Installing Maven with Netbeans Support
This tutorial will show you how to install support for the Maven build tool.
The tutorial assumes that Java JDK (version 1.5.x) is already installed.
Install Netbeans
Netbeans can be downloaded from http://www.netbeans.info/downloads/download.php?type=5.0. Windows users should just click on the netbeans-5_0-windows.exe after download to install netbeans.
Install Mevenide
Download this small autoupdate module.
Warning
If you use IE on windows it will save the file with extension .zip. You must change this back to .nbm before proceeding
To install, start NetBeans and select the Tools -> Update Center.
Select the "Install Manually Downloaded Modules (.nbm Files)."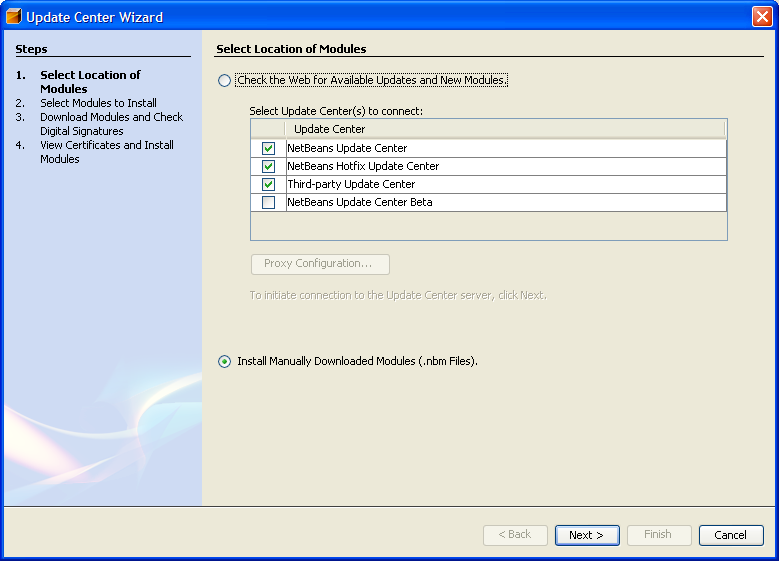
On the next page, select "Add..." from the "Modules to Install" panel and navigate to the location of the downloaded file.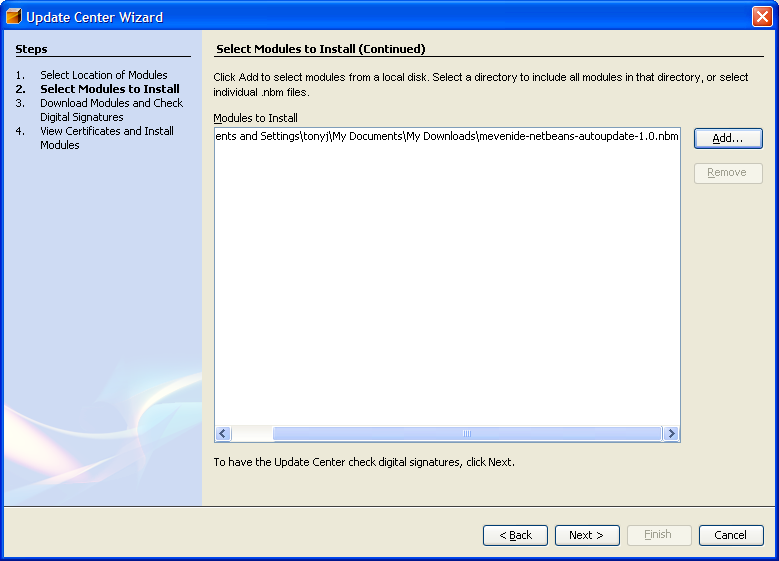
On the next page, transfer that file from the "Available Updates and New Modules:" panel to the "Include in install:" panel and click on the "Finish" button.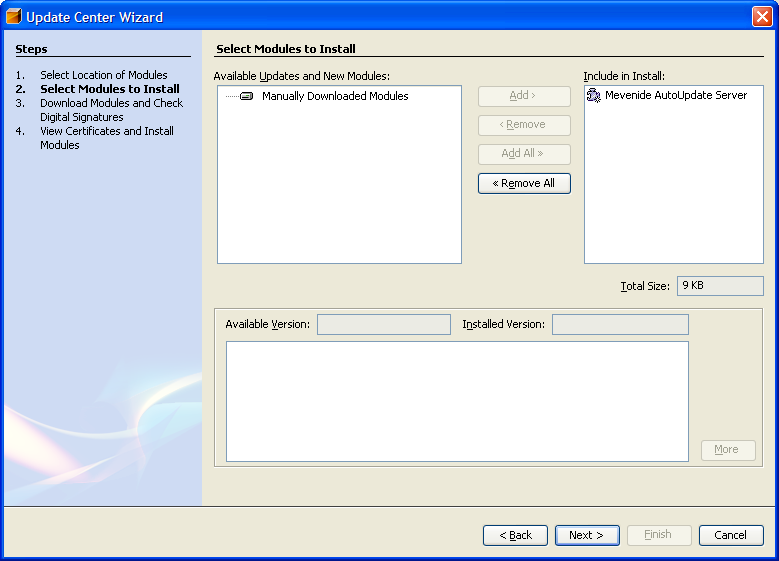
On the next panel the module will be downloaded.

On the next panel select the checkbox next to the downloaded module, and accept any licenses that appear.
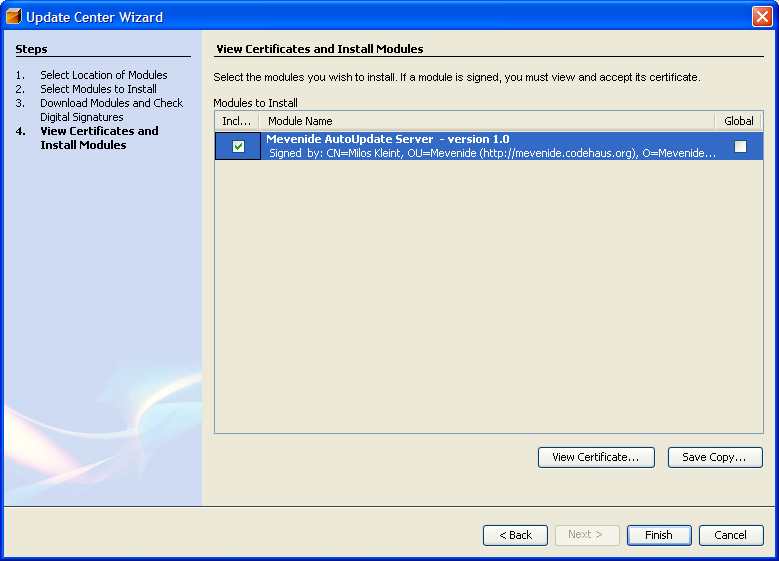
Finally click finish to dismiss the dialog.
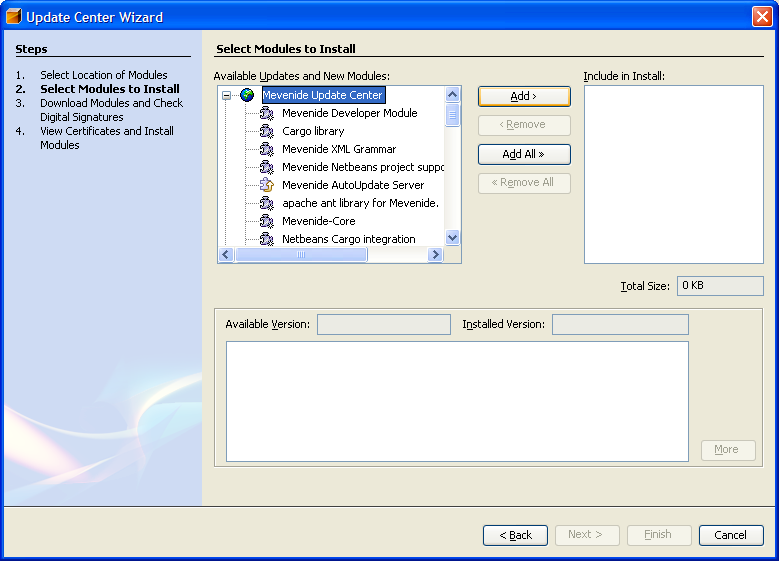
Now go back to Tools -> Update Center. Select "Check the web ..." and the "Mevenide Update Center" box, only. Click next. Now select the "Mevenide Update Center" node, and click the "Add>" button to move all maven plugins into the righthand box.
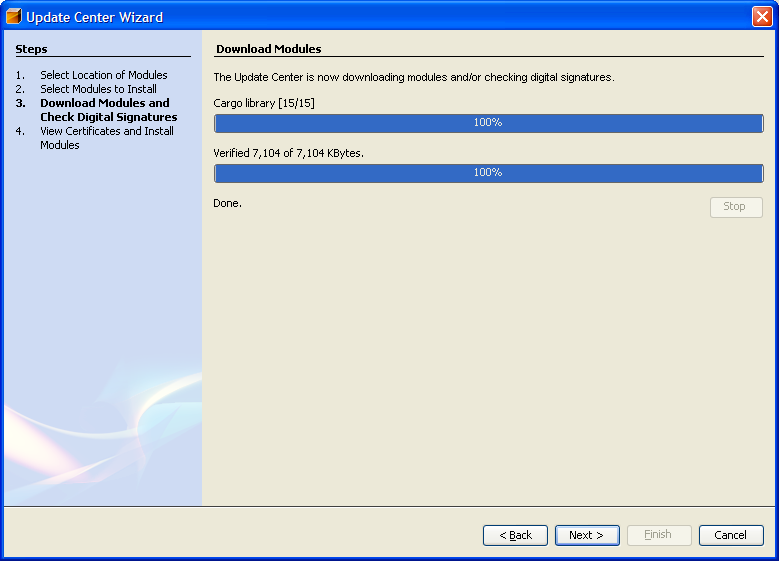
Wait while the modules download, the click "Next>" to continue.
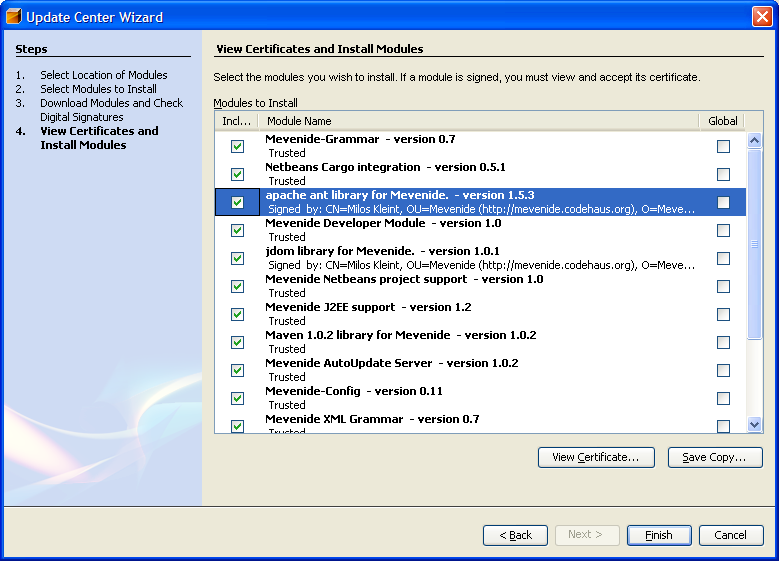
Click the "Include" checkbox for each plugin and then the "Always Accept" button. All of the Maven plugins should have the "Include" box selected, now. Click next.
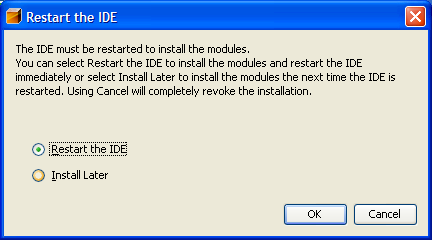
Now restart Netbeans.
Test the Installation
Now check whether all plugins were loaded successfully.
Go to Tools -> Options -> IDE Configuration -> System -> Modules -> Maven.
Maven Plugins
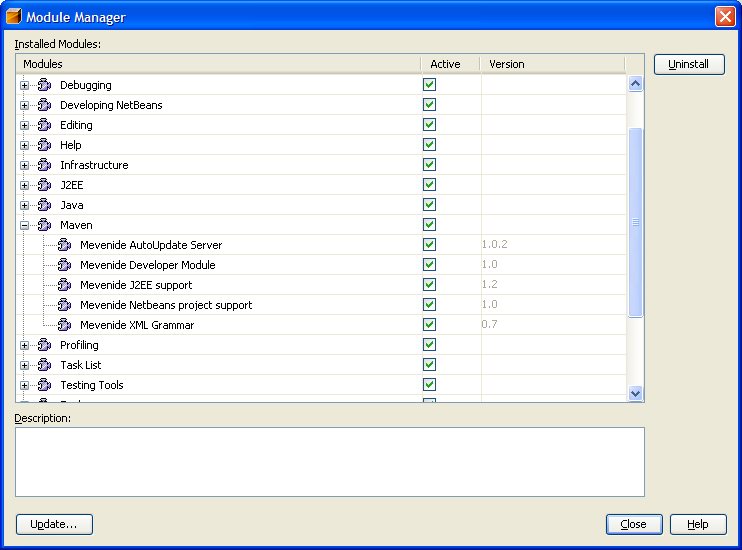
All the Maven plugins should have the Enabled box checked.
Set these all to Enabled if they are not already. This may clear up errors that can occur during the installation.
Open Project
To open the cvs projects which you previously checked out, use File -> Open Project, then navigate to your
cvs installation directory.
If all went well, you should see a small box next to Maven projects that Netbeans can open.
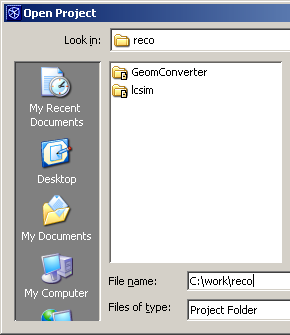
To open a project, click on it and select "Open Project Folder".
The project itself will have the following options, which will now call Maven commands.
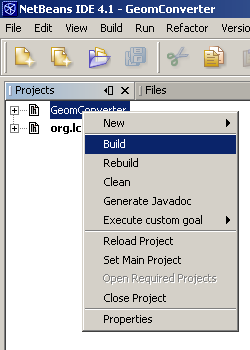
To build the project, right-click on build in this menu.
The console should show the Maven splash screen.
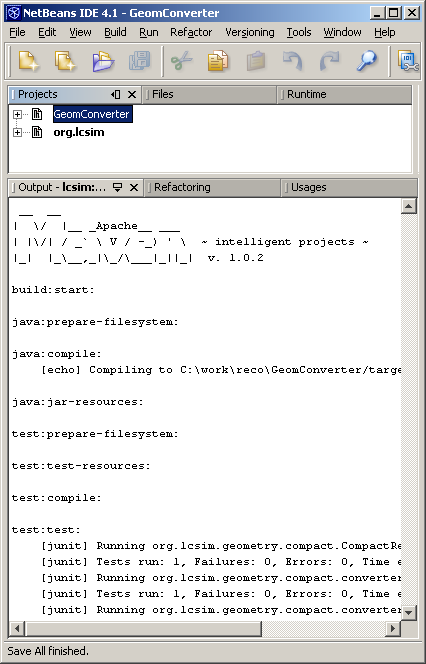
Now you have successfully installed Maven support into Netbeans.
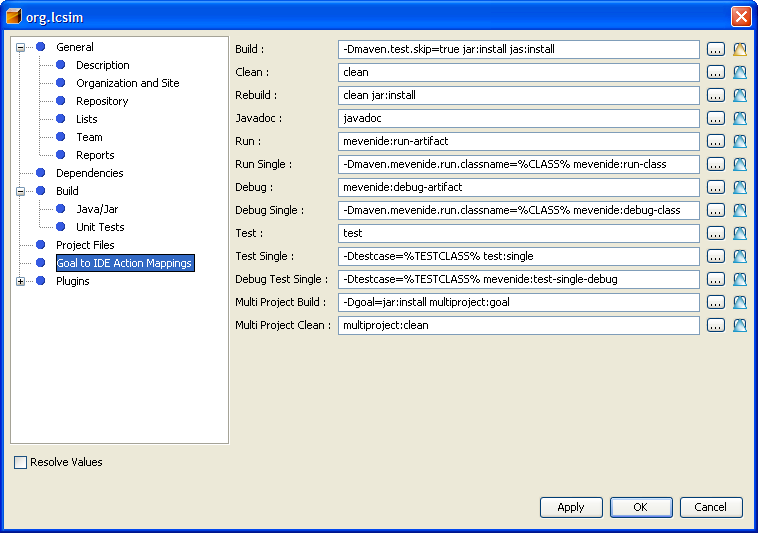
Turning off tests
If you want to build lcsim.org without running the tests, you can do so by selecting the project in the netbeans project tree, right clicking to get the popup menu and then select "Properties". Then choose "Goal to IDE Action Mappings" and add -Dmaven.test.skip=true to the build goal. This is how I have my settings: