Page History
| Table of Contents |
|---|
Command
roicon -h
| Code Block |
|---|
Usage: roicon [options]
Examples:
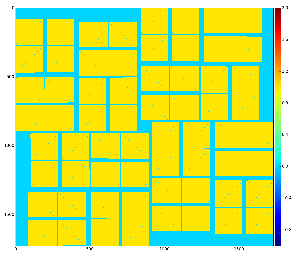
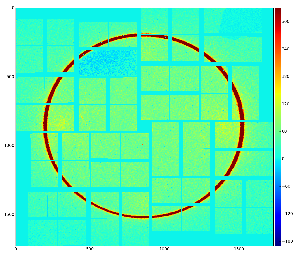
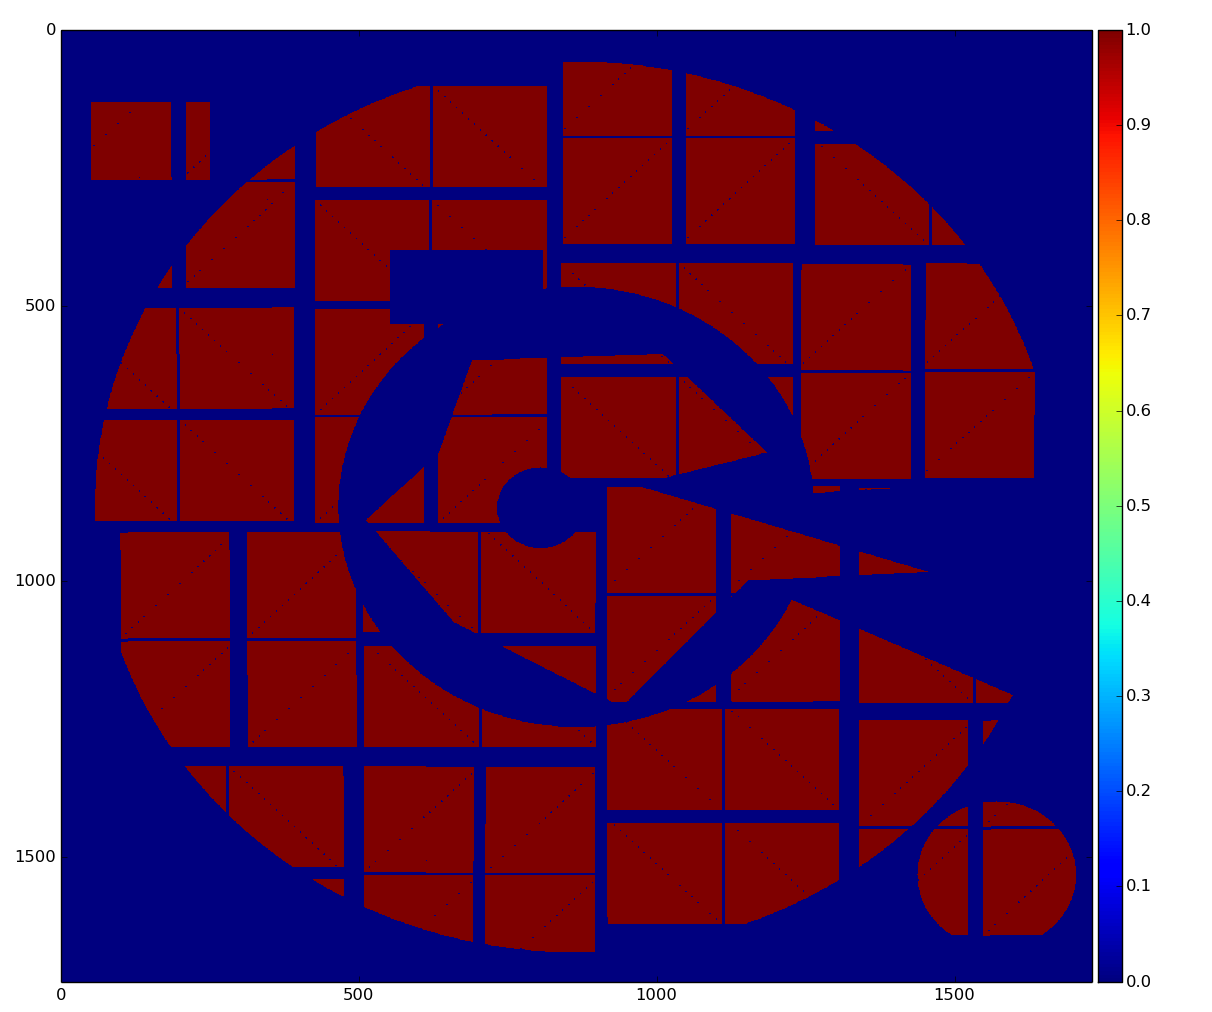
1) Construct 2-d image (or mask-of-segments) from ndarray with image shaped as data using appropriate geometry file
roicon -p1 -g <geometry-file> [-a <ndarray-with-image-(input)file>] [-i <image-(output)file>] [-c <control-bitword>]
ex1: roicon -p1 -g /reg/d/psdm/CXI/cxitut13/calib/CsPad::CalibV1/CxiDs1.0:Cspad.0/geometry/0-end.data
ex2: roicon -p1 -g /reg/d/psdm/CXI/cxitut13/calib/CsPad::CalibV1/CxiDs1.0:Cspad.0/geometry/0-end.data -a /reg/neh/home1/dubrovin/LCLS/CSPadAlignment-v01/calib-cxi-ds1-2014-03-19/cspad-ndarr-ave-cxii0114-r0227.dat
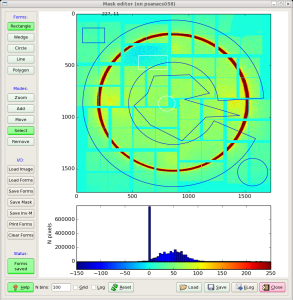
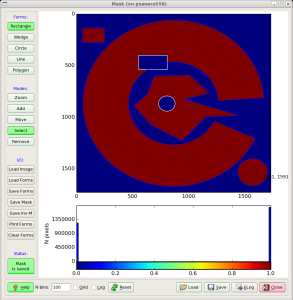
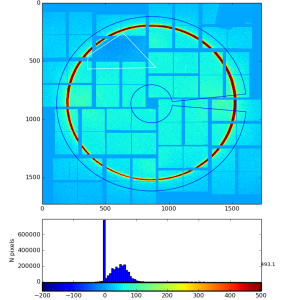
2) Create ROI mask using mask editor "med" (DO NOT FORGET to save mask in file!)
roicon -p2 [-i <image-(input)file>] [-m <roi-mask-(output)file>]
ex: roicon -p2
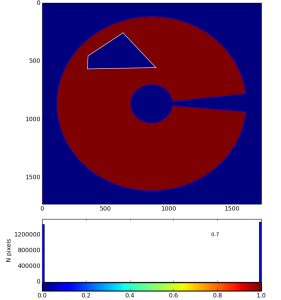
3) Convert ROI mask to ndarray with mask shaped as data
roicon -p3 -g <geometry-file> [-m <roi-mask-(input)file>] [-n ndarray-with-mask-(output)-file] [-c <control-bitword>]
ex: roicon -p3 -g /reg/d/psdm/CXI/cxitut13/calib/CsPad::CalibV1/CxiDs1.0:Cspad.0/geometry/0-end.data
Optional input parameters.
Options:
-h, --help show this help message and exit
-g GFNAME, --gfname=GFNAME
geometry file name, default = /reg/d/psdm/CXI/cxitut13
/calib/CsPad::CalibV1/CxiDs1.0:Cspad.0/geometry/0-end.
data
-a AFNAME, --afname=AFNAME
input ndarray file name, default = None
-i IFNAME, --ifname=IFNAME
image file name, default = mask-img.txt
-m MFNAME, --mfname=MFNAME
ROI mask file name, default = mask-roi.txt
-n NFNAME, --nfname=NFNAME
ndarray mask file name, default = mask-nda.txt
-c CBITS, --cbits=CBITS
mask control bits, =0-none, +1-edges, +2-middle,
etc..., default = 65535
-p PROC, --proc=PROC process number: 1-construct image, 2-run mask editor
on image, 3-convert image mask to ndarray; default = 1
-v, --verb verbosity, default = False |
mask-img.txt
mask-roi.txt
mask-nda.txt
![]()
Overview
Content Tools