Page History
...
| Wiki Markup |
|---|
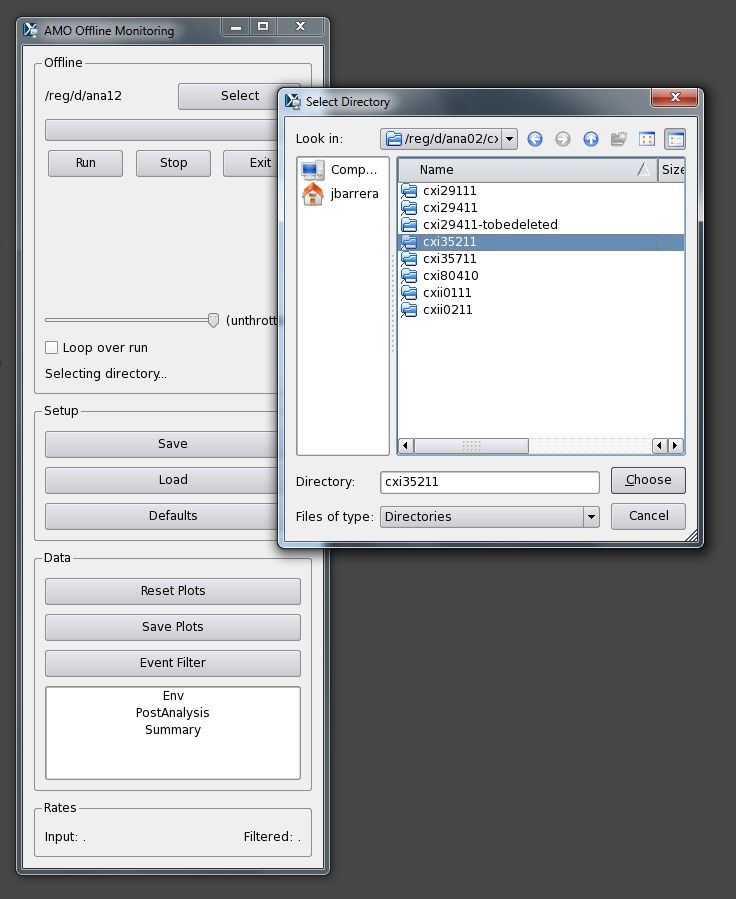
Then click the Select button and the gui will bring up a "Select Directory" dialog. Use that to navigate to the directory containing the xtc files you are interested in. For example: <image001.png> Then, select the run number you want from the drop-down, and press Run. The run will be processed as fast as possible unless the Throttle slider is moved to some value such as 60 Hz or 5 Hz, in which case a delay will be inserted after each datagram to keep the playback rate at the requested throttle rate. <image002.png> The rest of the GUI (starting with the Setup section) is the same as the online_ami program. There are some options that can be specified on the command line. These are listed when the \--h option is given: (psexport01./reg/g/pcds/dist/pds/3.2.13/build)$ ami/bin/i386-linux-dbg/offline_ami \-h Usage: ami/bin/i386-linux-dbg/offline_ami \-p <xtc path> \[-i <interface address>\] \[-s <server mcast group>\] \[-L <user plug-in path>\] \[-o <filename for debugging messages>\] \[-e <filename for error messages>\] If no options are given, the following defaults are used: Interface address: 127.0.0.1 (aka localhost/loopback) Server mcast group: 239.255.242.0 User plug-in paths: none Debugging messages go to console Error messages go to console I have some more recent changes that haven’t made it into a build yet, most noticeably the progress bar that you can drag back and forwards (I’m still finishing that up). Click the Select button and the program will bring up a "Select Directory" dialog. Use that to navigate to the directory containing the xtc files you are interested in. For example: !image-1.jpg|border=1! |
Then, select the run number you want from the drop-down, and press Run. The run will be processed as fast as possible unless the Throttle slider is moved to some value such as 60 Hz or 5 Hz, in which case a delay will be inserted after each datagram to keep the playback rate at the requested throttle rate. The program will display the progress as the run is processed:
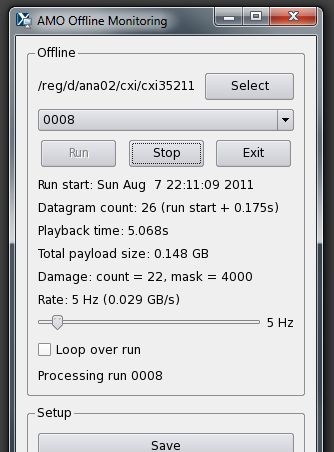
The rest of the program (starting with the Setup section) functions the same as the Online Monitoring program, documented earlier on this is processed: !image-3.jpg|border=1! The rest of the program (starting with the Setup section) functions the same as the Online Monitoring program, documented earlier on this page.
There are some options that can be specified on the command line. These are listed when the --h option is given:
...
Overview
Content Tools